Fall Paper Bunting Toddler Craft
on Sep 26, 2011, Updated May 12, 2023
This post may contain affiliate links. Please read our disclosure policy.
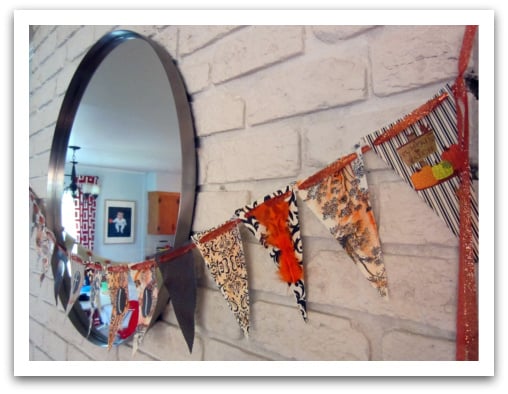
And if there is one thing I love to do in the Fall, it’s crafts. Who’s with me? This year, Oscar is at a great age for crafts so I started thinking of ways we could do something together. I love the idea of using children’s artwork as part of the decor so I wanted it to be something we could display. I decided that we would make a paper bunting! It was a lot of fun and Oscar loves to look at his “project” every time he comes into the living room. And it’s SUPER easy!
How To Make a Fall Paper Bunting
1. Gather your supplies
I wanted to have a mix of decorative and homemade so I chose a multi-pack of patterned cardstock. This worked really well because Oscar could do whatever he wanted and even if that meant one sticker, there was still a bit of visual interest. I also grabbed a spool of glitter ribbon to string it up, a hole punch, stickers, chalk and glitter glue.
{Money saving tip: Get your glitter glue from Target instead of a craft store. I found mine in the $1 bin!}
Depending on the age of your child, you might have to do this part yourself like me. I had 5 different patterns of paper and cut out 3 triangles from each for a total of 15. Punch a hole on each point of the shorter end and then go crazy!
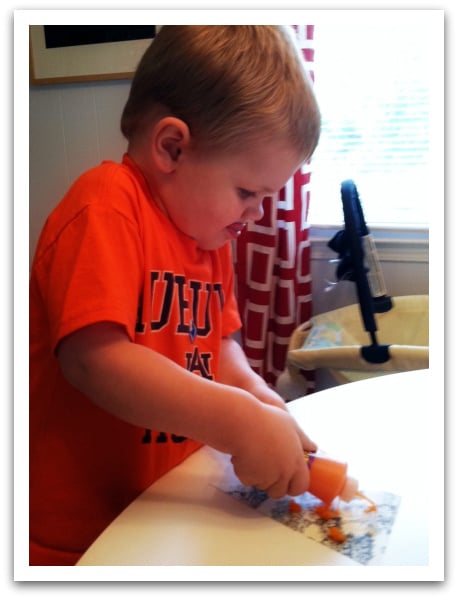
Oscar loved squeezing the glue and “painting” with it. I basically had to bribe him with more glue to get him to use a sticker but once he realized he could paint OVER the sticker he was sold. This was a fun and very easy project to do together!
3. Assemble your Bunting
I did this part during nap time. The ribbon I got was the perfect size to fit through the hole punch without having to knot it in between, but you could do that for a special touch if you want to!
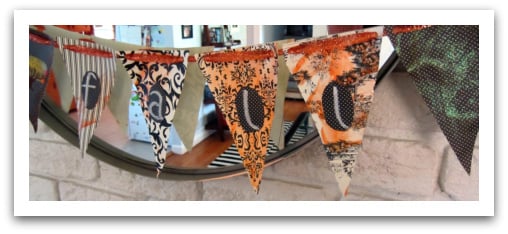
I also decided to use the black paper for the letters and wrote out the word FALL with chalk. Originally, I had planned to cut out the letters, but since I had the chalk I thought I would try it out. It was easy and cute!
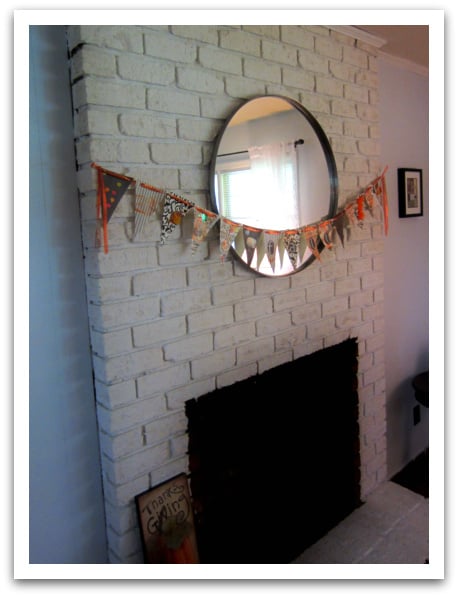
Once it was finished I hung it on our fireplace and we are ready to welcome Fall!





This looks like something I can do w/Lil, thanks.
What a great idea! As you can see, I’ve been behind in my reading, but oh so nice, to catch up. I hope you are well.
Very cute and creative!
What a cute idea! I love fun fall decorations! And you’ve made it look so easy!
My son is 8 and still loves to do leaf tracings in the fall. This is more advanced for someone like me, but we’ll have to try it!
Genius!! I love it!
I love this! So going to do it. How did you hang it up? I’m scared to hammer a nail in the bricks
Thanks! I just used tape (double-sided on the back). It’s so lightweight, I only needed to do each side and a couple of the middle triangles.
What a fun thing to do with Emma. I may just have to try it! Right now I have her gathering acorns for a craft. Thank you, Pinterest, for the ideas! 🙂
I love it! You are so much craftier than I. I don’t really have the patience to make it look symmetrical and pretty. Luckily I’m working with a 3 year old who also has about the same amount of attention span as I do.