Christmas Tree Brownies Recipe
on Dec 06, 2021, Updated Nov 07, 2023
This post may contain affiliate links. Please read our disclosure policy.

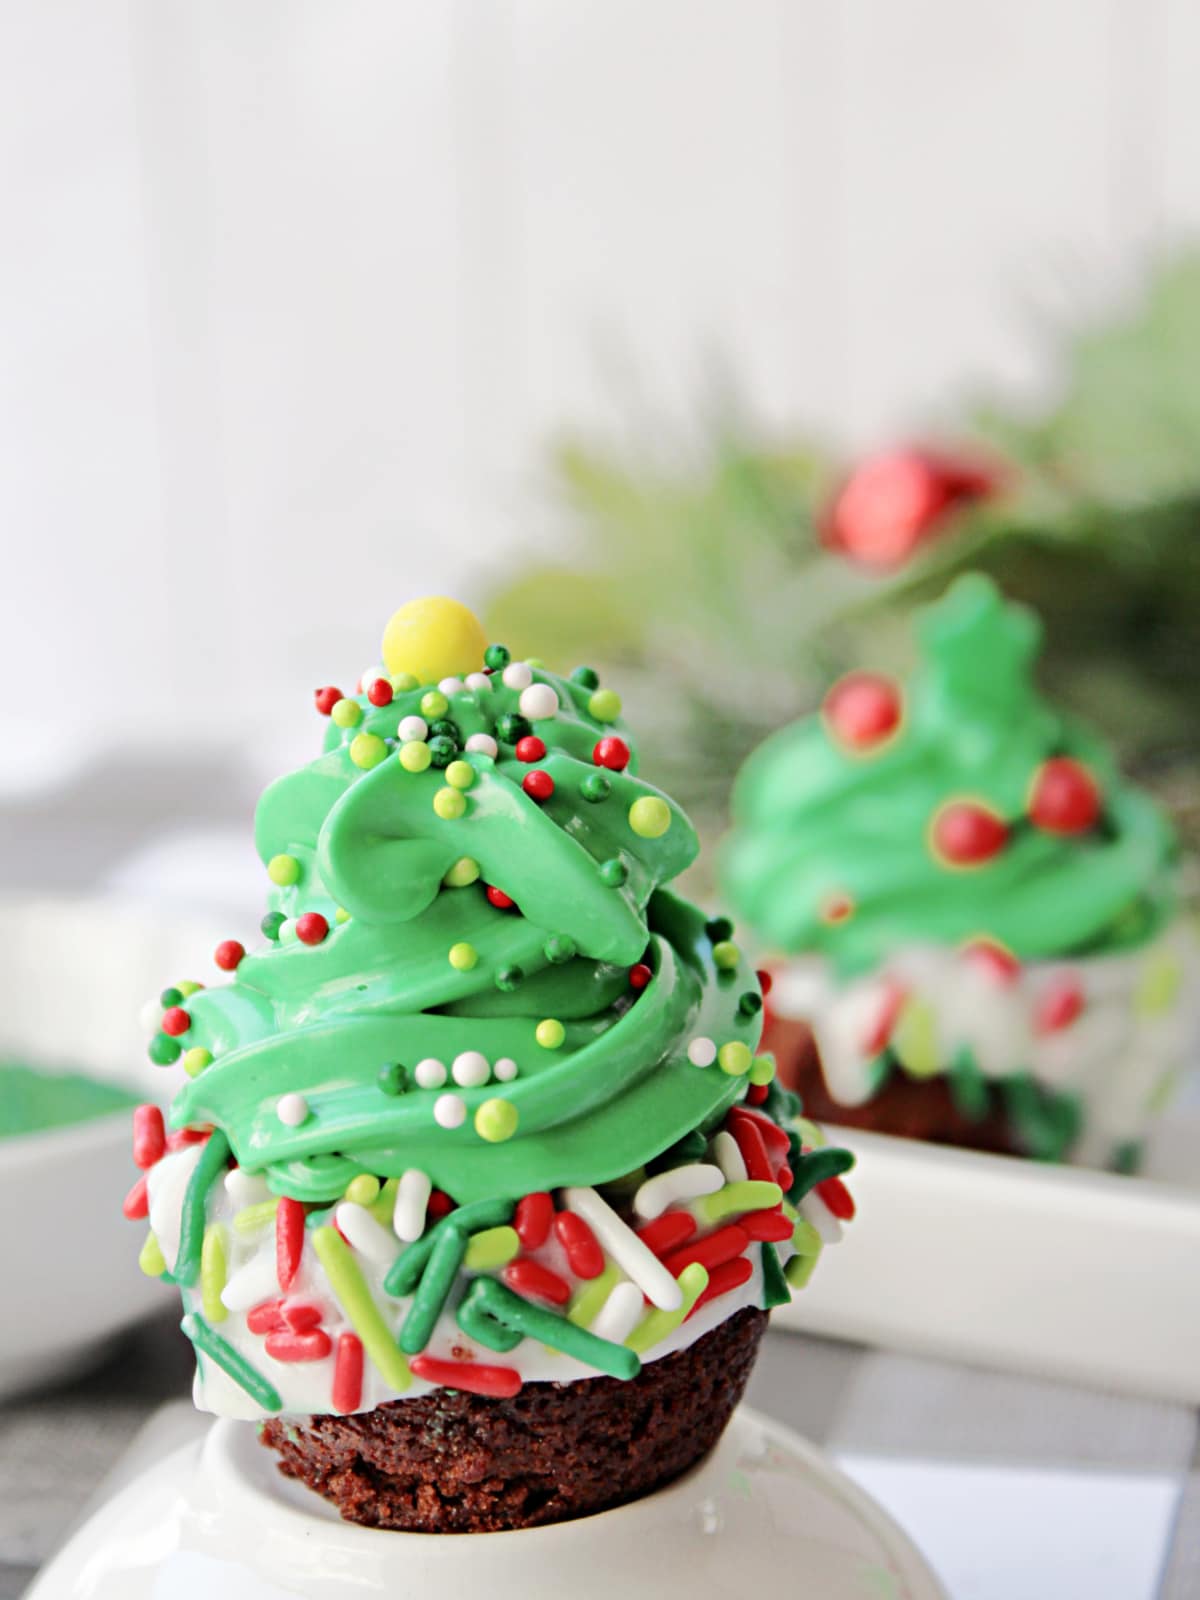
This adorable treat is so easy to make using either pre-made brownie bites, a boxed mix or your own special homemade brownies. This Christmas brownies recipe is all about the cute Christmas tree icing. I love this time of year!
We love easy holiday treats around here and when they are this cute, it’s even better! Who doesn’t want a festive little treat at Christmas to get in the holiday spirit?
These little trees would look perfect next to our Christmas gnome cookie cups or our Buddy the elf cookies.
What You Need
For these delicious fudgy brownies, we are keeping it simple. Feel free to put your own spin on it!
The best part is how easy they are to customize to your own taste.
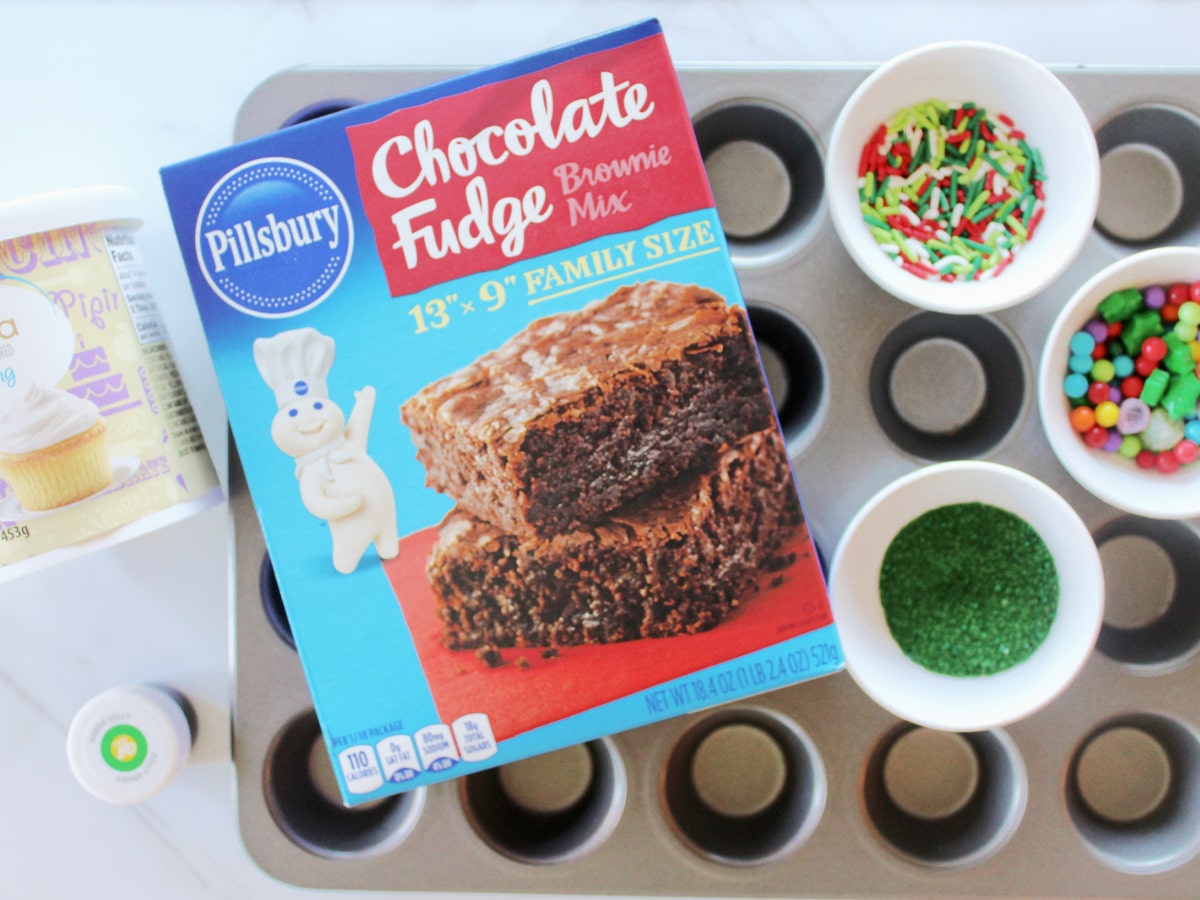
Ingredients
- Boxed Brownie Mix (plus ingredients needed to prepare – usually vegetable oil and eggs)
- White melting chocolate (white chocolate chips or Almond Bark will work for this)
- Green frosting (or white frosting mixed with green food coloring)
- Christmas Sprinkles to decorate
You’ll also need a mini muffin pan and a piping bag for the frosting (or you can buy it in tubes ready to pipe).
How to Make Mini Christmas Tree Brownie Bites
Make these for a cookie exchange, Christmas dinner, holiday party or for a fun movie night (elf anyone?). If you are using your favorite brownie recipe or purchased brownie bites from the store, feel free to skip down to the frosting.
To start, heat oven to 350°F and spray mini muffin pan with non-stick cooking spray. Set aside.
In a large bowl, add brownie mix to the eggs and oil according to the box instructions. Mix until well combined.
Spoon brownie batter into the prepared pans filling each cup about half way.
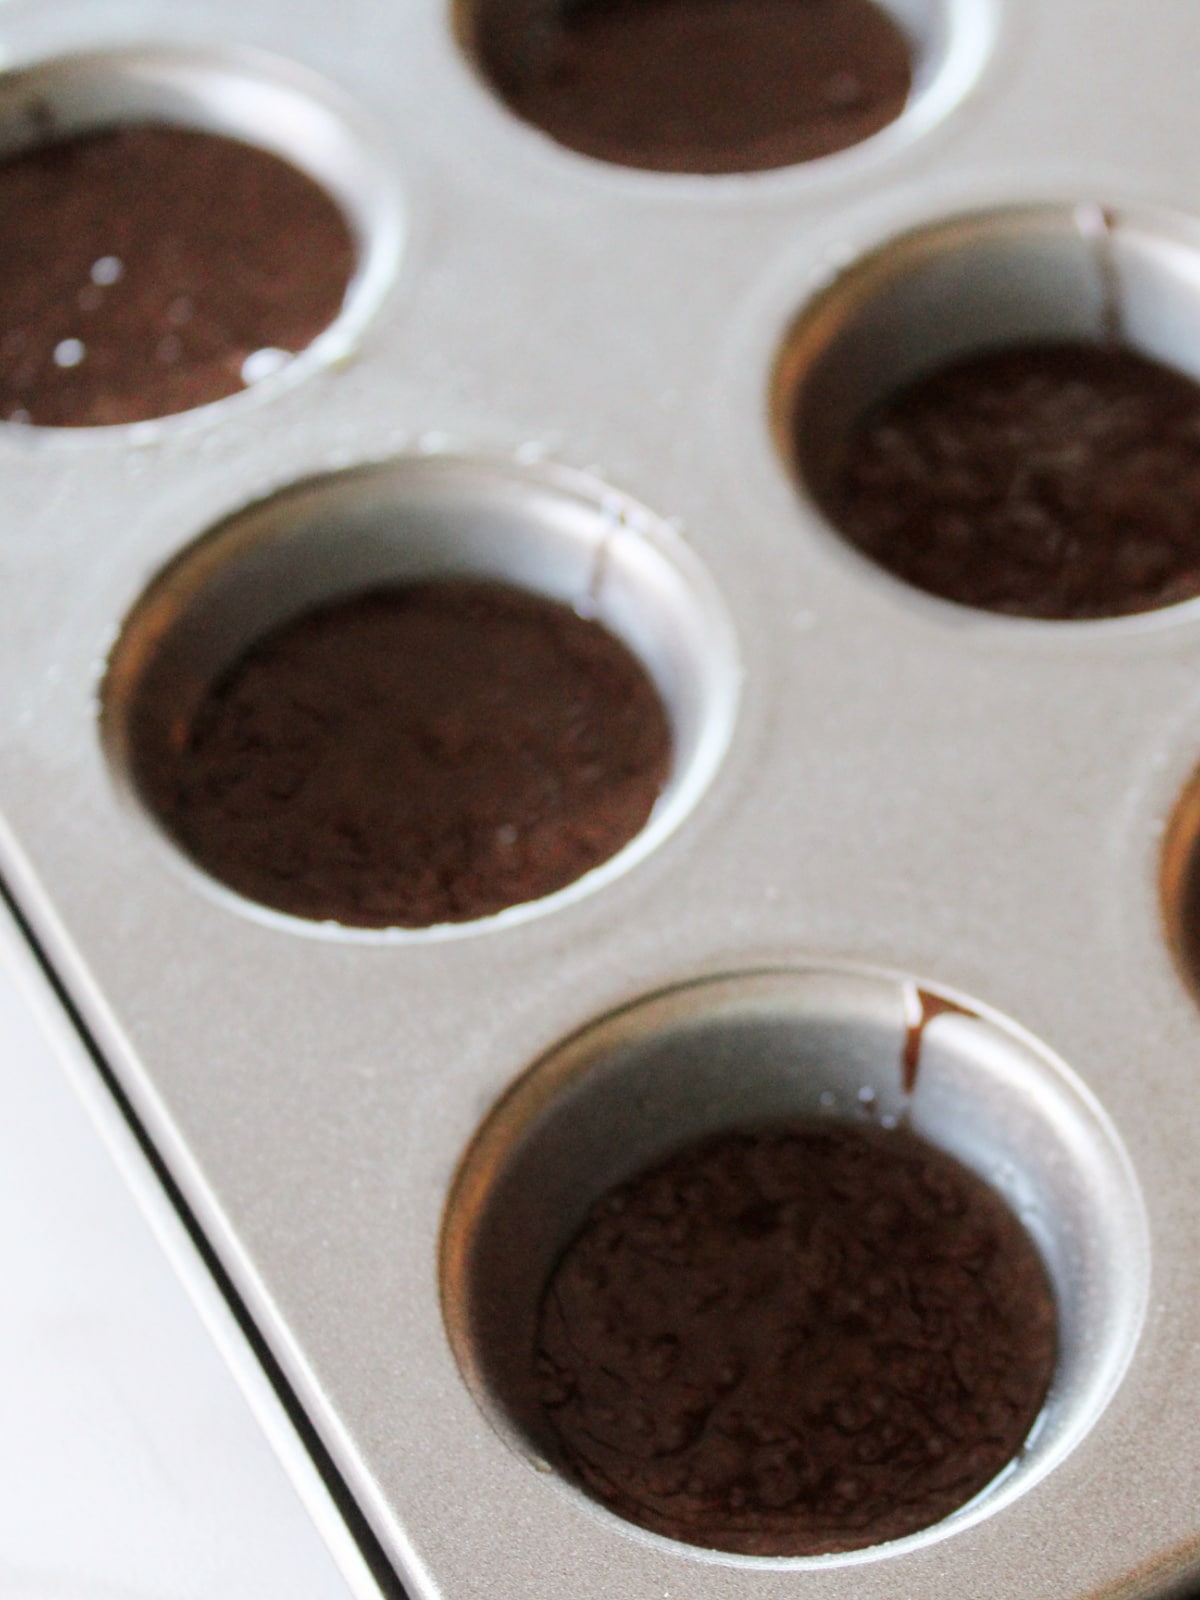
Bake for approximately 12 minutes or until a toothpick inserted into the center comes out mostly clean.
Would you like to save this?
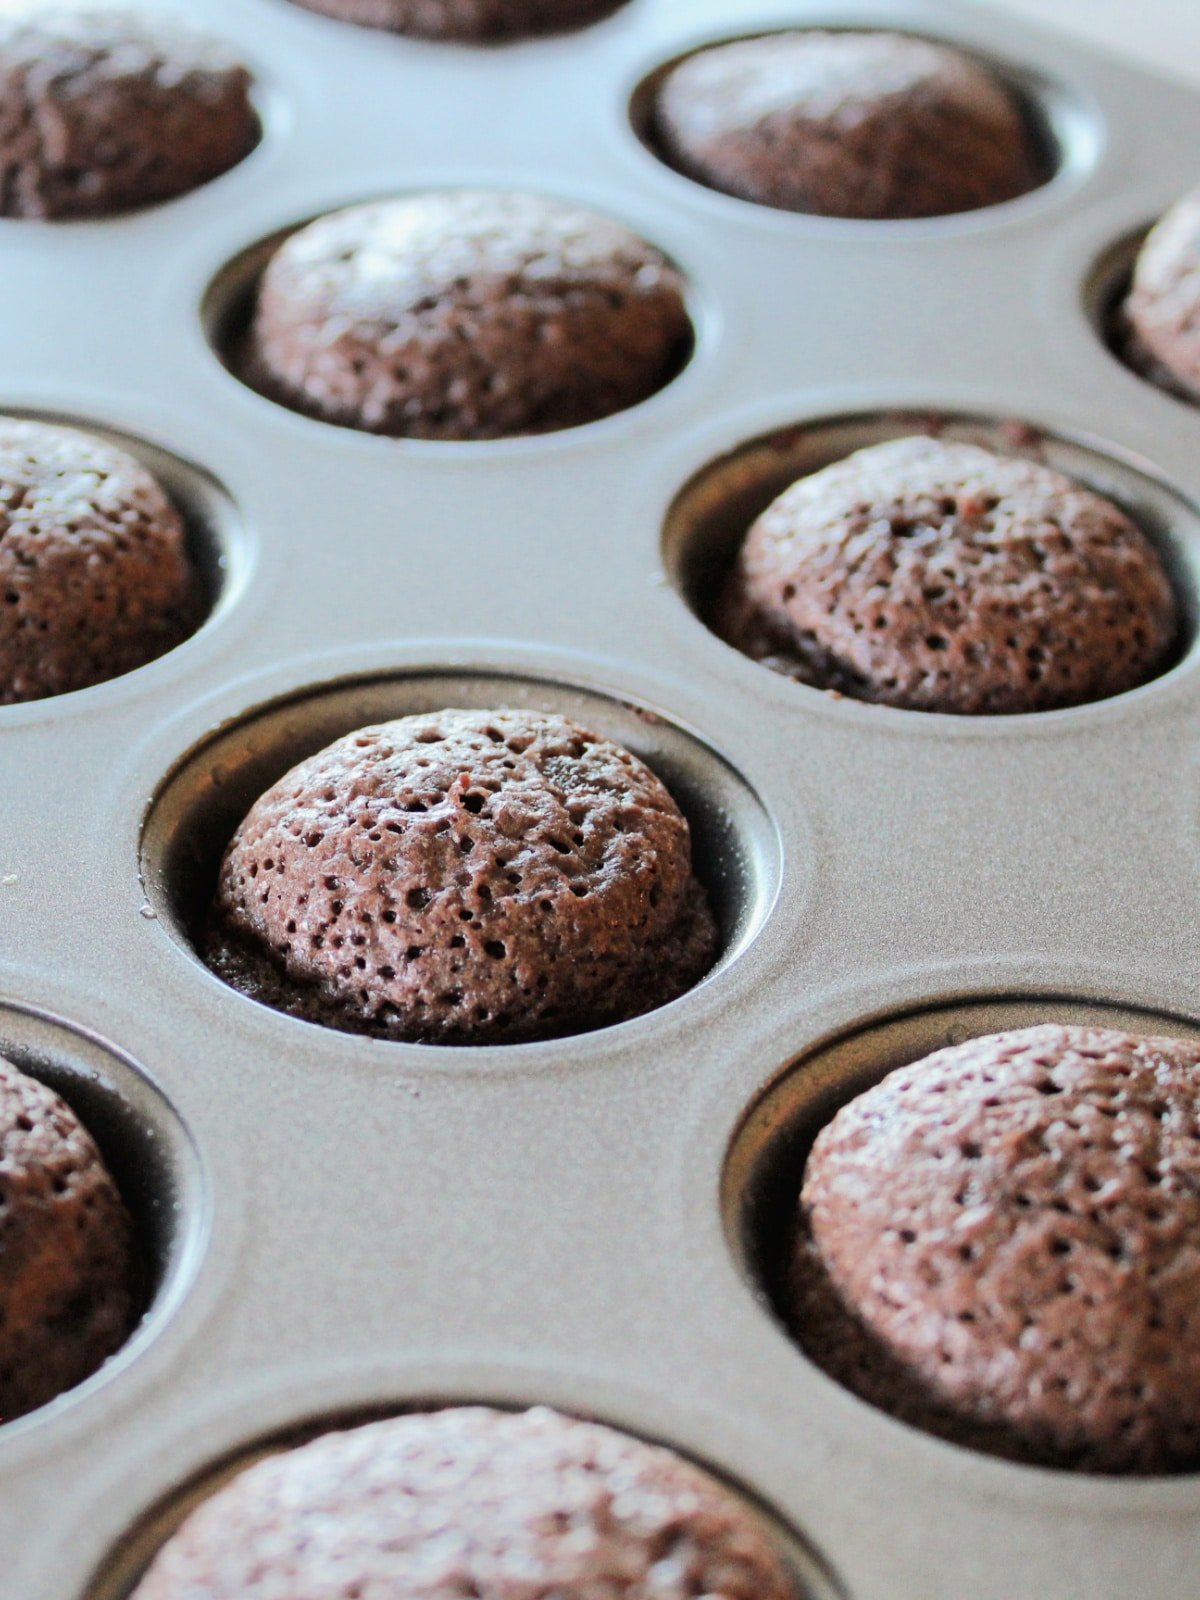
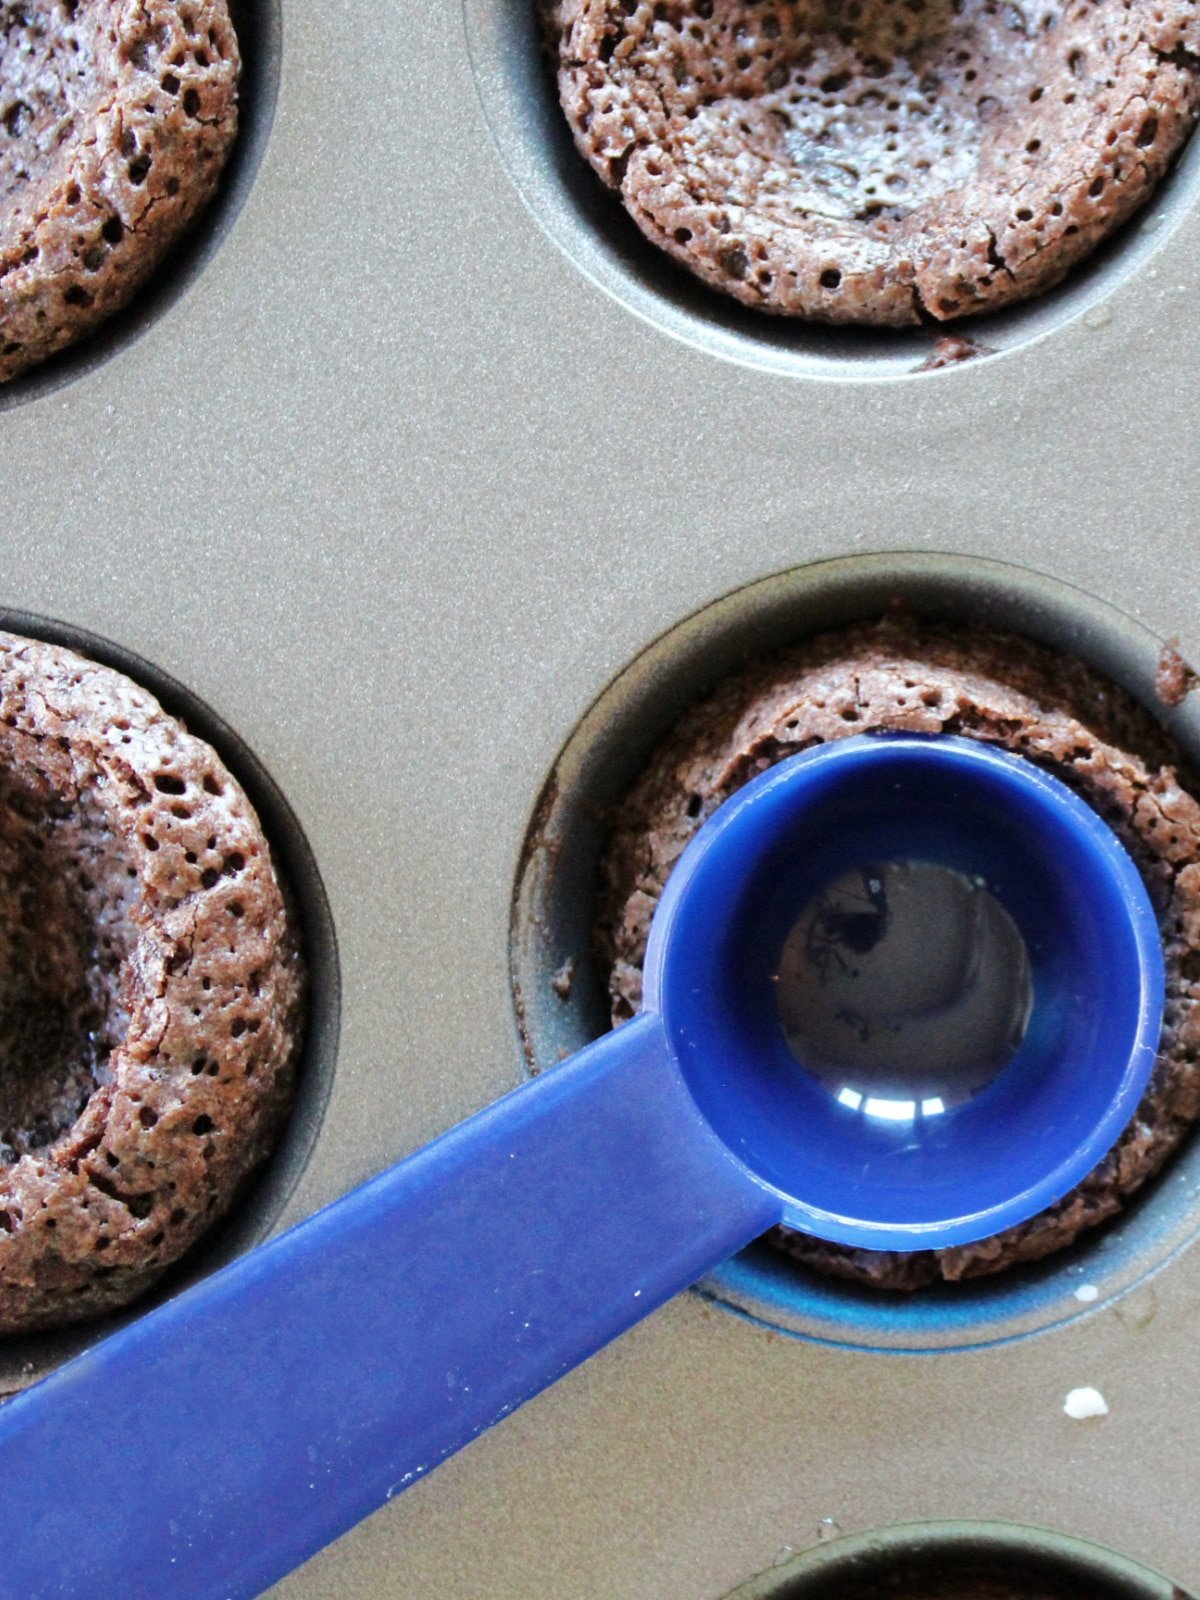
Remove brownies from the oven and using a teaspoon push the bottom into the center of the brownie, creating a cup shape.
Set pan on a wire rack and allow brownies to cool completely before removing from the pan.
Christmas Tree Brownie Decorating
Now for the fun part! To create these festive Christmas tree brownies we start with the brownie tree trunk.
Using a microwave safe bowl add white chocolate and heat in 30 second increments, stirring in between until chocolate is fully melted. I like to add a little bit of Crisco to help the chocolate stay smooth. This is optional.
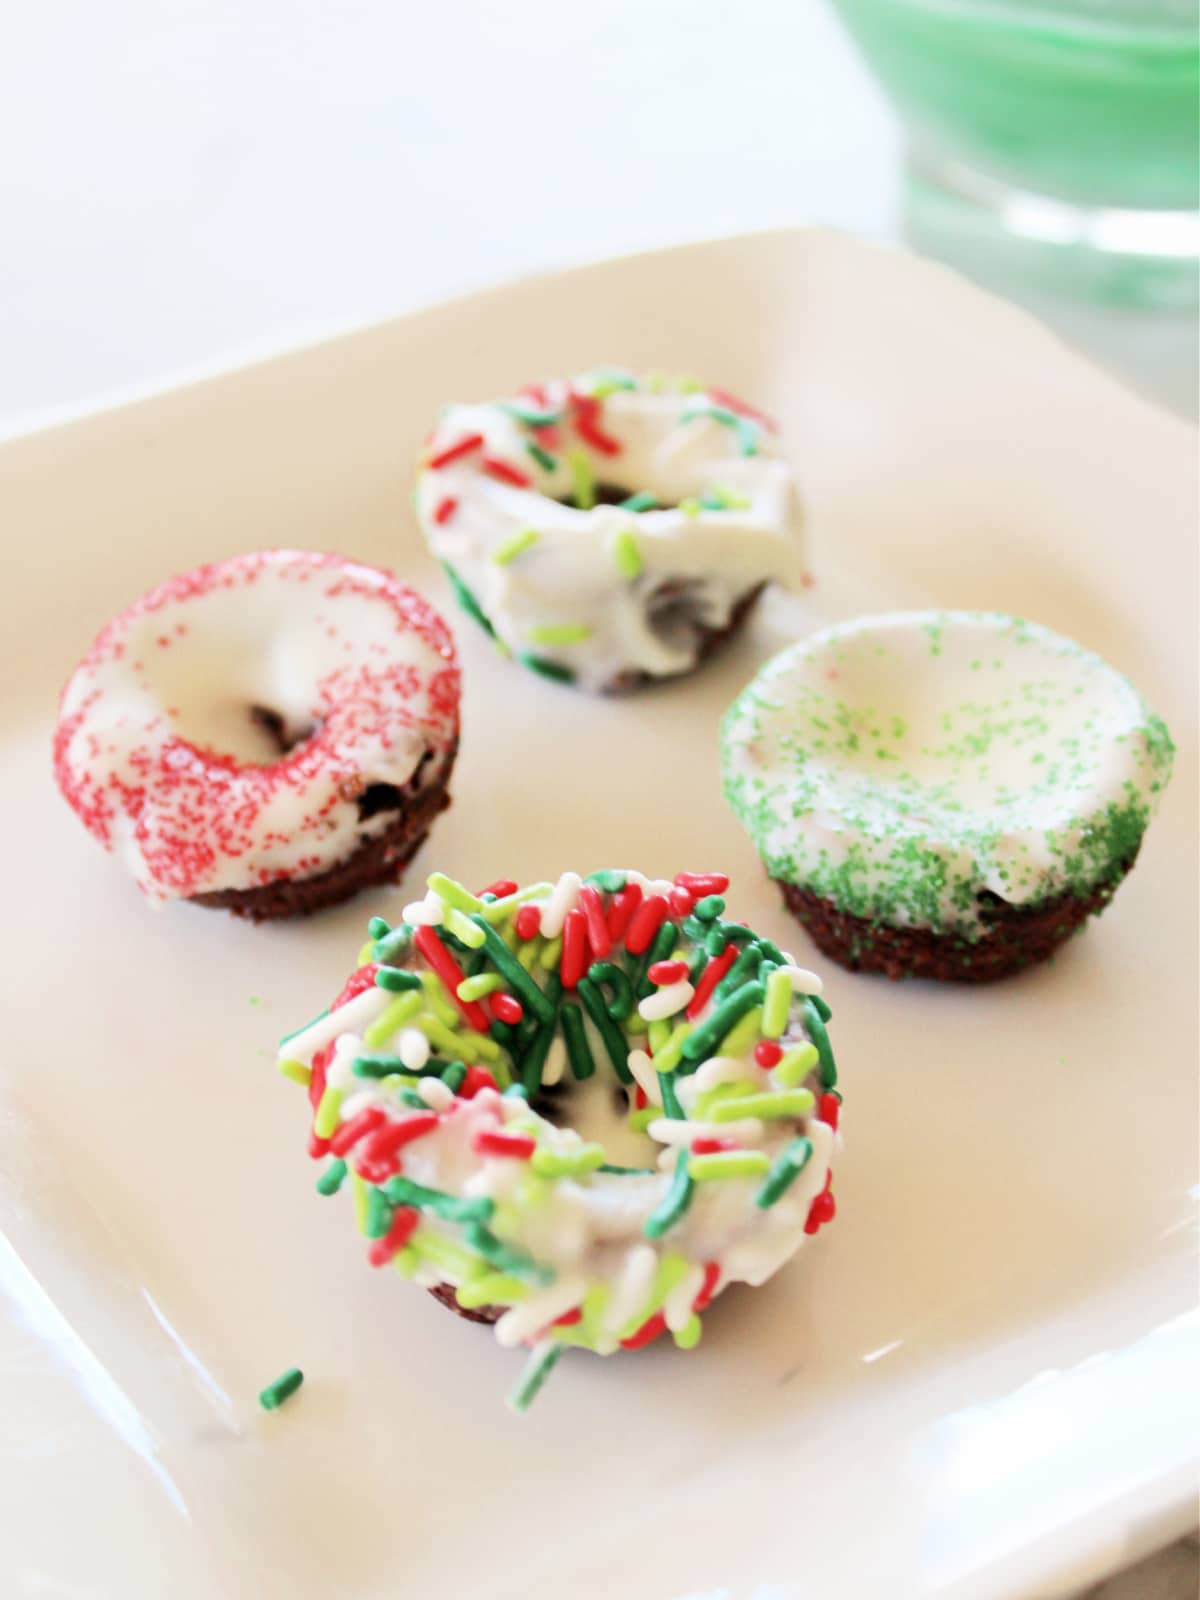
Once your melted chocolate is smooth, dip the tops of each brownie into the chocolate and then immediately add your sprinkles.
Feel free to get creative with the holiday sprinkles! It’s fun to have a variety.
After the chocolate hardens, add the green frosting to a pastry bag. Then, pipe the the frosting upward creating a tree shape on top of the brownie cups.
TIP: If your frosting is not holding it’s shape, pop it into the refrigerator for about 10 minutes to allow it to set and it will hold a tree shape better once piped.
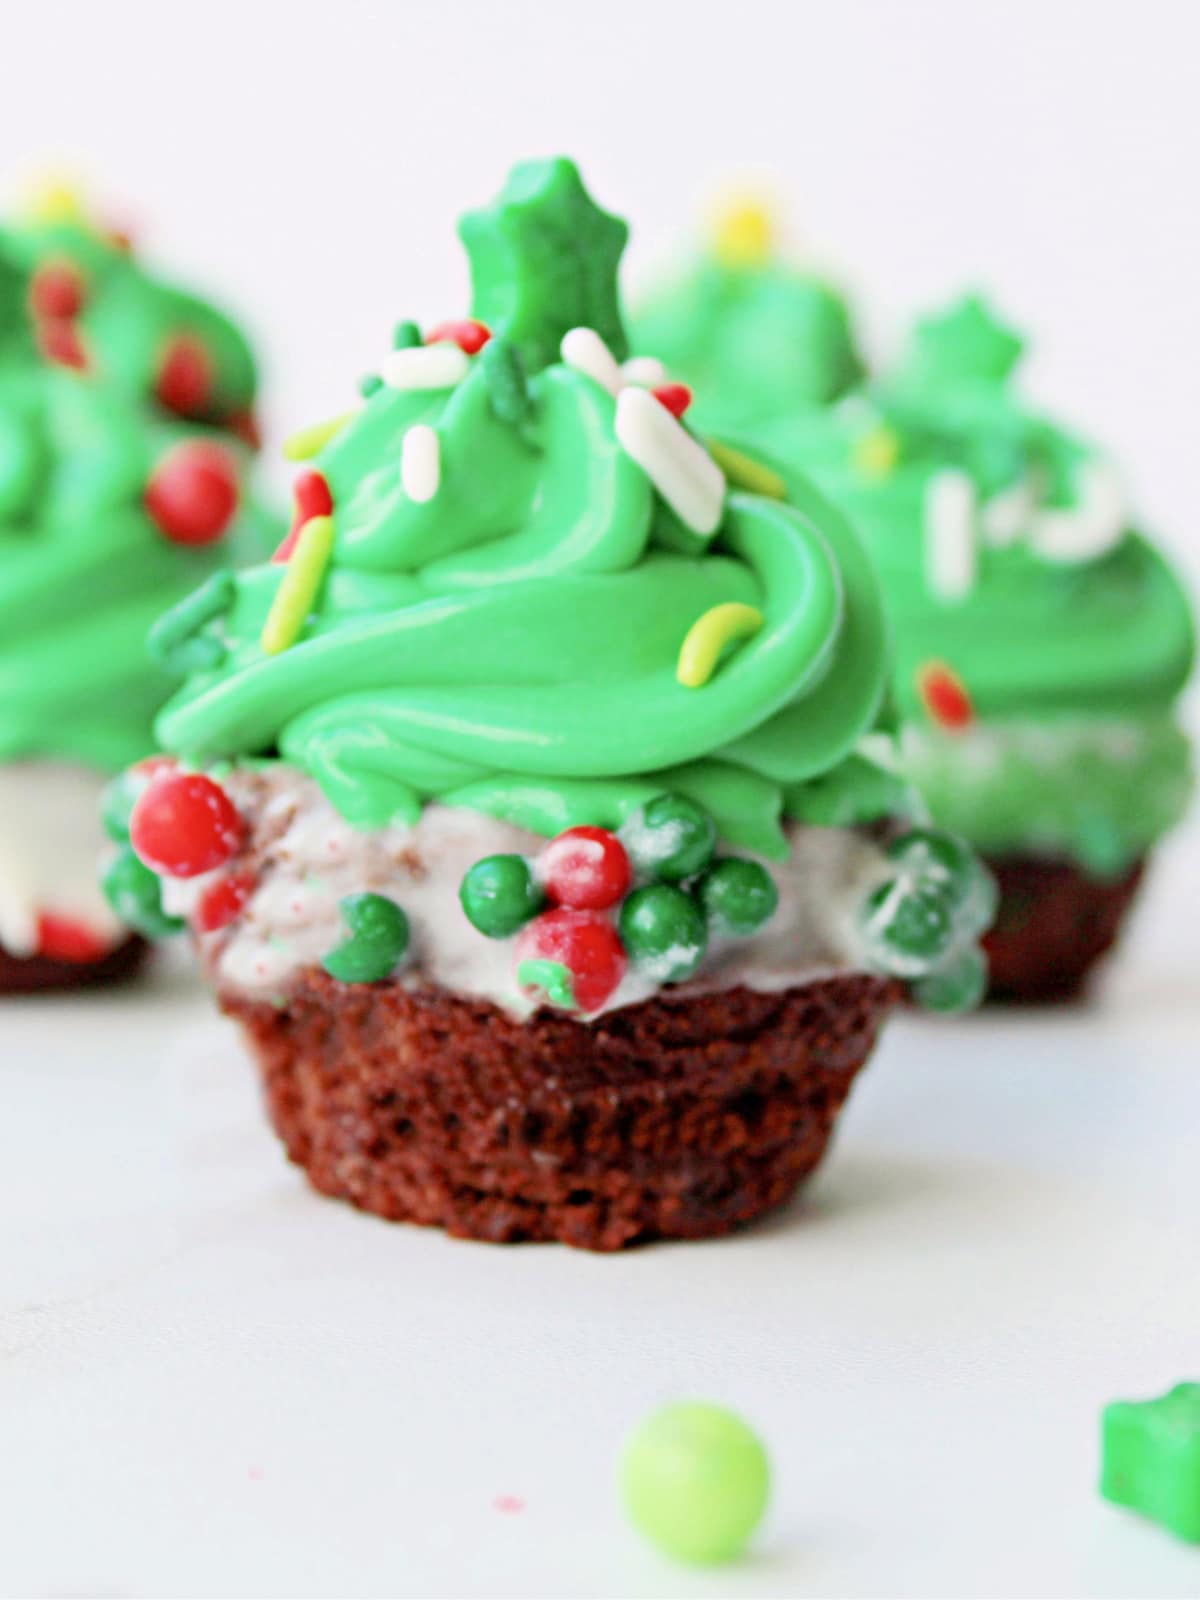
Decorate your trees with more sprinkles and finish with a star sprinkle or other decoration to the top of each tree.
Print: Christmas Brownies Recipe
These adorable Christmas tree brownies will be adorable on your holiday dessert table. Serve with a yummy cup of hot chocolate or milk and enjoy!
Want more Christmas treats? Try these!
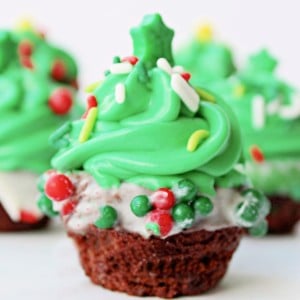
Christmas Tree Brownie Cups
Ingredients
- 1 Box Brownie Mix
- 2 Eggs
- 2/3 Cup Vegetable Oil
- 1/4 Cup Water
- 1 Can Green Frosting
- 1 Cup White Chocolate, melted
- Christmas Sprinkles
Instructions
- Preheat oven to 350°F and spray mini muffin pan with non-stick cooking spray. Set aside.
- In a large bowl, add brownie mix to the eggs and oil according to the box instructions. Mix until well combined.
- Spoon brownie batter into the prepared pans filling each cup about half way.
- Bake for approximately 12 minutes or until a toothpick inserted into the center comes out mostly clean.
- Remove brownies from the oven and using a teaspoon push the bottom into the center of the brownie, creating a cup shape.
- Set pan on a wire rack and allow brownies to cool completely before removing from the pan.
- Using a microwave safe bowl add white chocolate and heat in 30 second increments, stirring in between until chocolate is fully melted. I like to add a little bit of Crisco to help the chocolate stay smooth. This is optional.
- Once your melted chocolate is smooth, dip the tops of each brownie into the chocolate and then immediately add your sprinkles.
- After the chocolate hardens, add the green frosting to a pastry bag. Then, pipe the the frosting upward creating a tree shape on top of the brownie cups.
- Decorate your trees with more sprinkles and finish with a star sprinkle or other decoration to the top of each tree.
Nutrition
Nutrition information is automatically calculated, so should only be used as an approximation.


Could you use whipped cream instead of frosting?
I would not use regular whipped cream. You could try with a stabilized version as that is a bit thicker.