Easter Gnome Cookies
on Mar 25, 2022, Updated Apr 03, 2023
This post may contain affiliate links. Please read our disclosure policy.
Easter Gnome cookie cups will look adorable on your Easter table and they taste delicious too! These sweet treats are made with chocolate dipped strawberries, sugar cookie cups, vanilla frosting, and chocolate candy noses, topped off with crunchy candy bunny ears.
My youngest especially gets excited whenever a new version shows up. They are such a great little bite-sized snack. Who can resist?
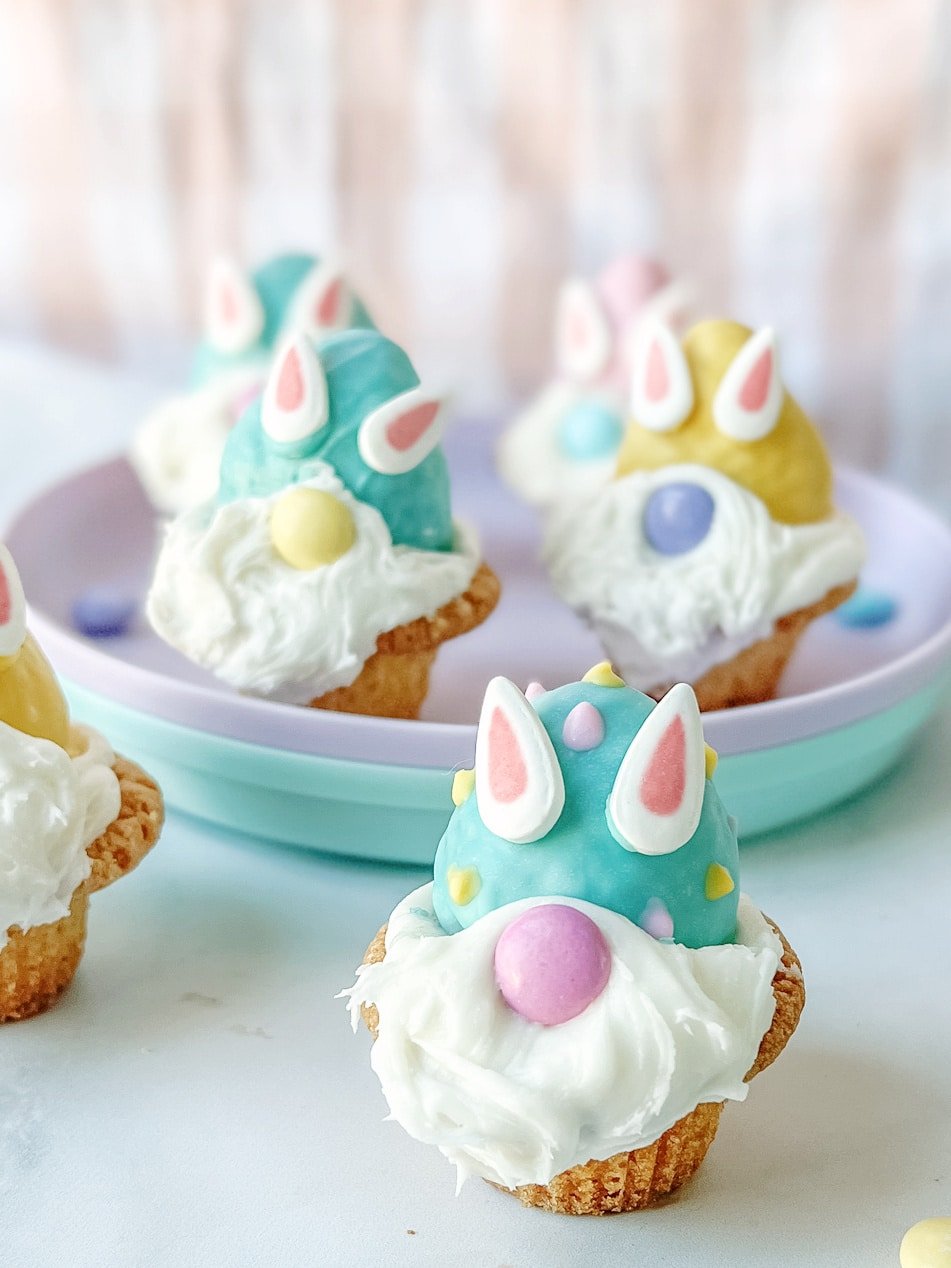
Who knew cookie gnomes would become one of our favorite simple desserts?
We have loved to make them for all the holidays since our very first Santa gnome cookie recipe. But if you’re looking for more Easter recipes, you’ll want to add these cute Easter dirt pudding cups to the menu as well.
Easter Gnome Cookie Shopping List
Quick and easy cookie cups are as fun to make as they are to eat. Let your kids help you with these and make a day of it!
The best part about our little Easter bunny gnome cookies is the strawberry hat and of course the candy ears.
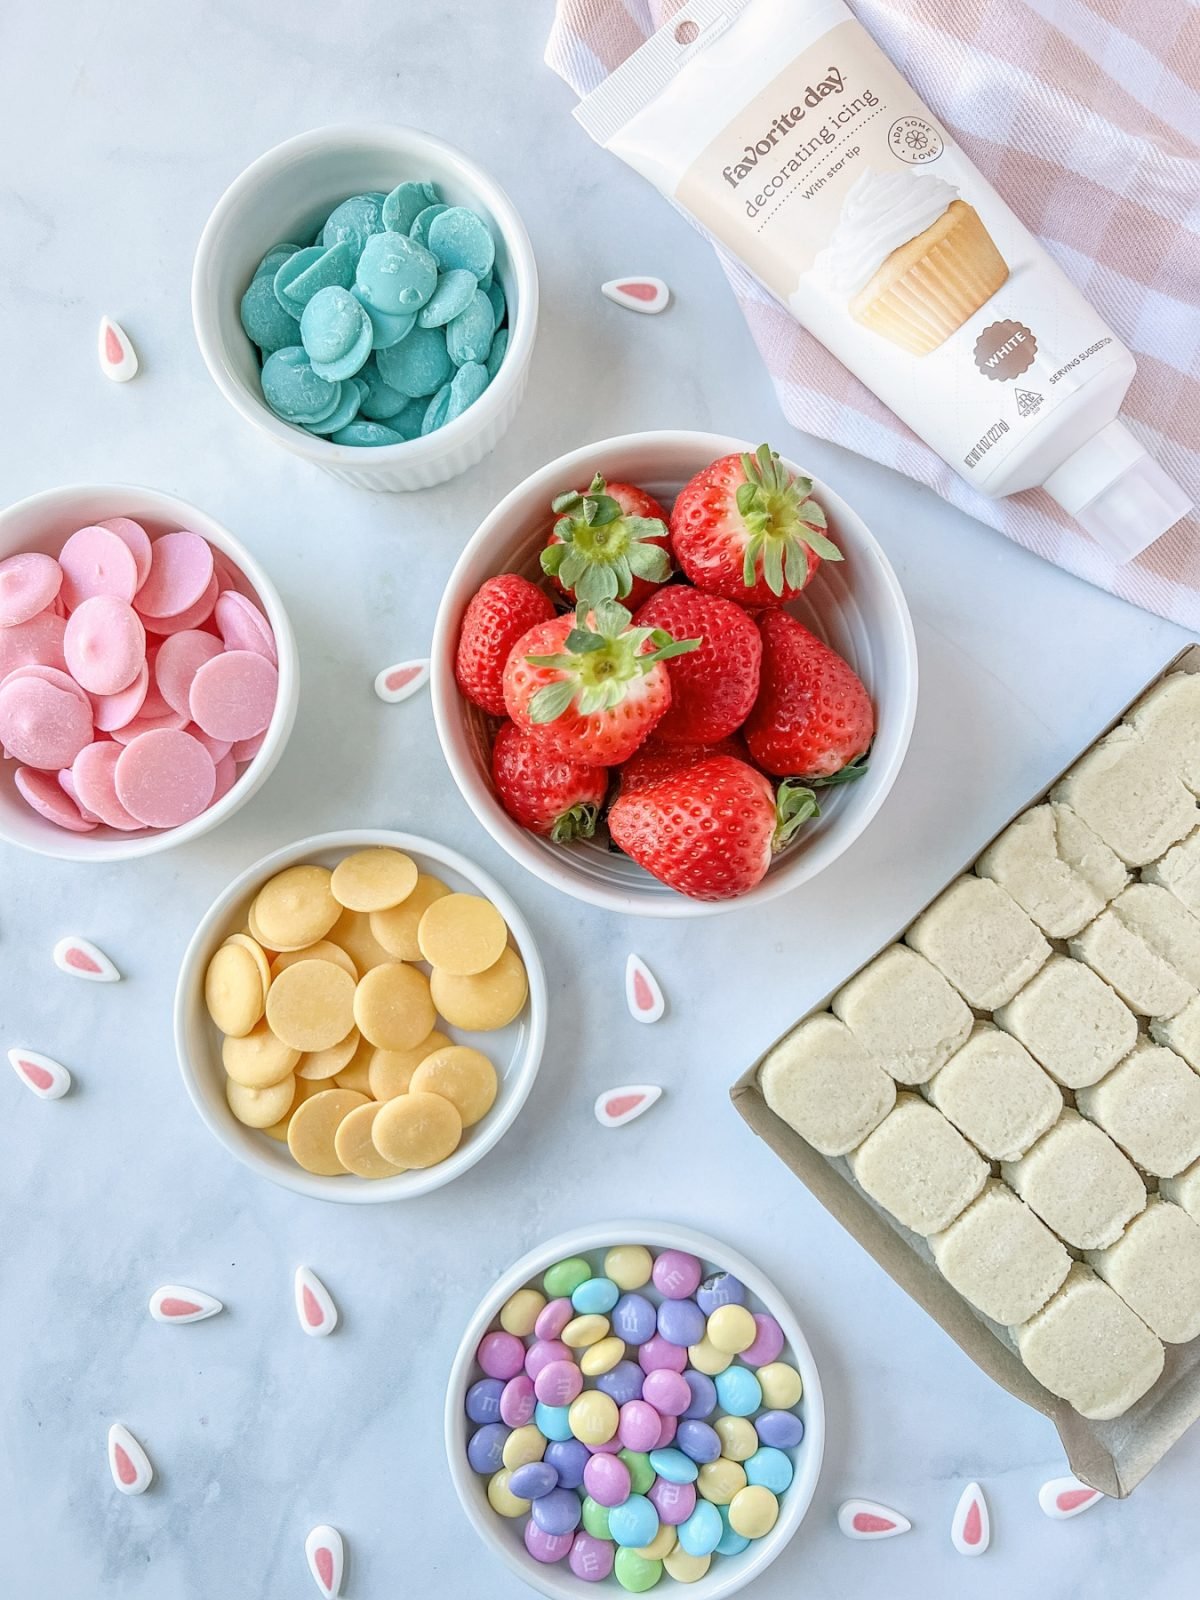
Here’s what to Buy
• Refrigerated sugar cookie dough (Pillsbury break apart cookies are my favorite)
• White Frosting
• Candy Bunny Ears (these are the ones I used. I found them at my local Walmart)
• Fresh Strawberries
• Pastel candies (use whatever you can find – I chose M&Ms)
• Mini cupcake liners
• Pink, blue, and yellow melting chocolate
Use a Mini Muffin Pan to Bake Cookies
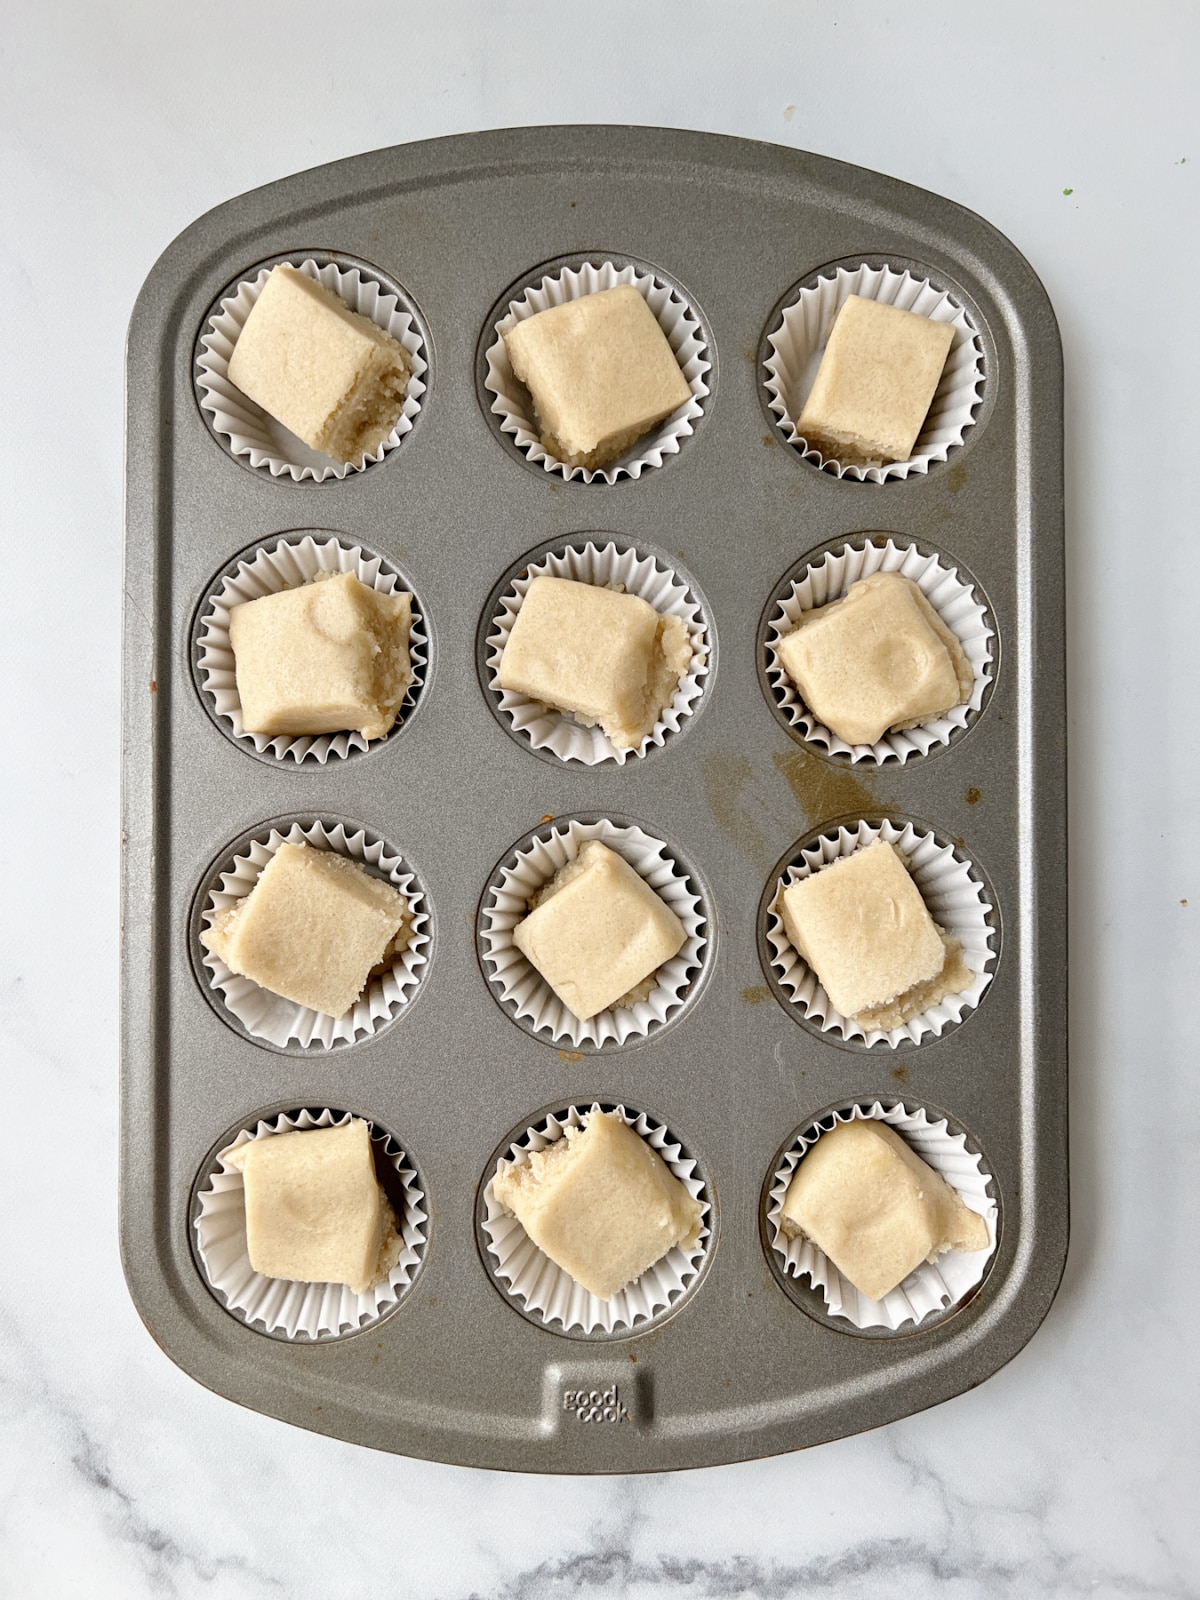
Preheat your oven to 350°F and line mini muffin cups with cupcake liners. The liners will be removed later so it’s fine if they aren’t Easter themed.
If you would rather coat the pan with cooking oil spray you can, but some people have had trouble with that method. It’s important to be sure the pan is very very well coated because these cookies like to stick.
Place one cookie into each muffin cup. They can just be placed in the pan. No need to roll or flatten them out.
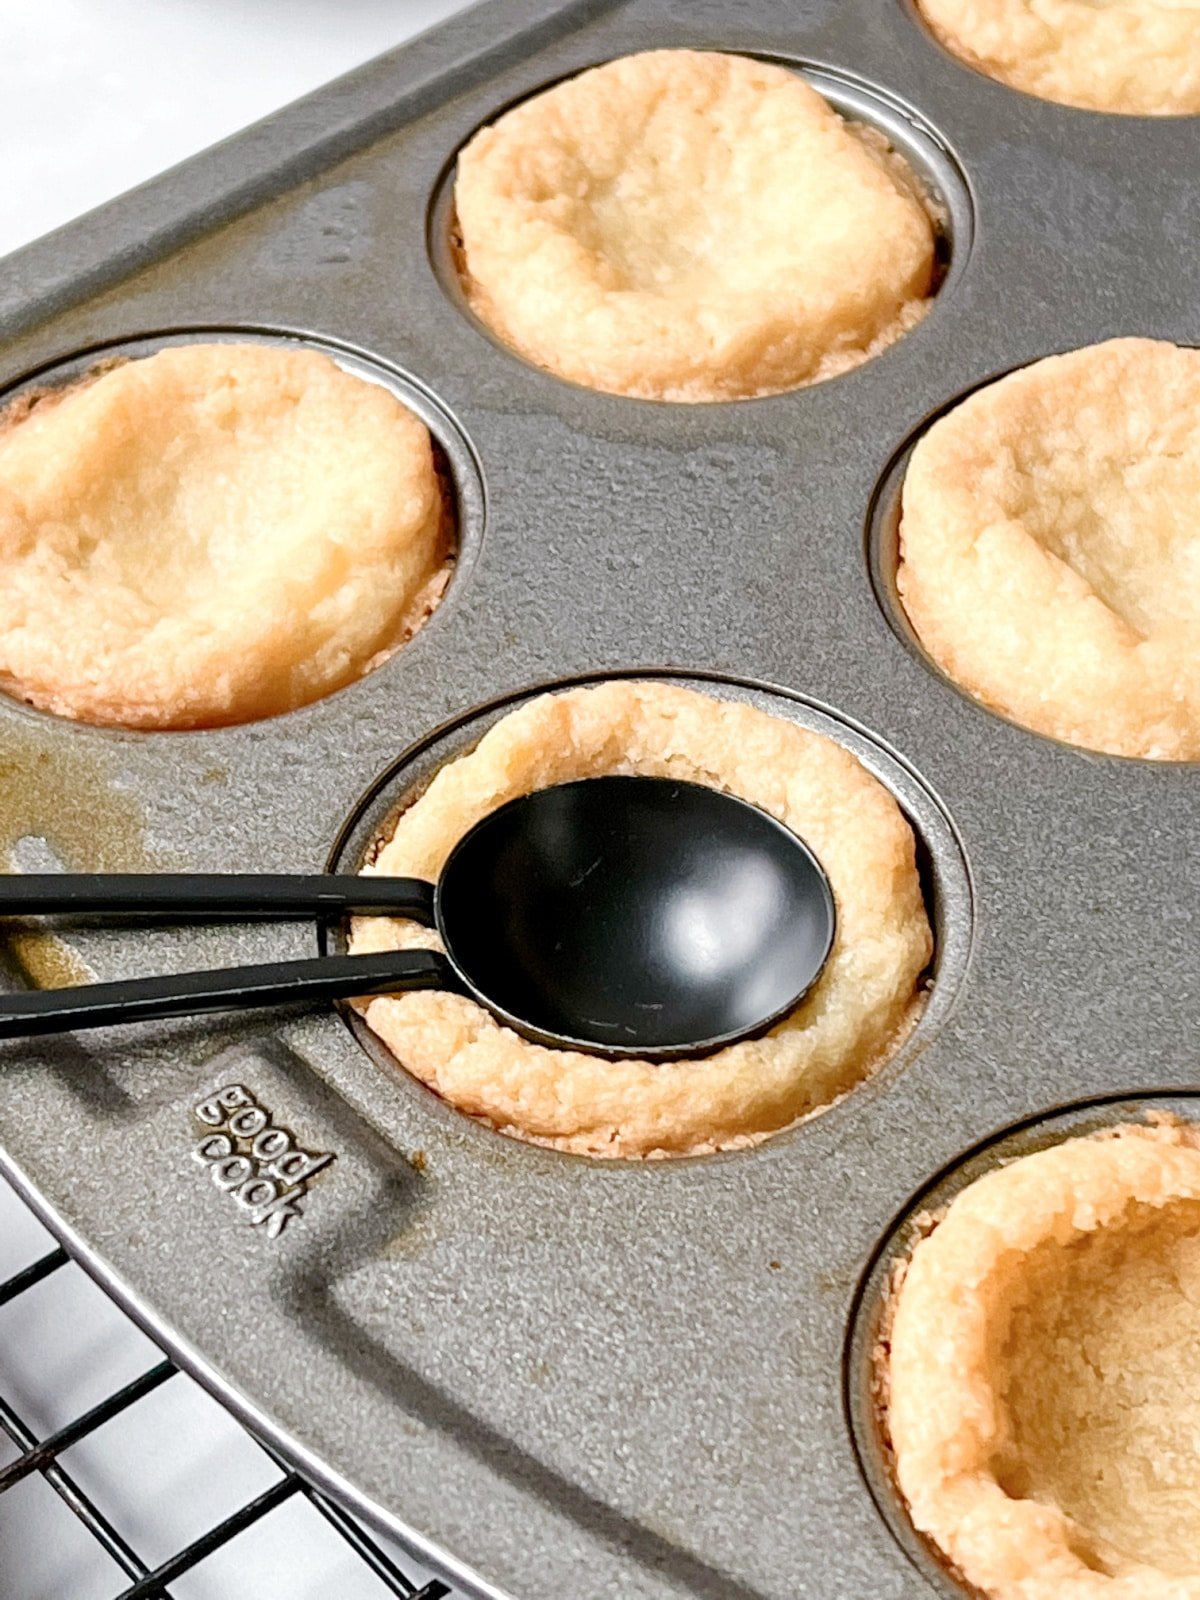
Bake cookies and place pan on a wire rack to cool.
While cookies are still warm, take a small scoop to gently press the tops into a cup shape. Then cool completely before removing from the pan.
Dip Strawberries in Pastel Chocolate
While the cookies are in the oven, wash and dry strawberries and slice off the tops so you have a straight edge on the large side of your strawberry.
Add the first color of your melting chocolate to a bowl and microwave with a little bit of Crisco. You will melt in 30 second intervals, stirring between each interval until smooth.
Then, dip the strawberries completely and gently lift with a fork to remove.
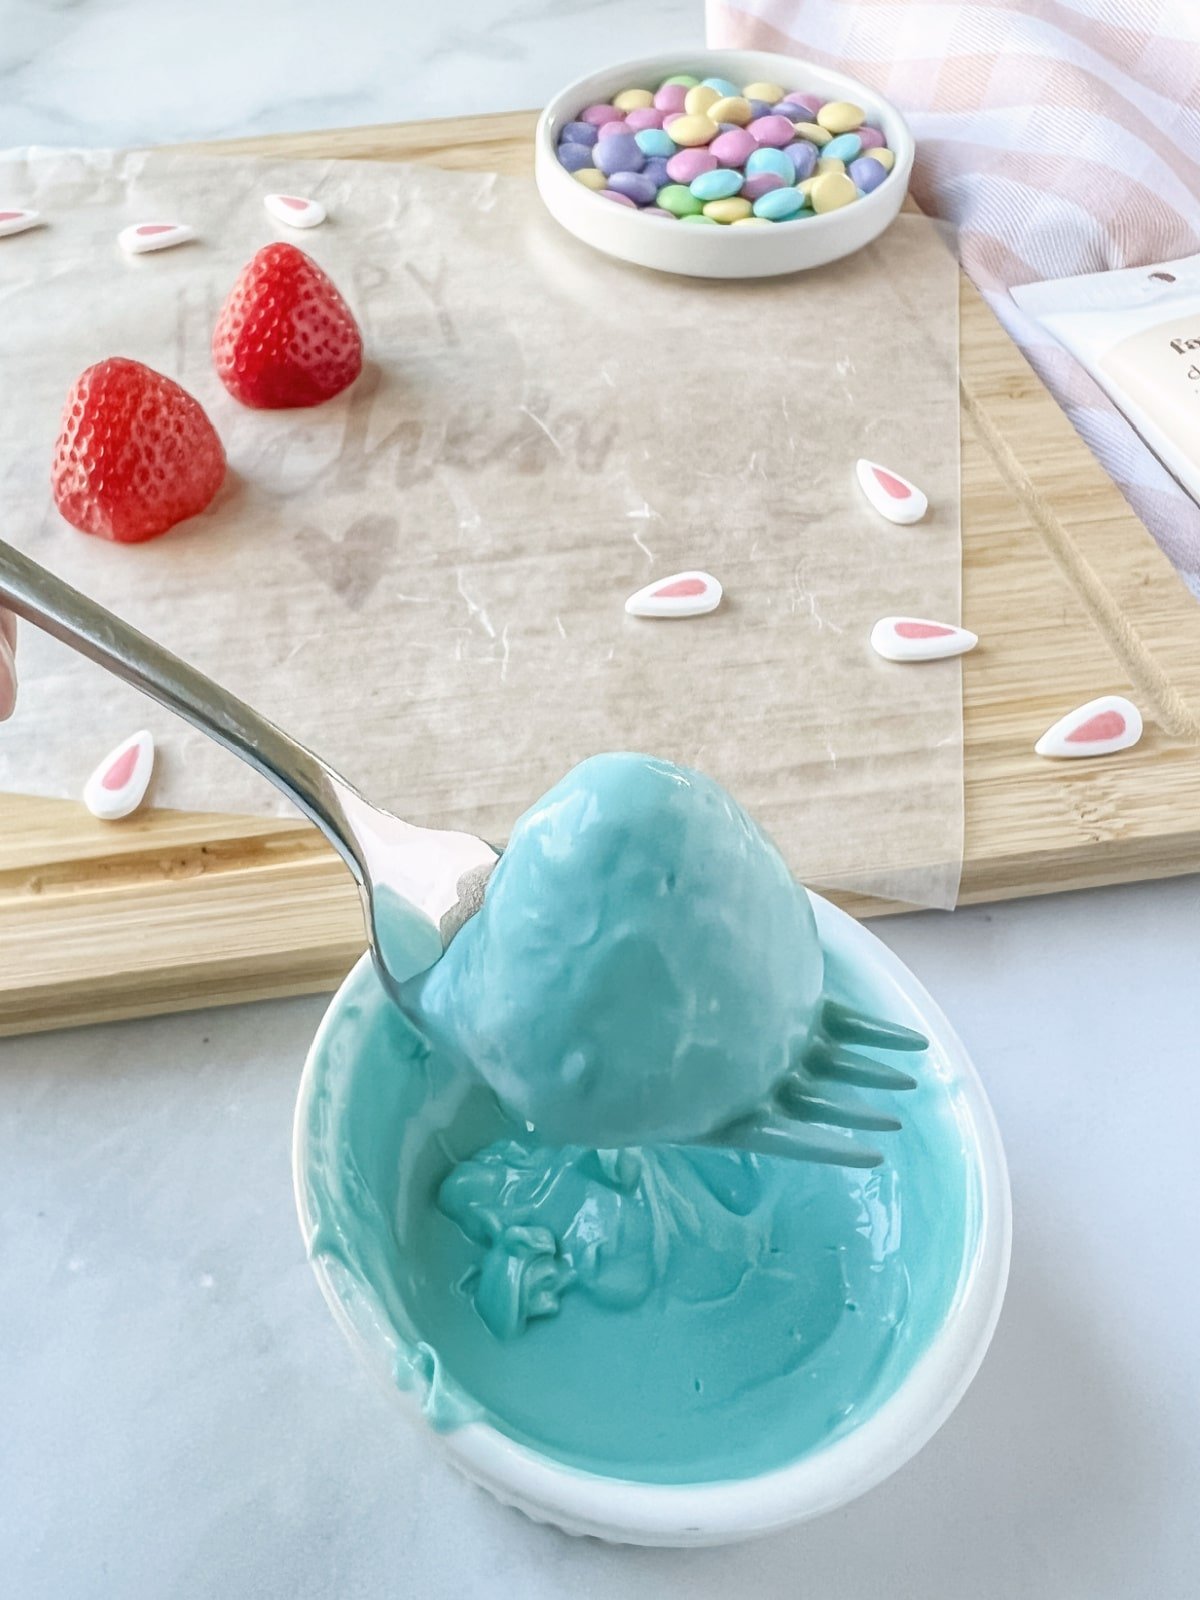
Allow excess chocolate to drip back into the bowl and transfer strawberry to a wax paper lined platter to dry.
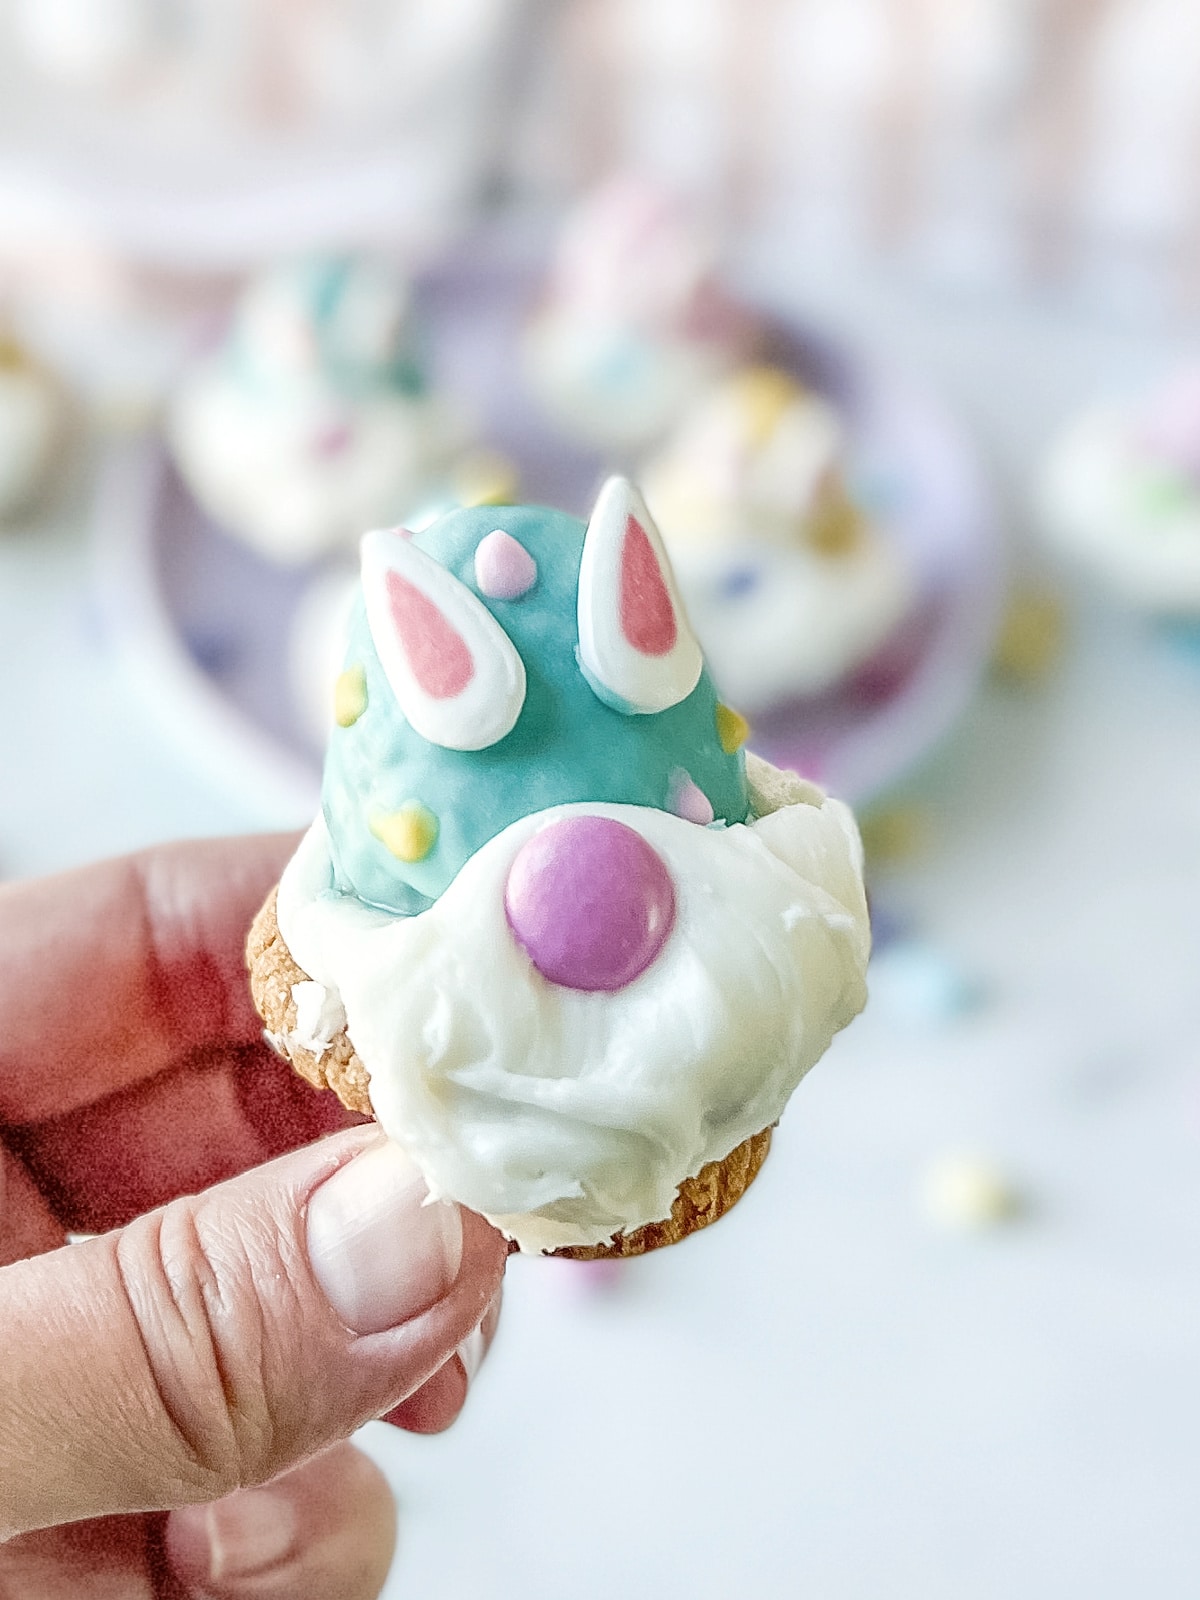
Add the bunny ears to the front of each dipped strawberry before the chocolate hardens completely. Take your time with this because it can get a little tricky.
Note: I’ve found that you want the chocolate to dry a little but not all the way for best results. If you have some decorating tweezers, it will be even easier to place the ears but not necessary.
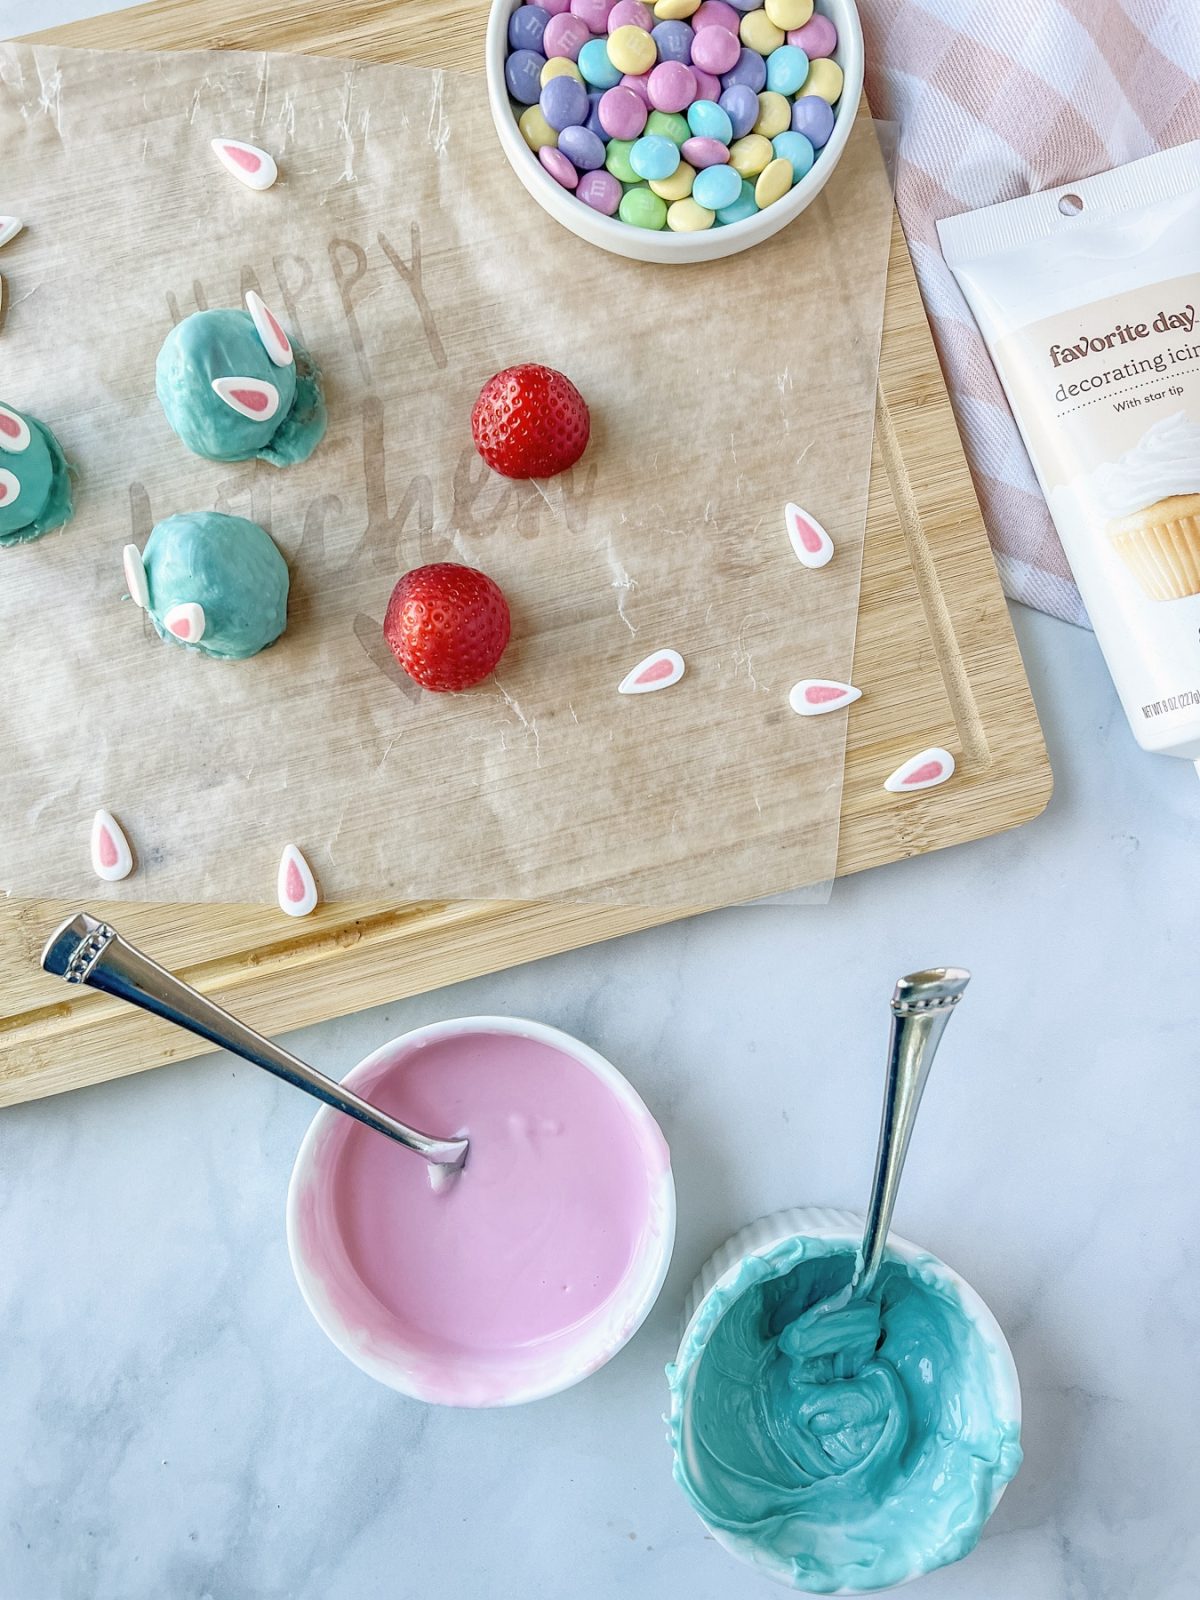
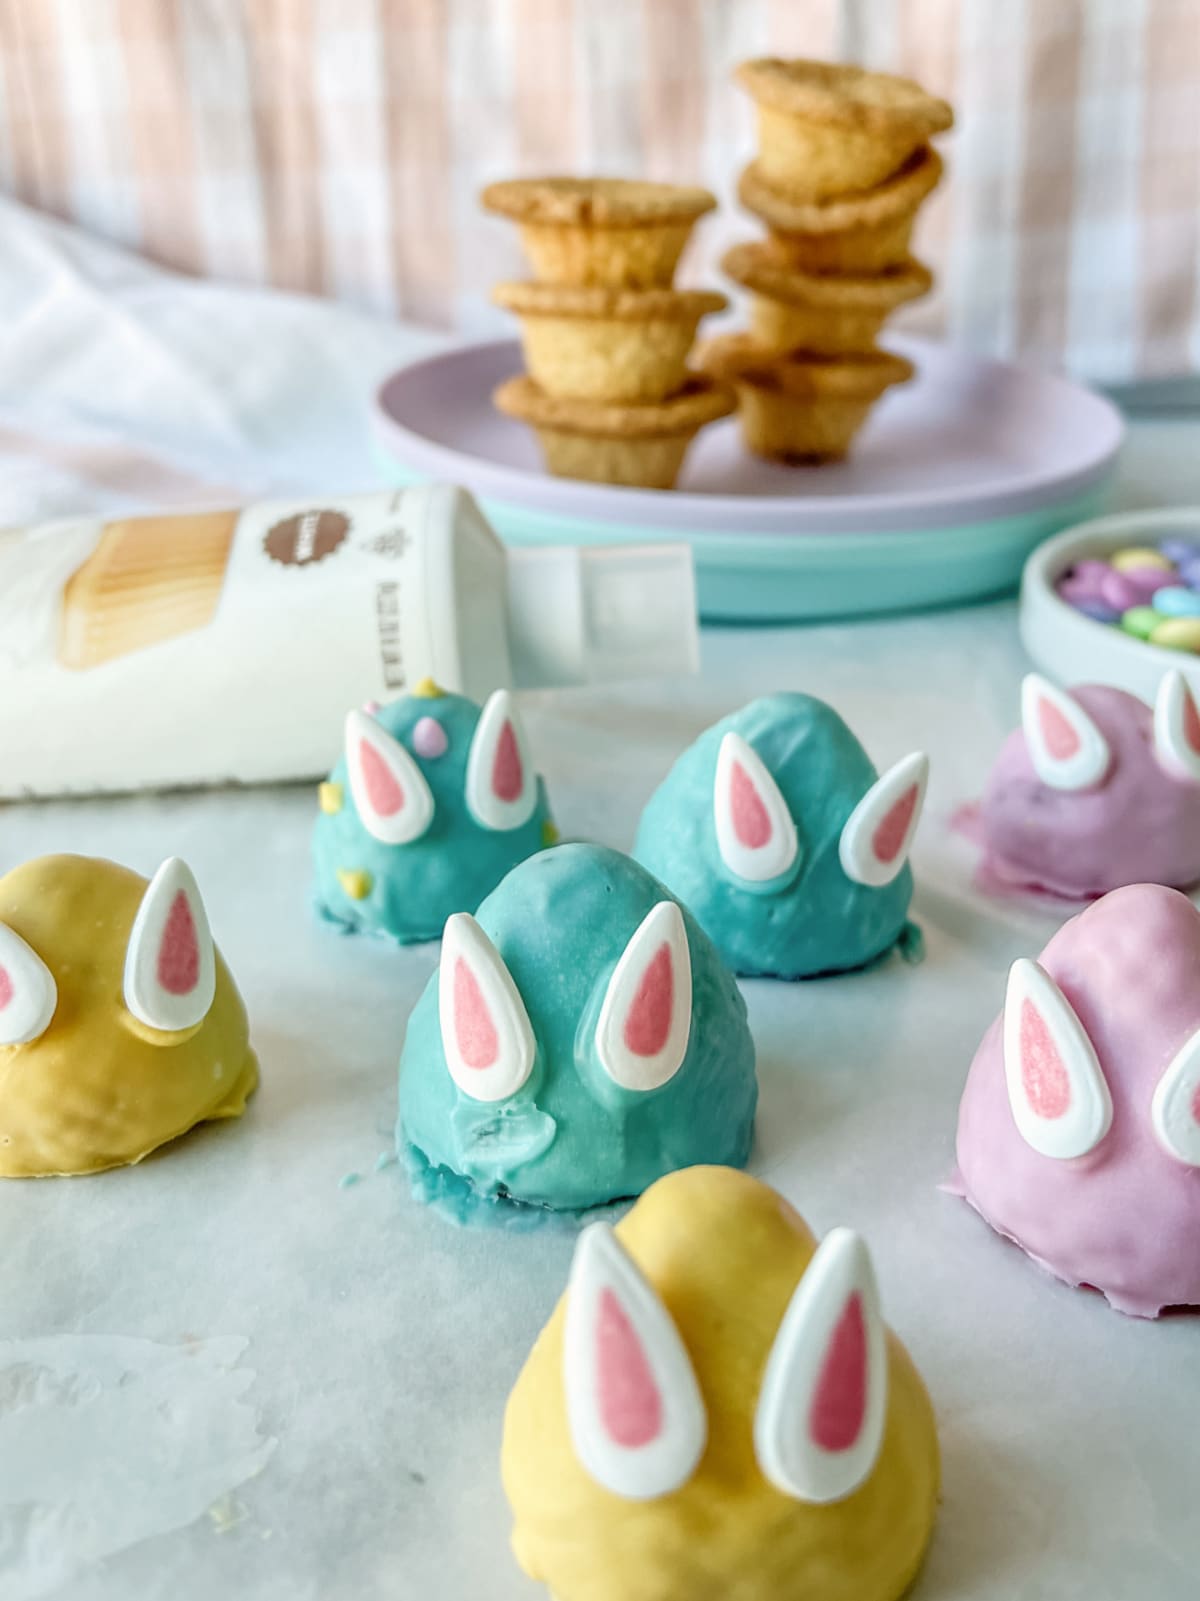
Repeat with each color and allow strawberries to dry completely.
If you want to add dot’s or stripes to the gnome hats, allow the first color to harden before adding more chocolate.
Add Frosting to Cookie Cups
If you used cupcake liners, you can peel them off after removing the cookies from the pan.
Then take your tube or piping bag of white frosting and add a generous amount of frosting onto each cookie cup.
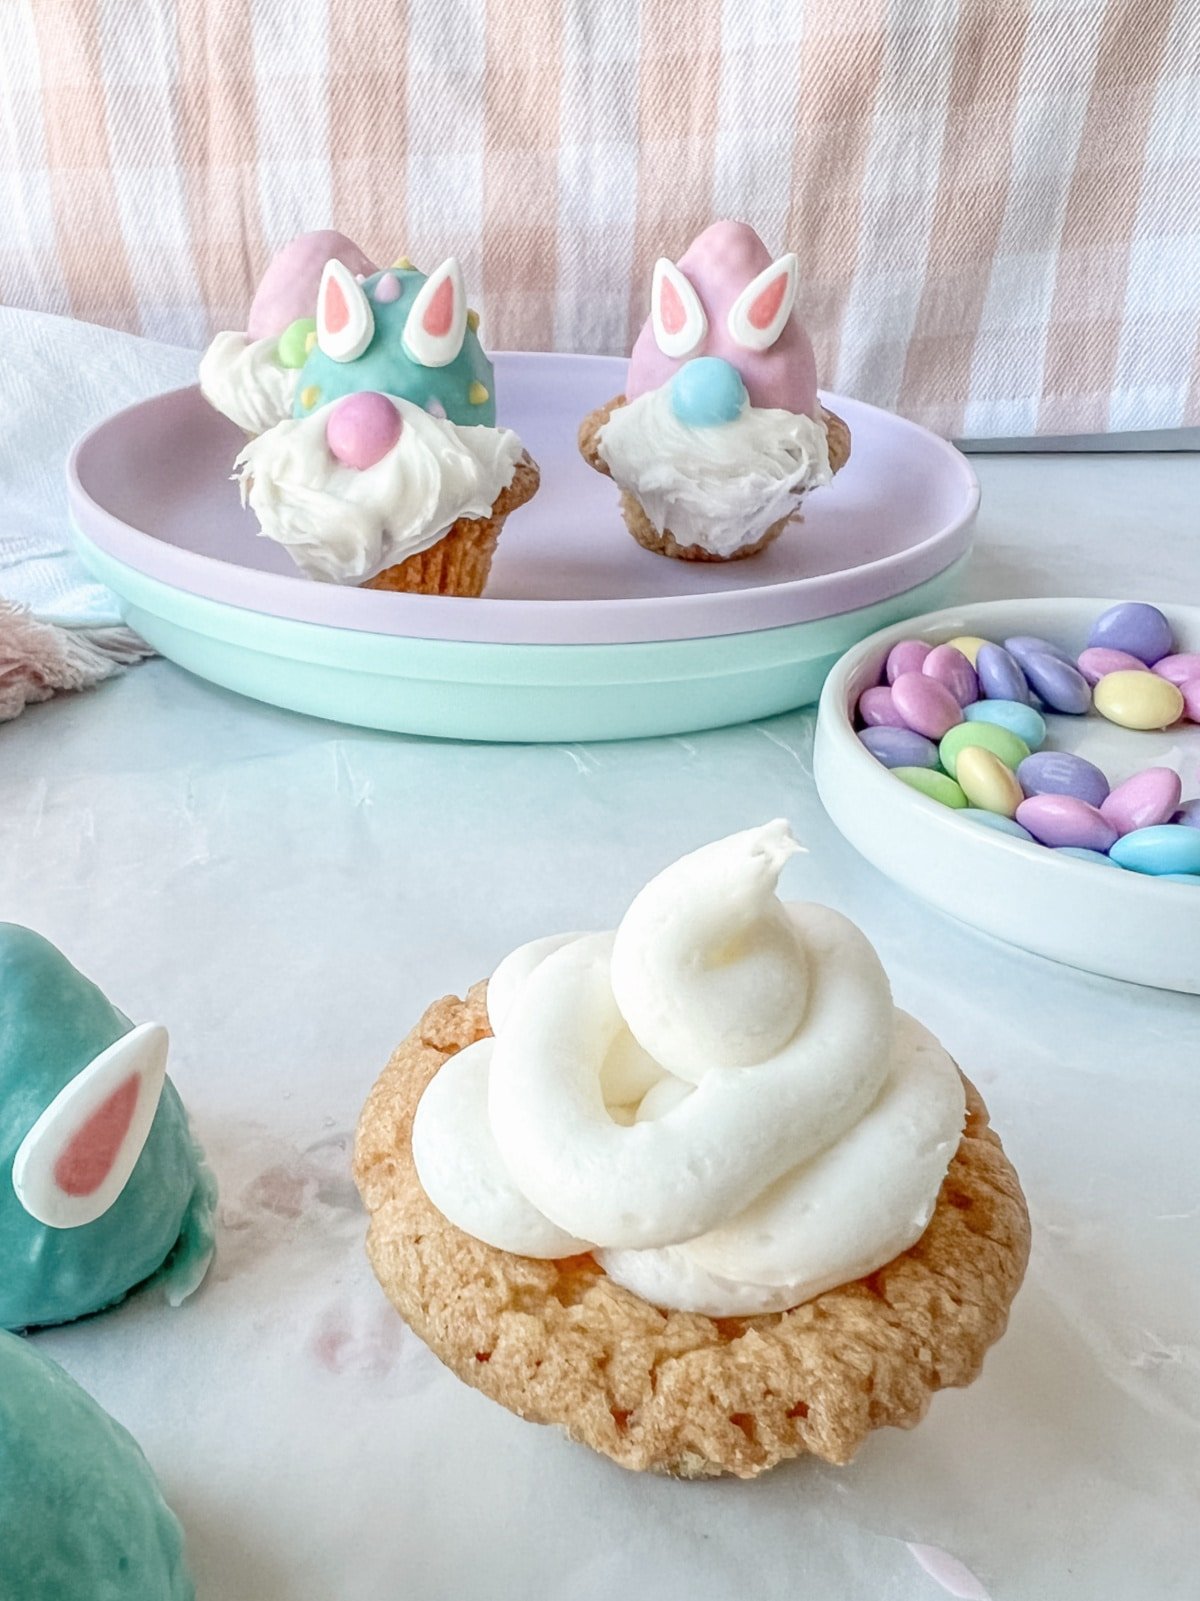
Gently push a strawberry on top of the icing and add a pastel candy nose just in front of the strawberry. I used alternating colors to give my little bunnies some personality.
Take a toothpick and spread some of the icing downward to create the gnome’s beard and you’re ready to enjoy!
Tips and Tricks
If you are bringing these to a party or celebration, I recommend adding the strawberries at the last minute. The sugar in the icing loves to bring out the juices in the strawberries and they can discolor the white icing.
Refrigerate any leftovers and enjoy for up to 3 days. I just put them on a plate on the top shelf because they don’t last long in my house. Feel free to cover them if you like.
Print the Recipe
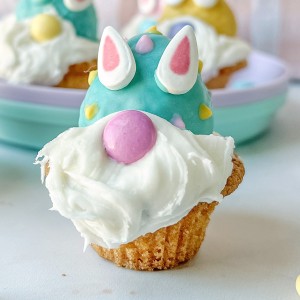
Make these adorable Easter gnome cookies for the sweetest bunny treat! For more holiday fun, check out our Valentine’s Day Gnome Cookies and our Leprechaun Gnomes!
Easter Bunny Gnome Cookies
Ingredients
- 1/2 pkg Refrigerated Sugar Cookie Dough, I used Pillsbury break apart
- 16 oz Vanilla Frosting, About one can or tube
- 12 Strawberries
- 12 pastel candies
- 1 cup Pink, Blue, Yellow candy melts
- 24 pieces Bunny Ear candies , Wilton
Instructions
Cookie Cups
- Preheat oven to 350°F and spray a mini muffin pan generously with cooking oil spray. You can also use mini cupcake liners if you have them (preferred method).
- Place one cookie piece into each muffin cup. You don't need to flatten or roll them.
- Bake cookies for 20 minutes and place pan on a wire rack to cool.
- While the cookies are still warm, take a small scoop to gently press the cookies into a cup shape.
- Cool completely before removing from the pan.
Decorate the Gnomes
- Wash and dry strawberries and slice off the tops of strawberries so you have a straight edge on the large side of your strawberry.
- Add pastel melting chocolate to a bowl and microwave with a little bit of Crisco until smooth. Heat in 30 second intervals, stirring between each interval until smooth.
- Push a fork into the large side of a strawberry, then turn it over and dip into the melted chocolate.
- Allow excess to drip back into the bowl and transfer strawberry to a wax paper lined platter to dry. To do this, gently slide the large side of the strawberry off the fork and allow to dry so it looks like the hat is right side up. Repeat for each strawberry.
- Before the chocolate sets completely, add the bunny ears.
- Repeat with the other colors.
- Pipe the white frosting onto your cooled cookie cups.
- Then push a strawberry on top of the icing and add a candy nose just under the strawberry. I used pastel M&Ms and alternated the colors with the dipped strawberry colors.
- Take a toothpick to spread some of the icing down to create the lucky leprechaun beard.
- Enjoy!
Notes
Nutrition
Nutrition information is automatically calculated, so should only be used as an approximation.

