Chocolate Covered Wafers for Wordle Fanatics!
on Feb 07, 2022, Updated Feb 09, 2024
This post may contain affiliate links. Please read our disclosure policy.
Take delicious chocolate covered sugar wafers and add some candy letters to make an edible word puzzle fit for any Wordle fan in your life!
This simple snack is easy to make and tastes great. But the fun really lies in creating a truly edible Wordle board!
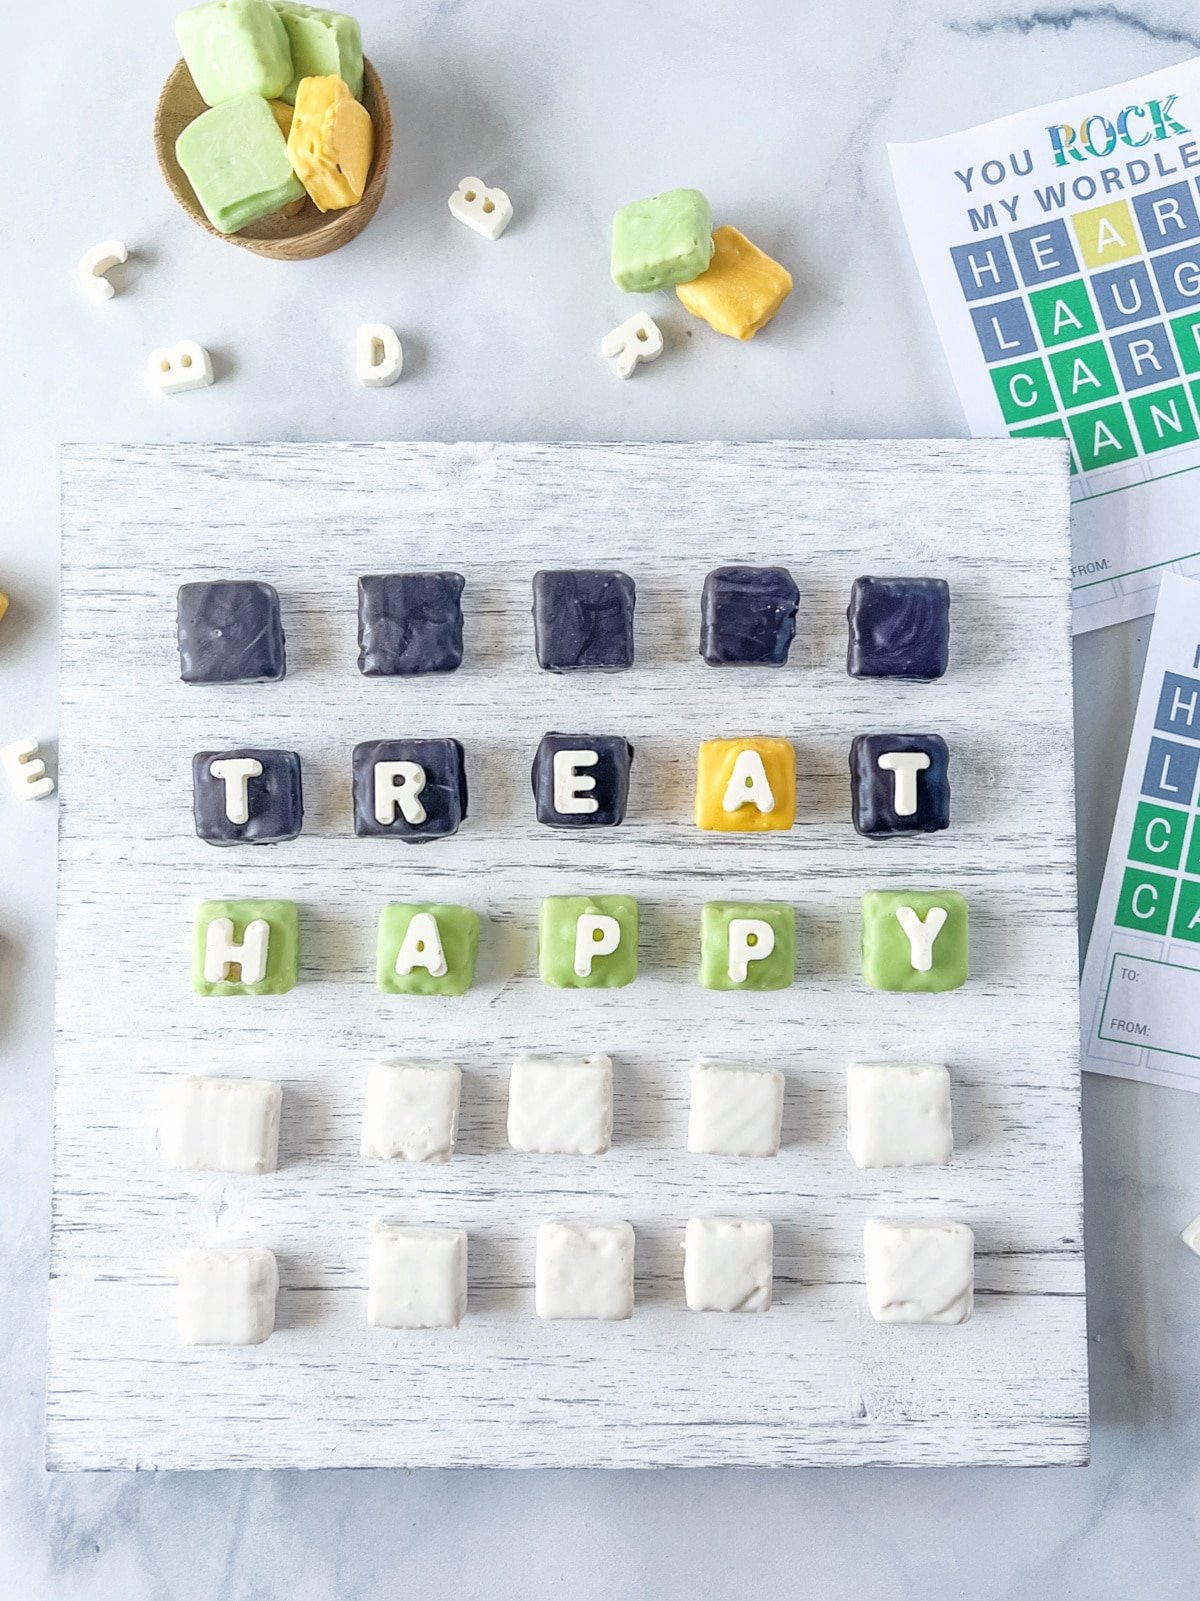
If you love the online word game, make these dipped wafers and see how many 5-letter words you can come up with to say yummy!
Add our free Wordle Valentine to a bag of these treats for a truly adorable gift.
Supplies/Shopping List for Dipped Sugar Wafers
Vanilla sugar wafers were already one of my favorite cookies, but now that I’ve dipped them in chocolate, a whole new world has opened up.
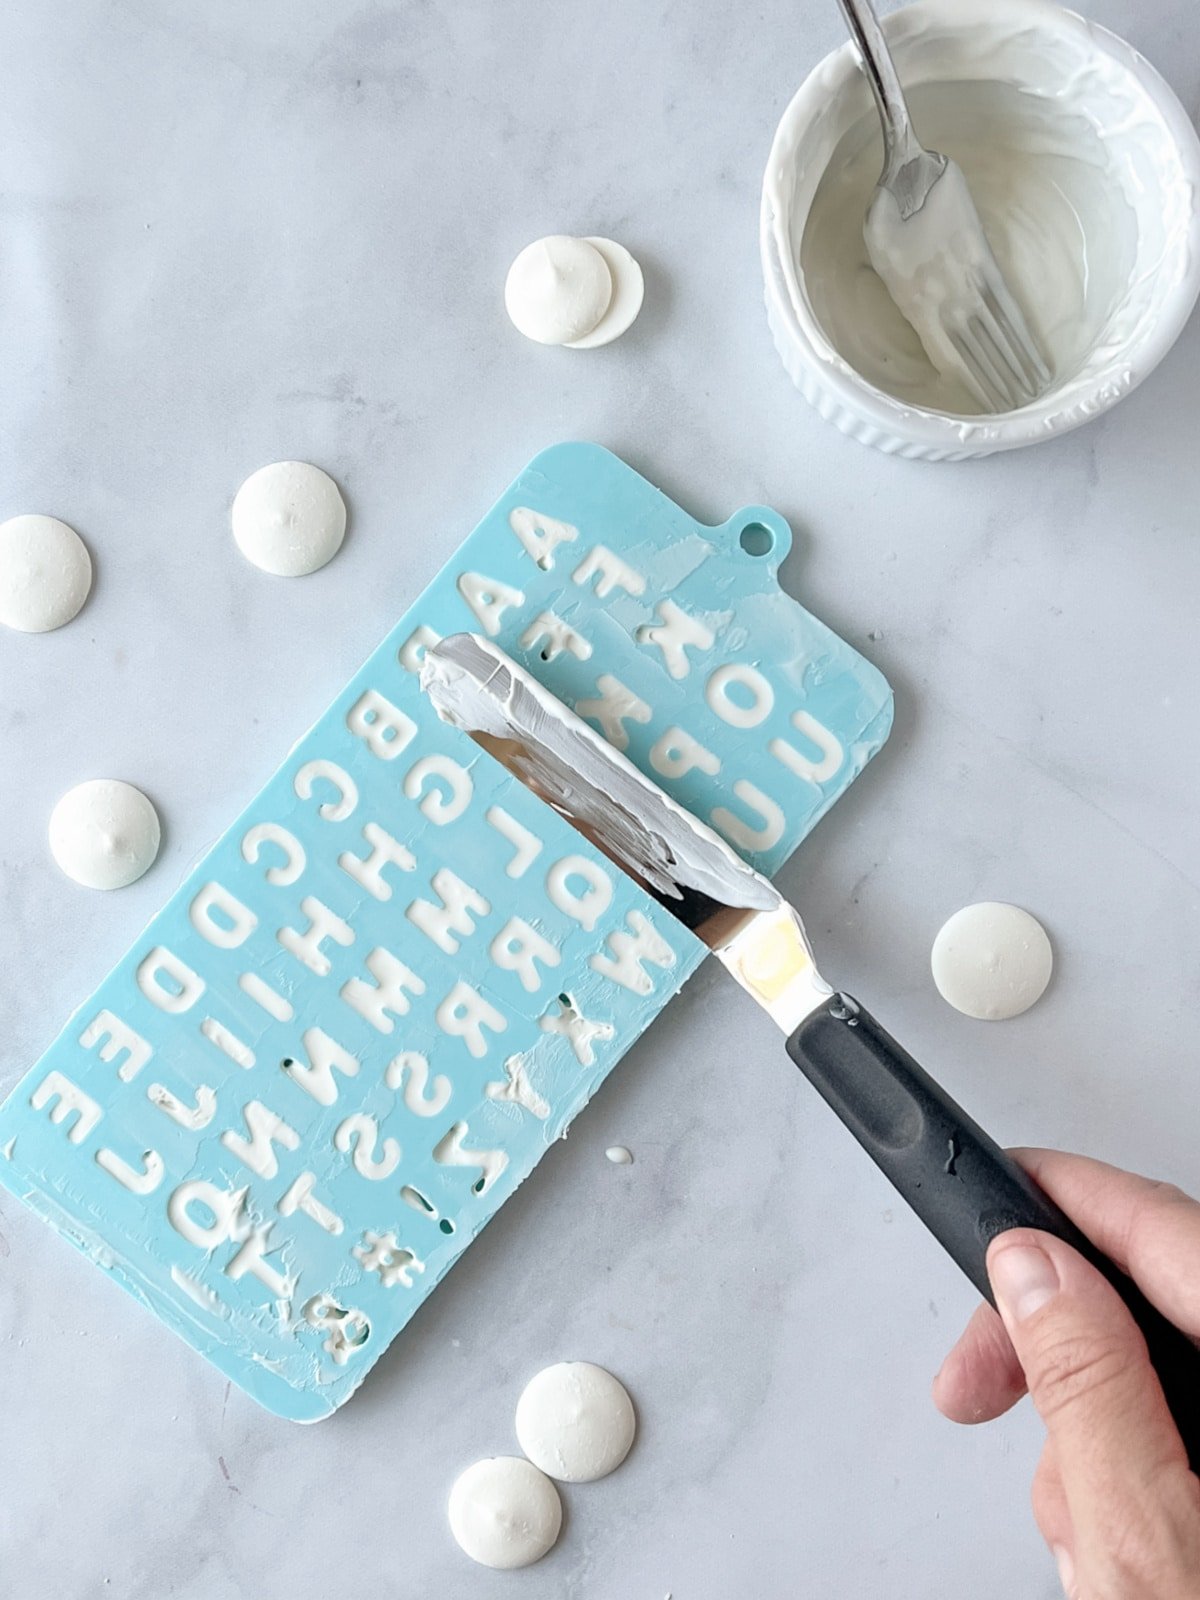
To create the Wordle letters, I found a great little silicone mold like this one with the letters of the alphabet. It makes the letters look so much nicer than if I tried to freehand.
Learn more about using chocolate in silicone molds here.
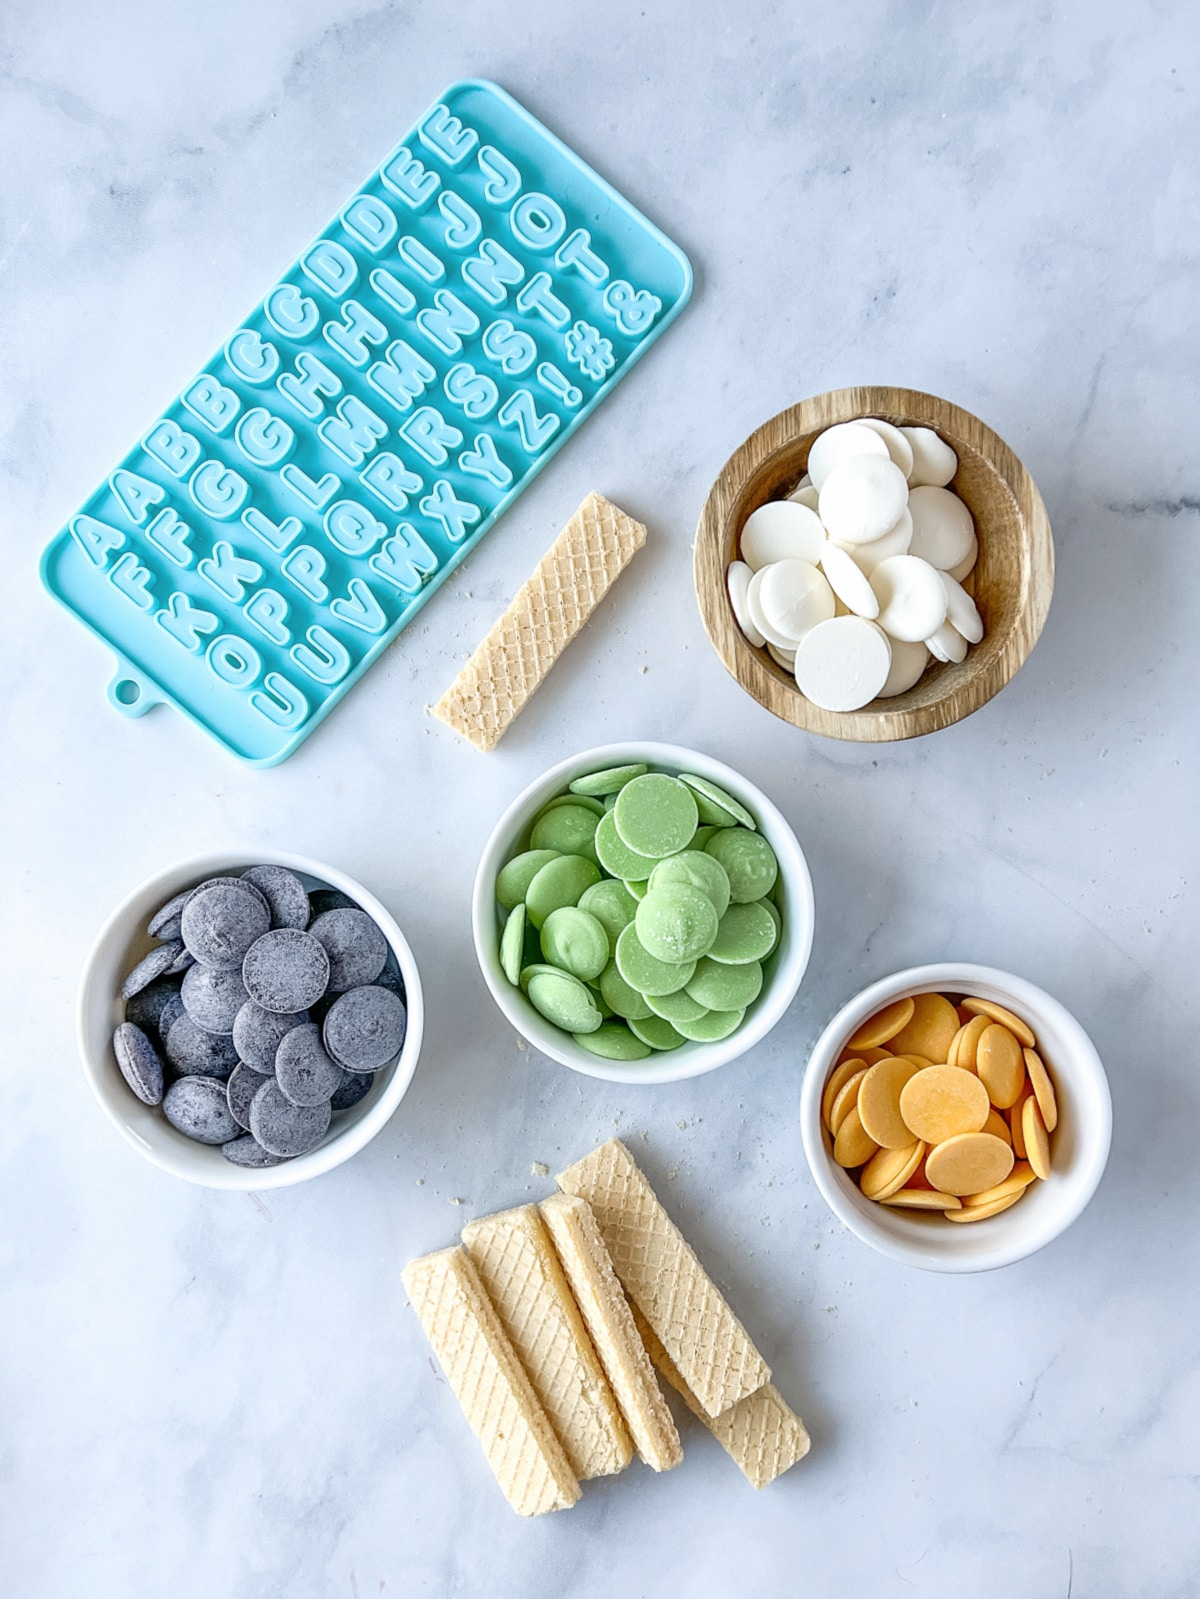
- Sugar wafers (Voortman vanilla sugar wafers are my favorite but any brand or flavor will work)
- Green melting chocolate
- Black melting chocolate
- Yellow melting chocolate
- White melting chocolate
- Crisco
- Wax paper
- Four small bowls
- Silicone letter mold (or piping bag to freehand)
Step by Step Instructions
If you plan to use the silicone letter mold, the first thing you’ll want to do is plan out the letters you will need and one which colors.
You may need to repeat the candy-making process a few times depending on how many words you will create.
In a small bowl, microwave white chocolate with about a teaspoon shortening in 30 second increments, stirring between each one. Melt until smooth.
Pour chocolate into letter mold and use an offset spatula or knife to scrape off excess.
Allow to set in the refrigerator or freezer and gently remove letters onto your work surface. Repeat as needed.
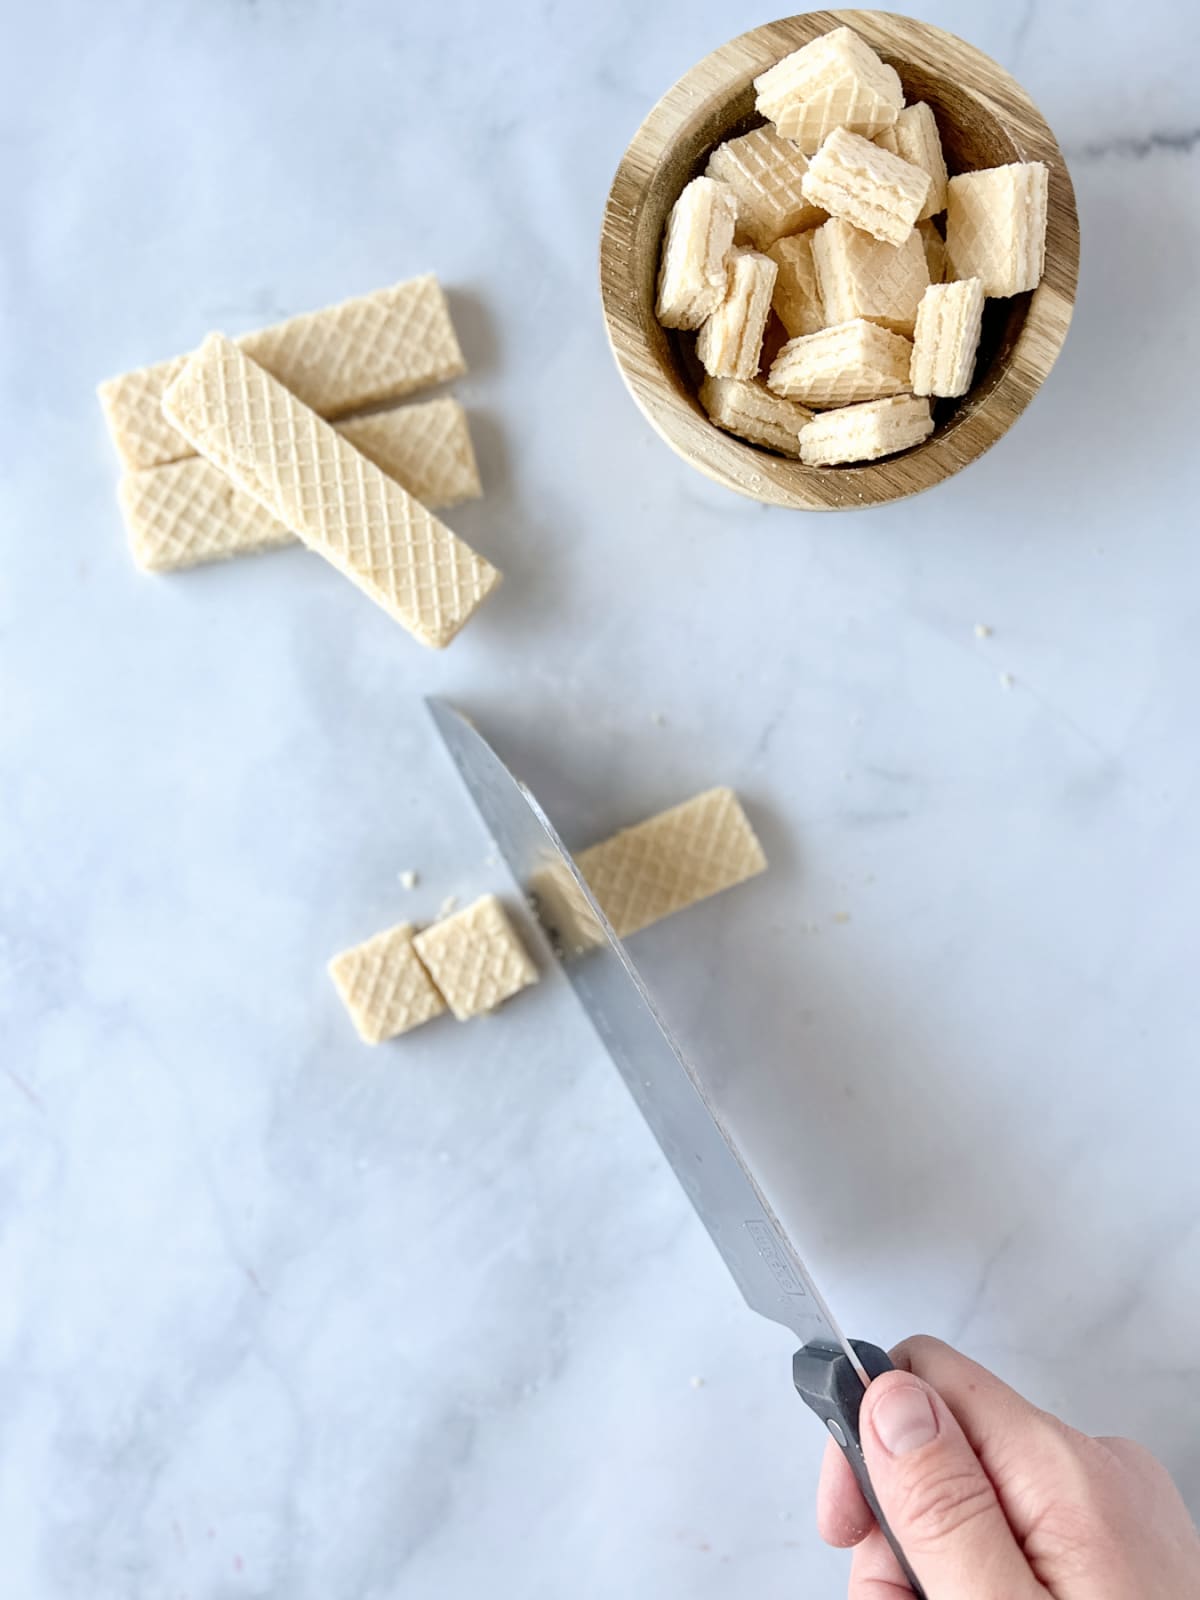
Starting with the wafers, carefully use a sharp knife to slice each wafer cookie into 4 equal pieces. These should be squares.
To make a true Wordle board, you will need six rows of five each, with a total of 30 pieces. This works out to 7.5 full wafers.
Now we can create our Wordle letters! If you are a fan of the game, you know that black squares mean wrong guess, green squares mean correct guess and placement and yellow squares mean correct guess, but incorrect placement.
I recommend planning your words in advance and making a list of which letters will be on each color. Then you can make your dipped wafer cookies.
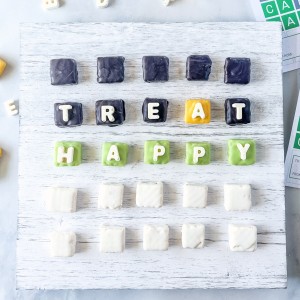
I chose the words treat and happy to give you an idea. You could also simply use the colors if you don’t want to create a solved puzzle.
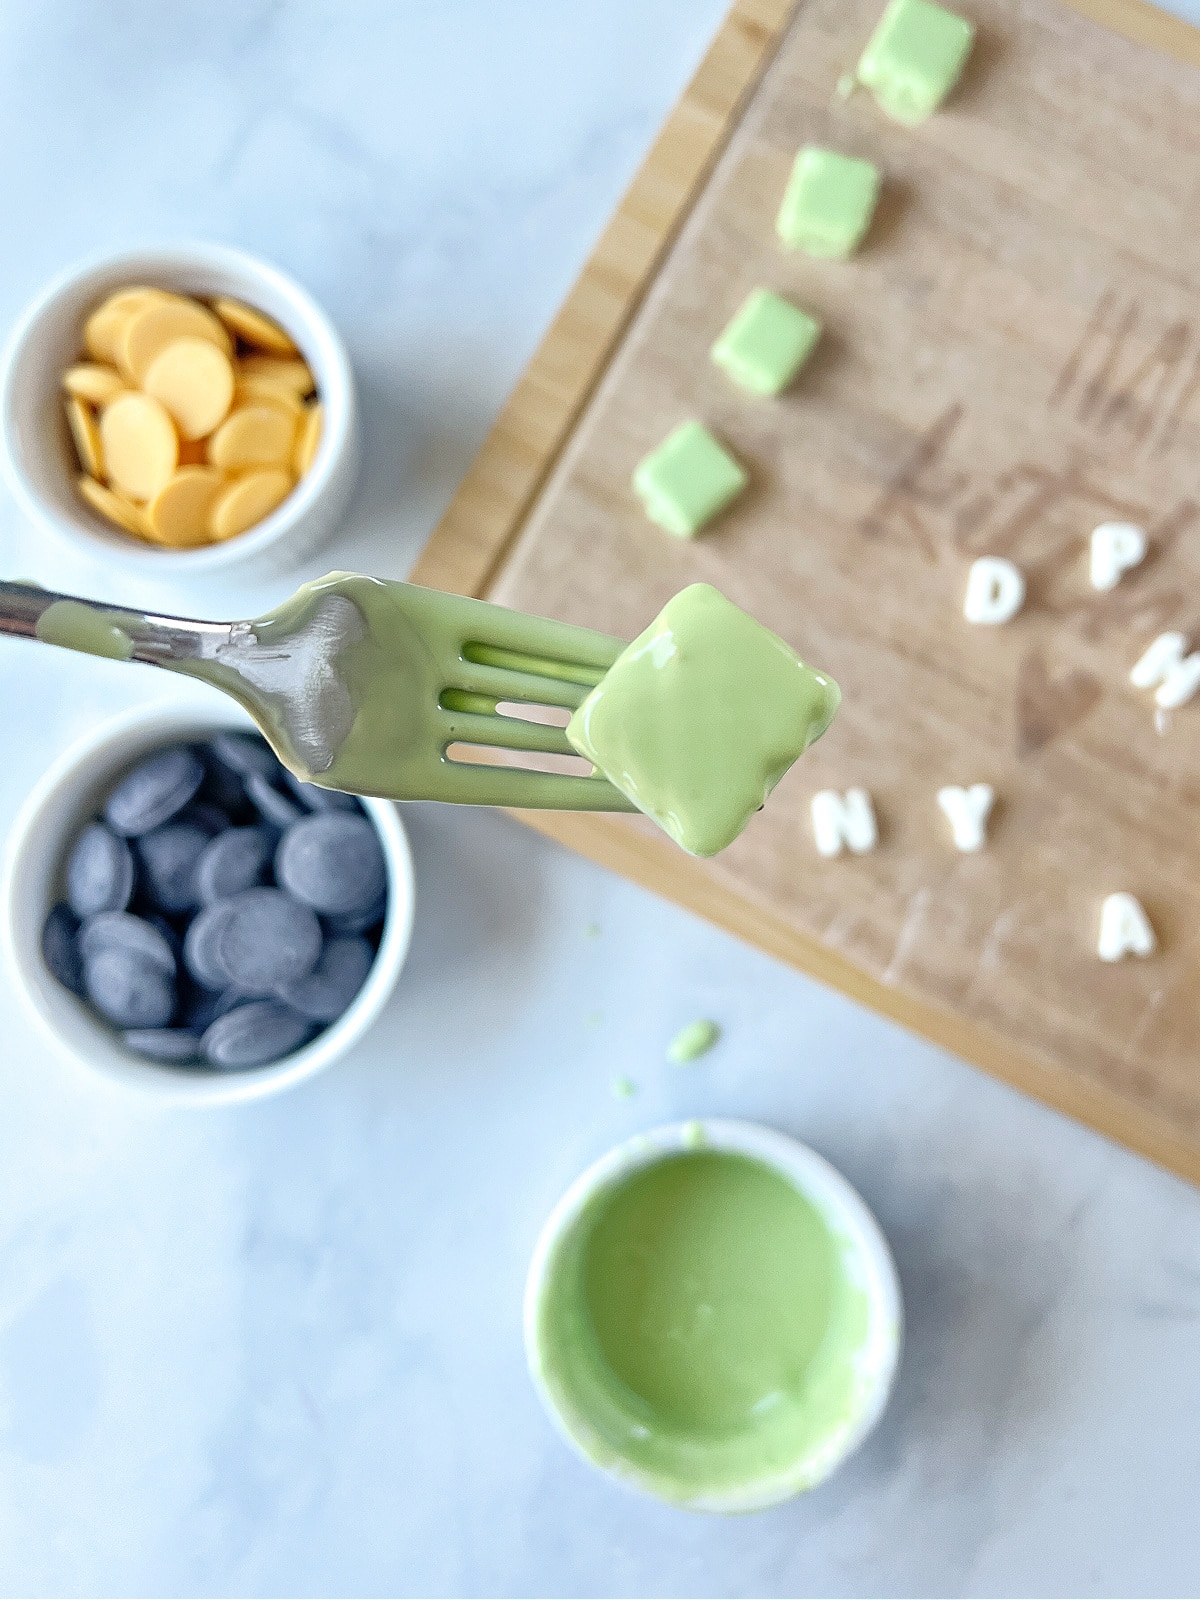
Working with one color at a time, melt chocolate and dip each square until fully covered. I dropped it into the bowl and flipped it over a couple times with a fork.
Then lift the wafer out of the bowl and gently tap the fork on the edge of the bowl to get rid of any bubbles and excess chocolate.
Place on wax paper and add a chocolate letter before the chocolate dries completely. Or simply let it set if you aren’t adding a letter.
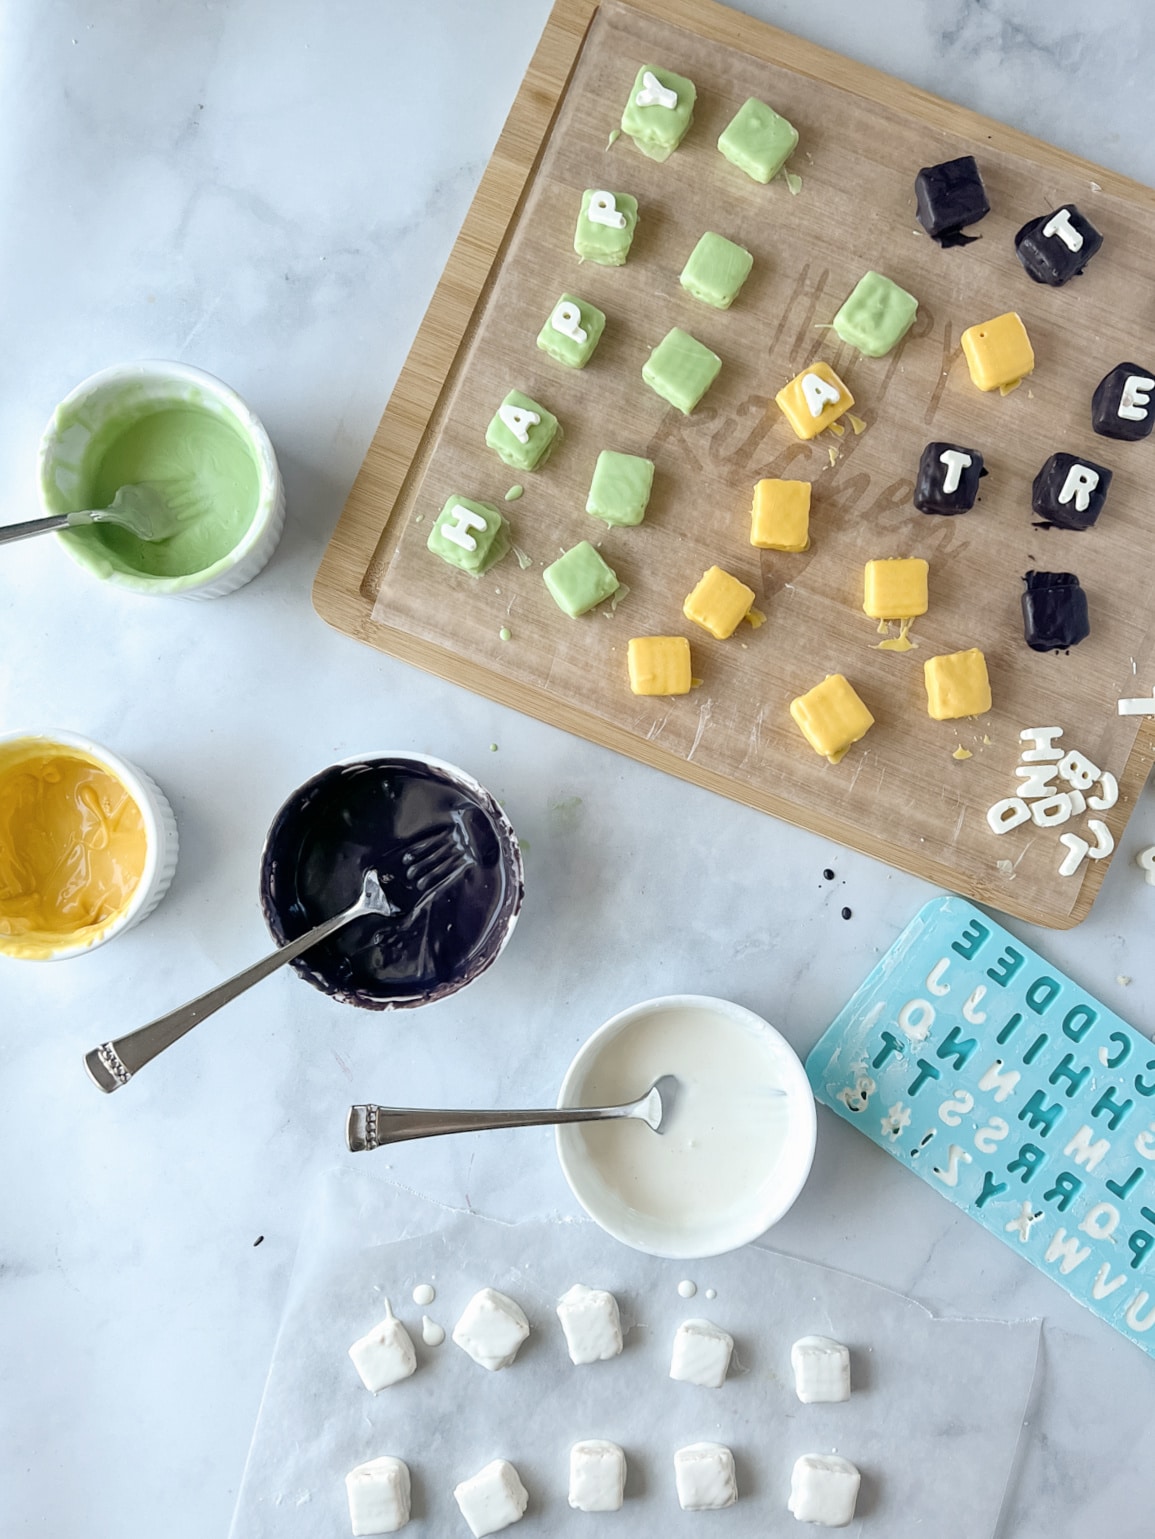
Once your squares are dry, you can arrange them on a large plate or serving platter to look like a Wordle puzzle.
With or without letters, my youngest was begging me to hurry up and take the photos so he could dig in. He loves them!
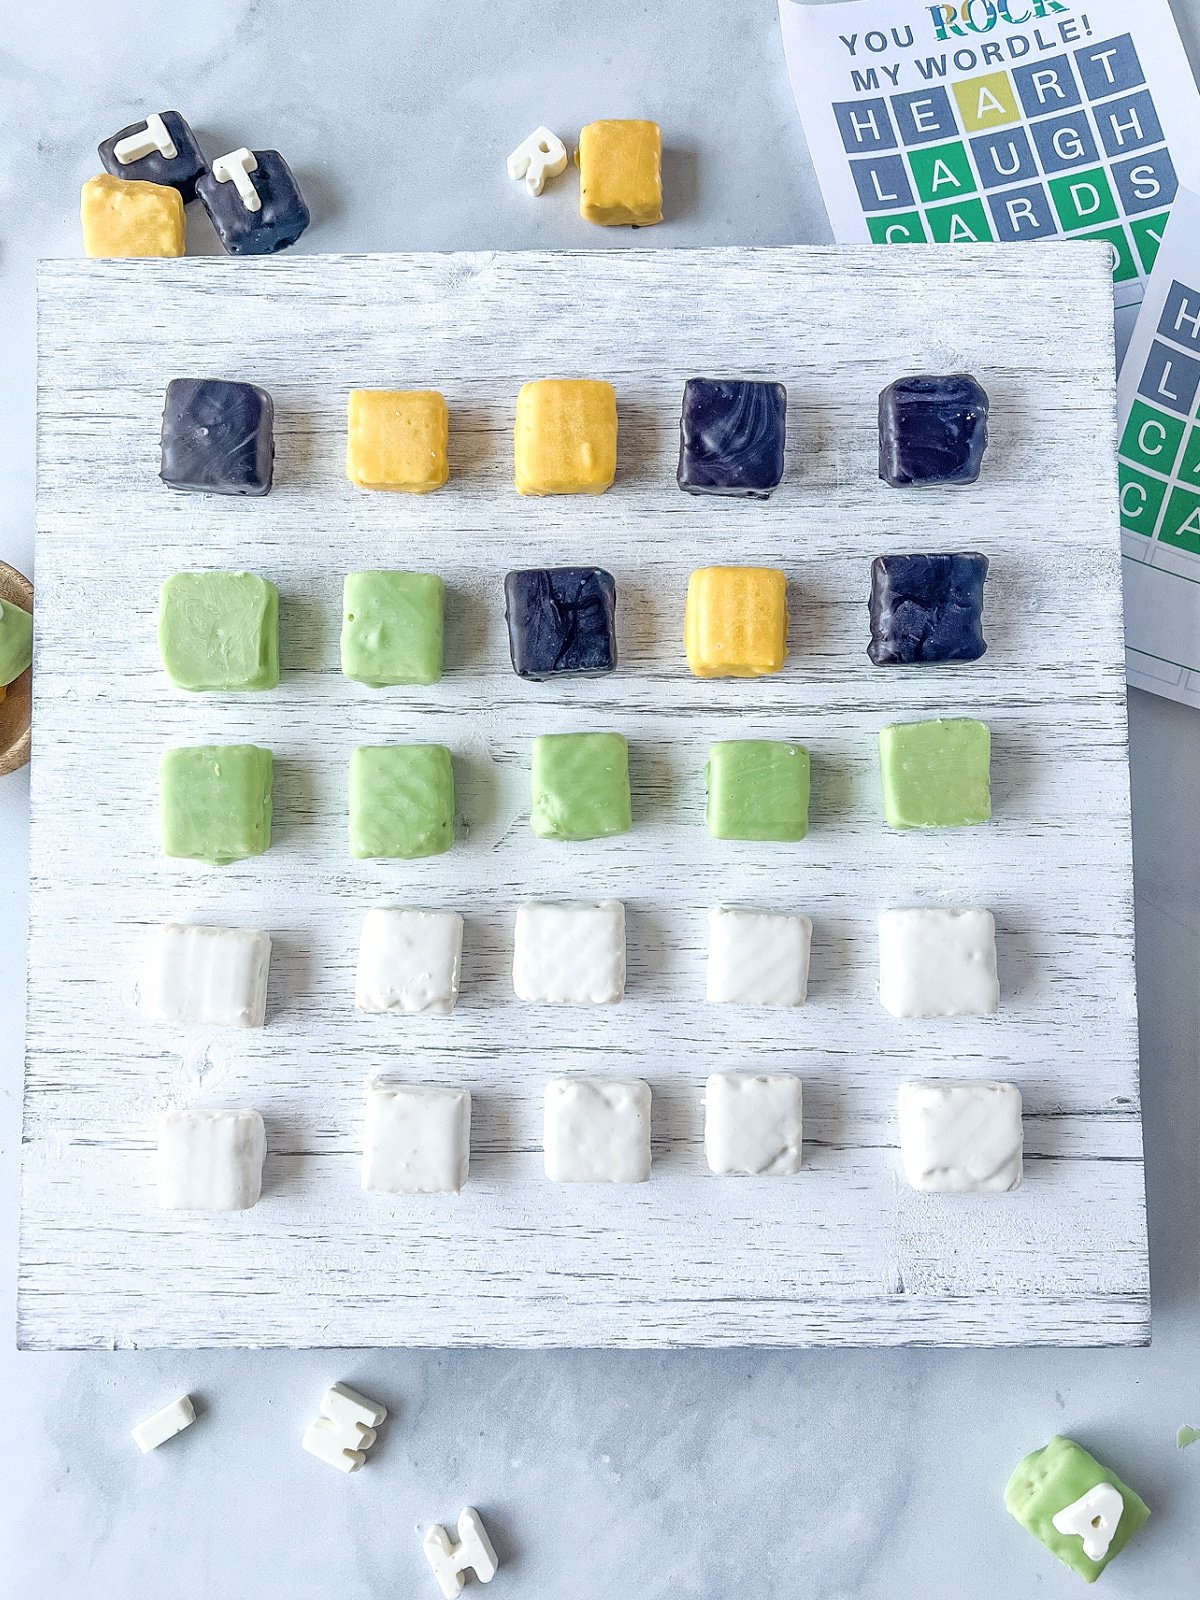
I’m a big fan of dipping things in chocolate. For another tasty idea, be sure to try these peanut butter chocolate crackers!
Print the Recipe
This is a great snack for after school or to give as a gift. Even if you aren’t a Wordle player, it’s fun for kids to make and see what words they can create. Enjoy!
Chocolate Covered Wafers for Wordle Fanatics!
Ingredients
- 8 vanilla sugar wafers
- 1/4 cup green melting chocolate
- 1/4 cup black melting chocolate
- 1/4 cup yellow melting chocolate
- 1/4 cup white melting chocolate
- 3 tsp Crisco shortening
Instructions
- Plan the number of letters and colors you will need for your Wordle puzzle. For instance, my puzzle has 10 plain white squares, 9 black squares (4 plain, and 4 with letters), 1 yellow square with a letter, and 5 green squares with letters. The letters I needed were 2 Ts, 2 Ps, 2 As, 1 R, 1 H, and 1 Y. I also used leftover cookies and melts to make more blank squares.
- Take each wafer and carefully chop into four pieces for a total of 30 squares
- Melt white chocolate in a microwave safe bowl with about a teaspoon of Crisco in 30 second increments stirring between each one until smooth.
- Pour melted chocolate into letter candy mold (optional) and using an offset spatula, scrape excess chocolate off the top of the mold.
- Place letters in freezer for a few minutes, then gently remove from the mold.
- While the white chocolate is still melted, dip your desired number of wafer squares in the melted white chocolate. (I did 10)
- With a fork, lift dipped wafer out of the chocolate and gently tap on the edge of the bowl to remove excess.
- Place on wax paper to dry.
- Repeat the melting and dipping process for the other colors.
- If using candy letters, be sure to add them to your desired squares while the chocolate is still wet.
- Display your Wordle puzzle on a large plate or tray and enjoy!
Notes
Nutrition
Nutrition information is automatically calculated, so should only be used as an approximation.
