Red Velvet Christmas Poke Cake
on Oct 27, 2022, Updated Feb 09, 2024
This post may contain affiliate links. Please read our disclosure policy.
This red velvet Christmas poke cake is the perfect easy recipe for the holiday season.
A red velvet boxed cake mix is paired with a sweetened condensed milk cream cheese frosting, white chocolate chips, and chocolate curls.
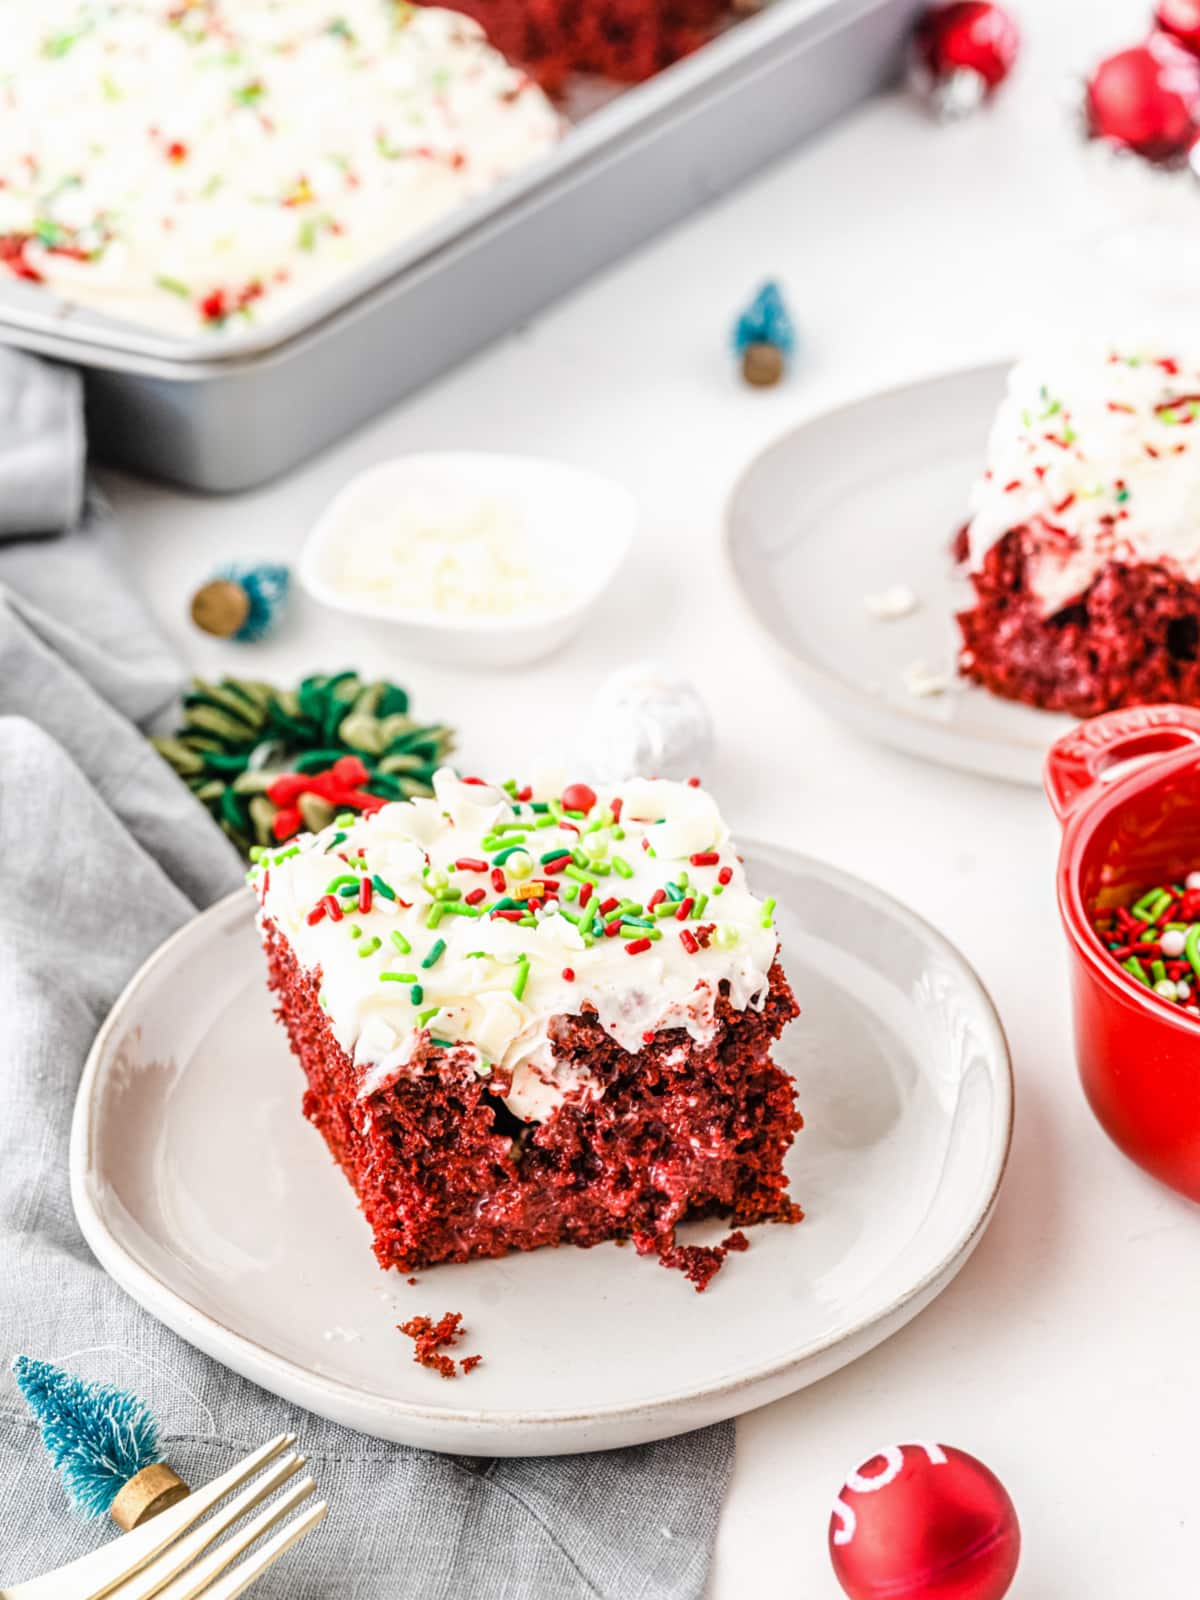
The deep red velvet color is fun and festive for holiday parties, potluck events and more.
Not to mention the sprinkles on top of the cake really make it have that Christmas season vibe.
Want more dessert ideas for the Christmas season? Make sure to check out my gnome dessert board, Christmas Eve gumdrop punch, or even this Christmas dessert lasagna recipe.
This Christmas Poke Cake Recipe Is…
- Delicious Cake Recipe
- Colorful Cake
- Crowd Favorite
- Great for Special Occasions for a Holiday Party or Bake Sale
- Made with A Boxed Cake Mix
- Simple Ingredients
Ingredients Needed
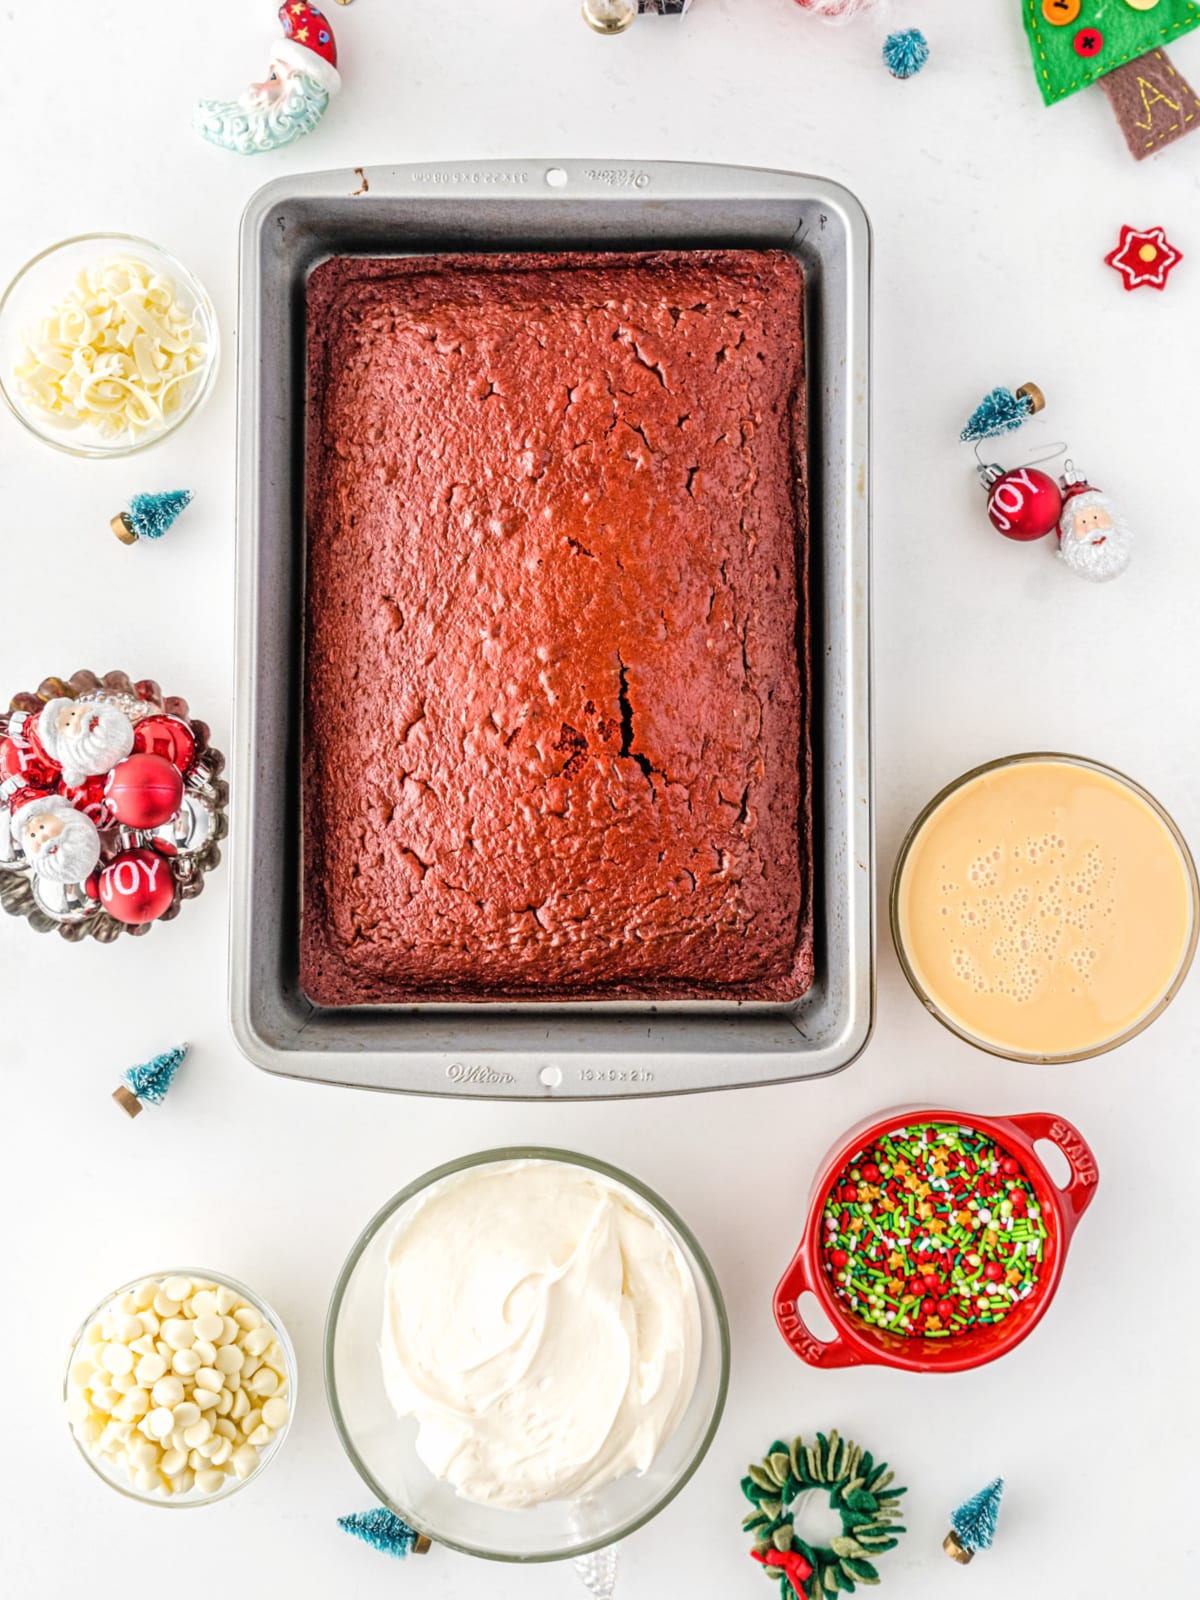
Red Velvet Box Cake Mix – Bake your favorite red velvet cake mix using the ingredients and instructions listed on the box. Feel free to use a chocolate or white cake mix if you don’t want the cake to be red.
Sweetened Condensed Milk – Perfectly sweet, creamy and the perfect topper for a poke cake.
Chocolate Chips – Melted white chocolate chips are mixed in with the condensed milk for a richer filling.
Cream Cheese Icing – For the topping. You could also use whipped cream.
Sprinkles and Chocolate curls – For that holiday flair!
How to Make This Christmas Poke Cake
Full steps on how to make this Christmas poke cake are in the printable recipe card at the bottom of the post. This is a quick walk through.
Prepare the red velvet cake as directed on the back of the box. Then bake as directed.
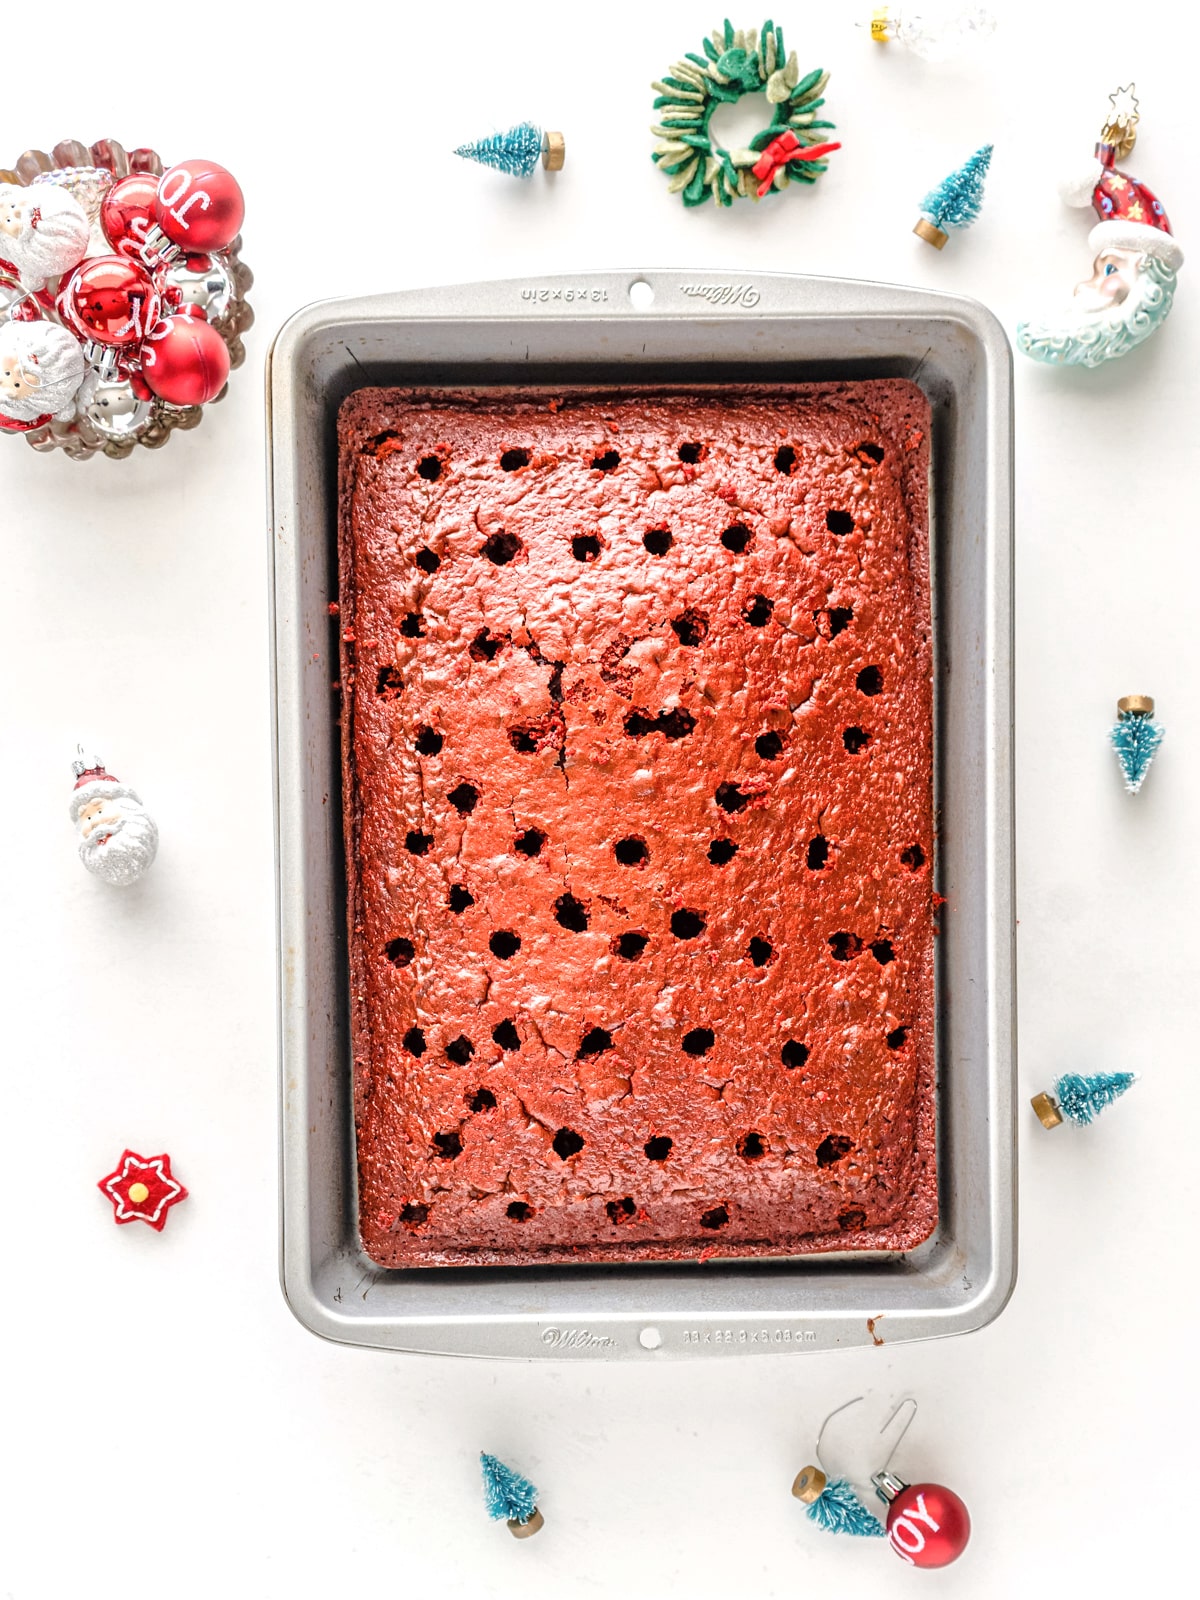
Allow the cake to cool then use the back handle of a wooden spoon to poke holes all over the cake.
Melt the white chocolate in 30 second increments in the microwave, stirring between each.
Then mix in the sweet condensed milk.
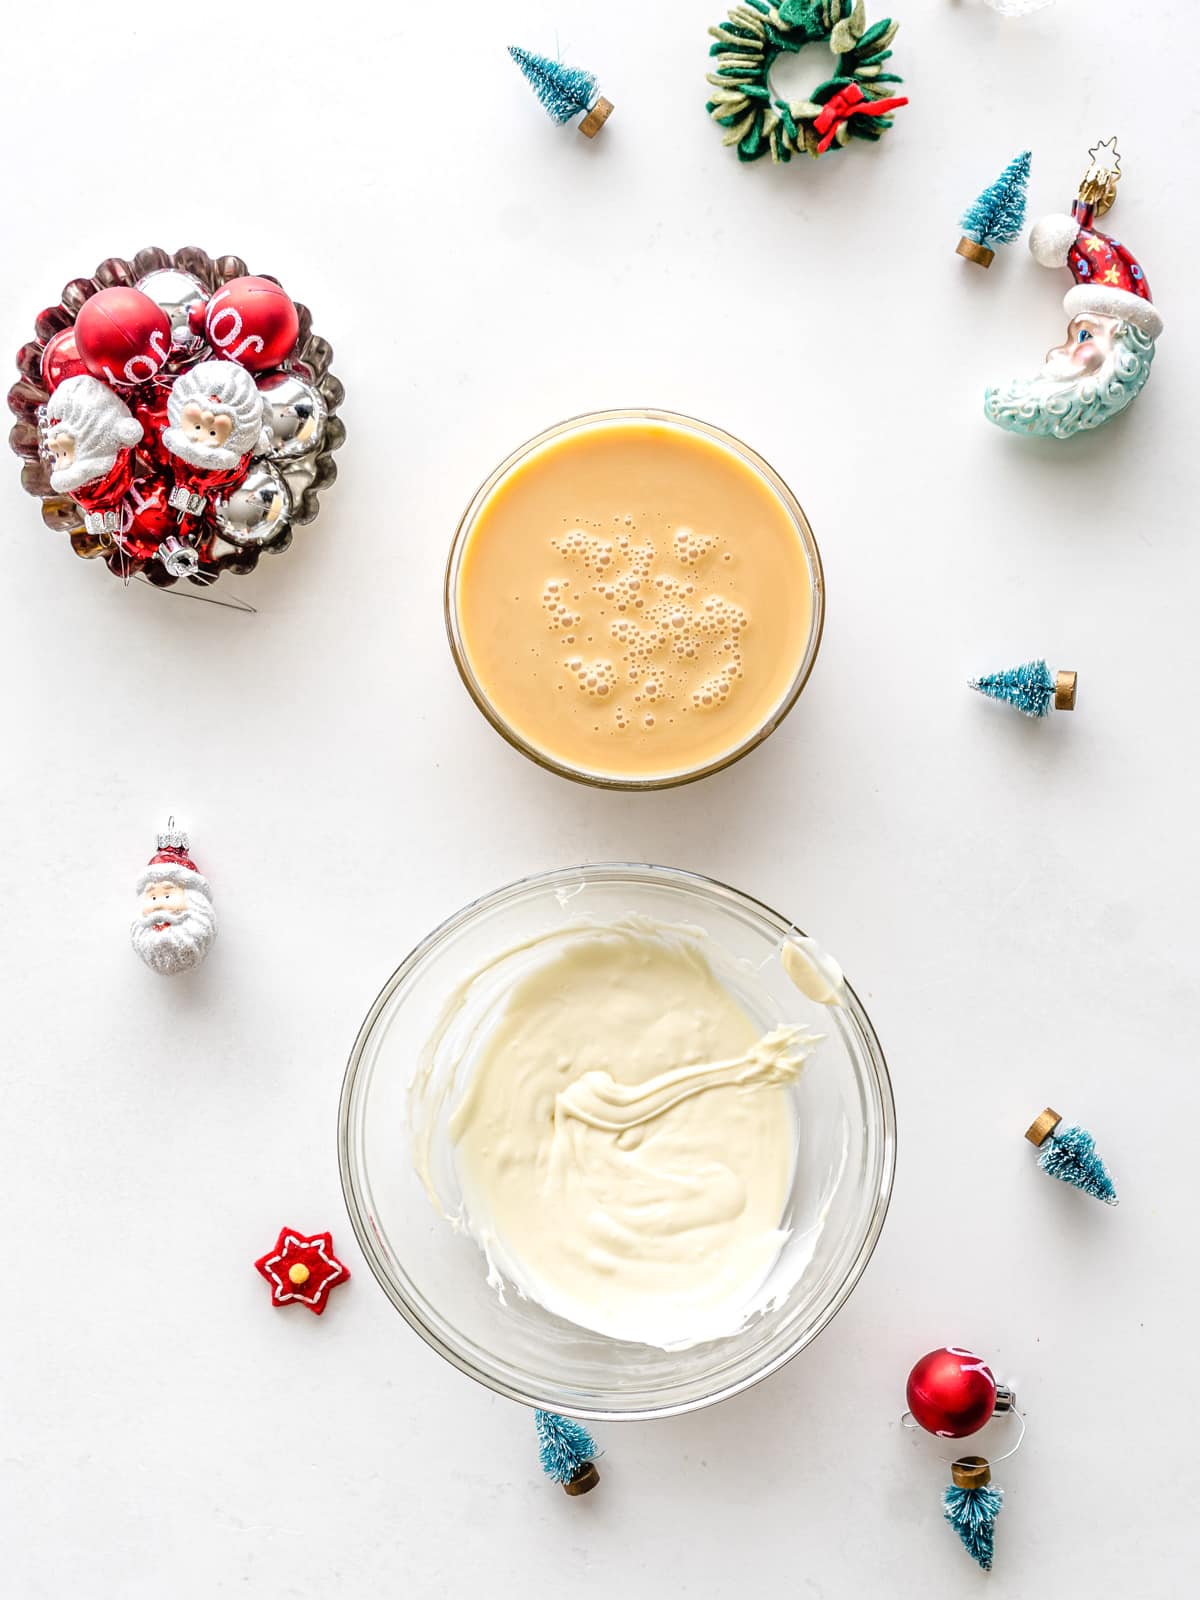
Pour the mixture over the cake, allowing it to soak in the holes.
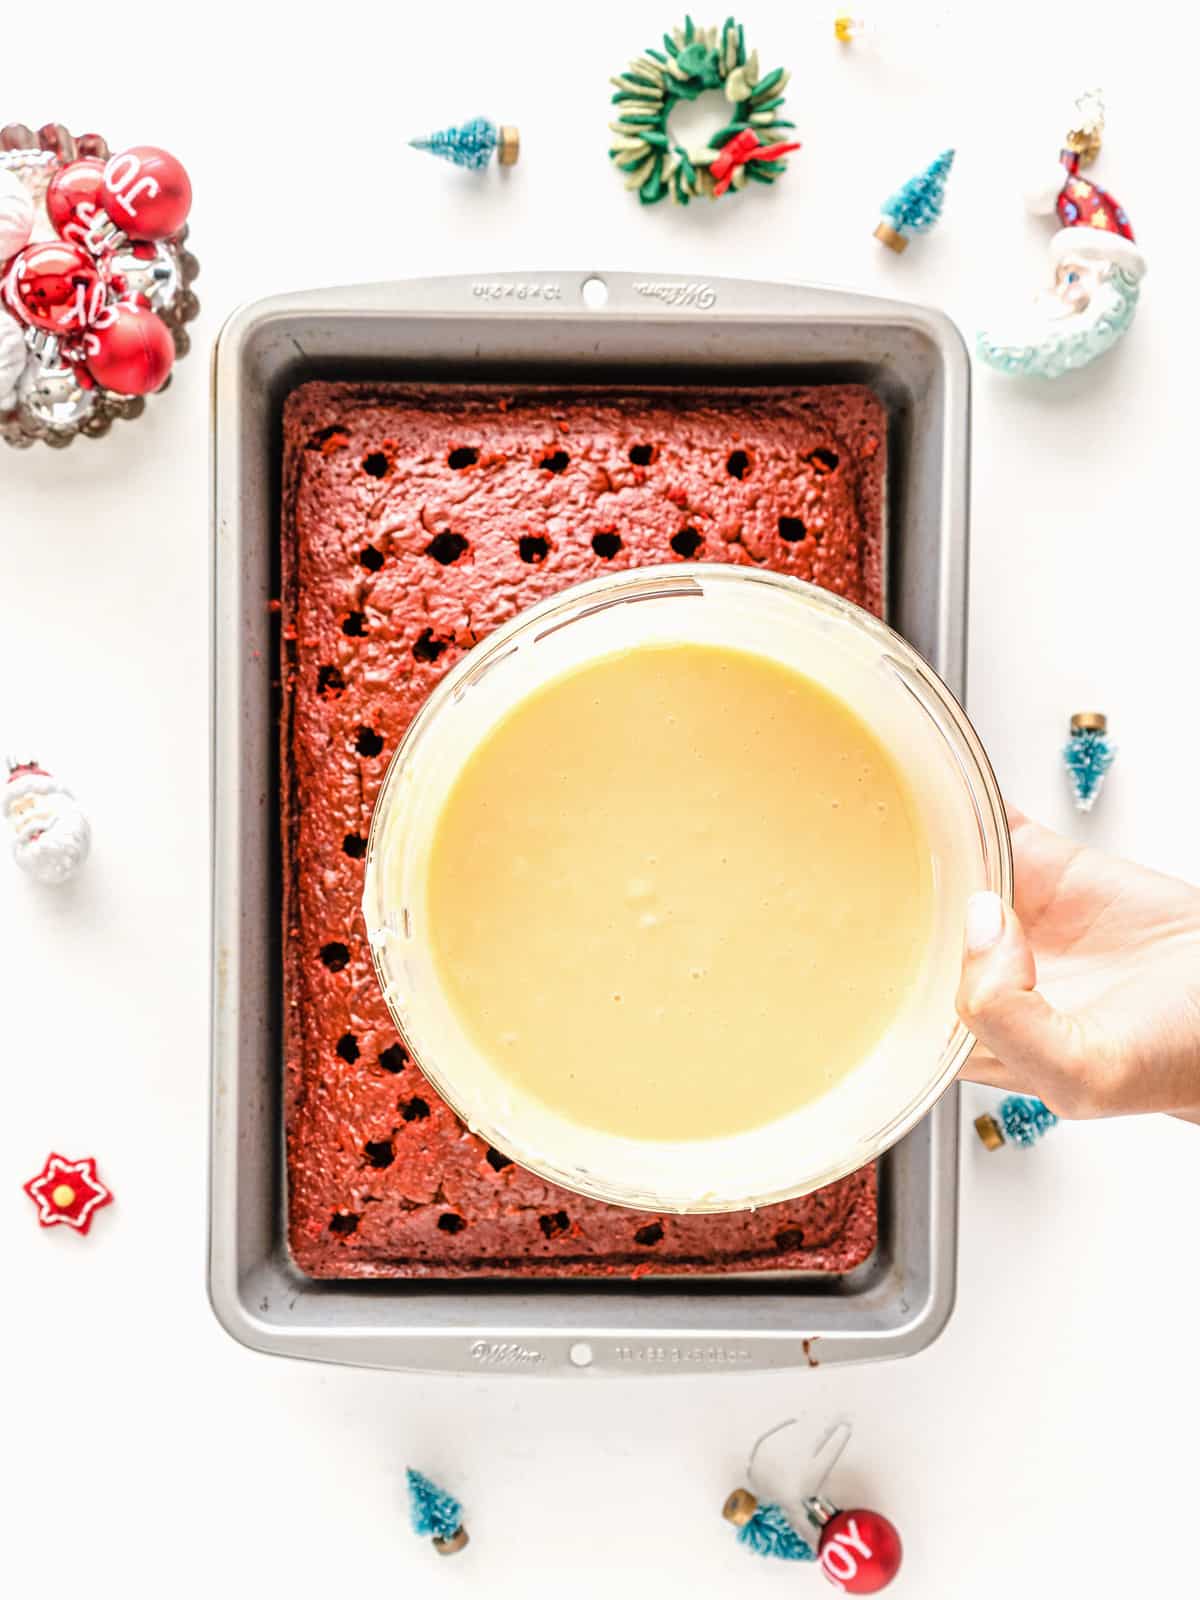
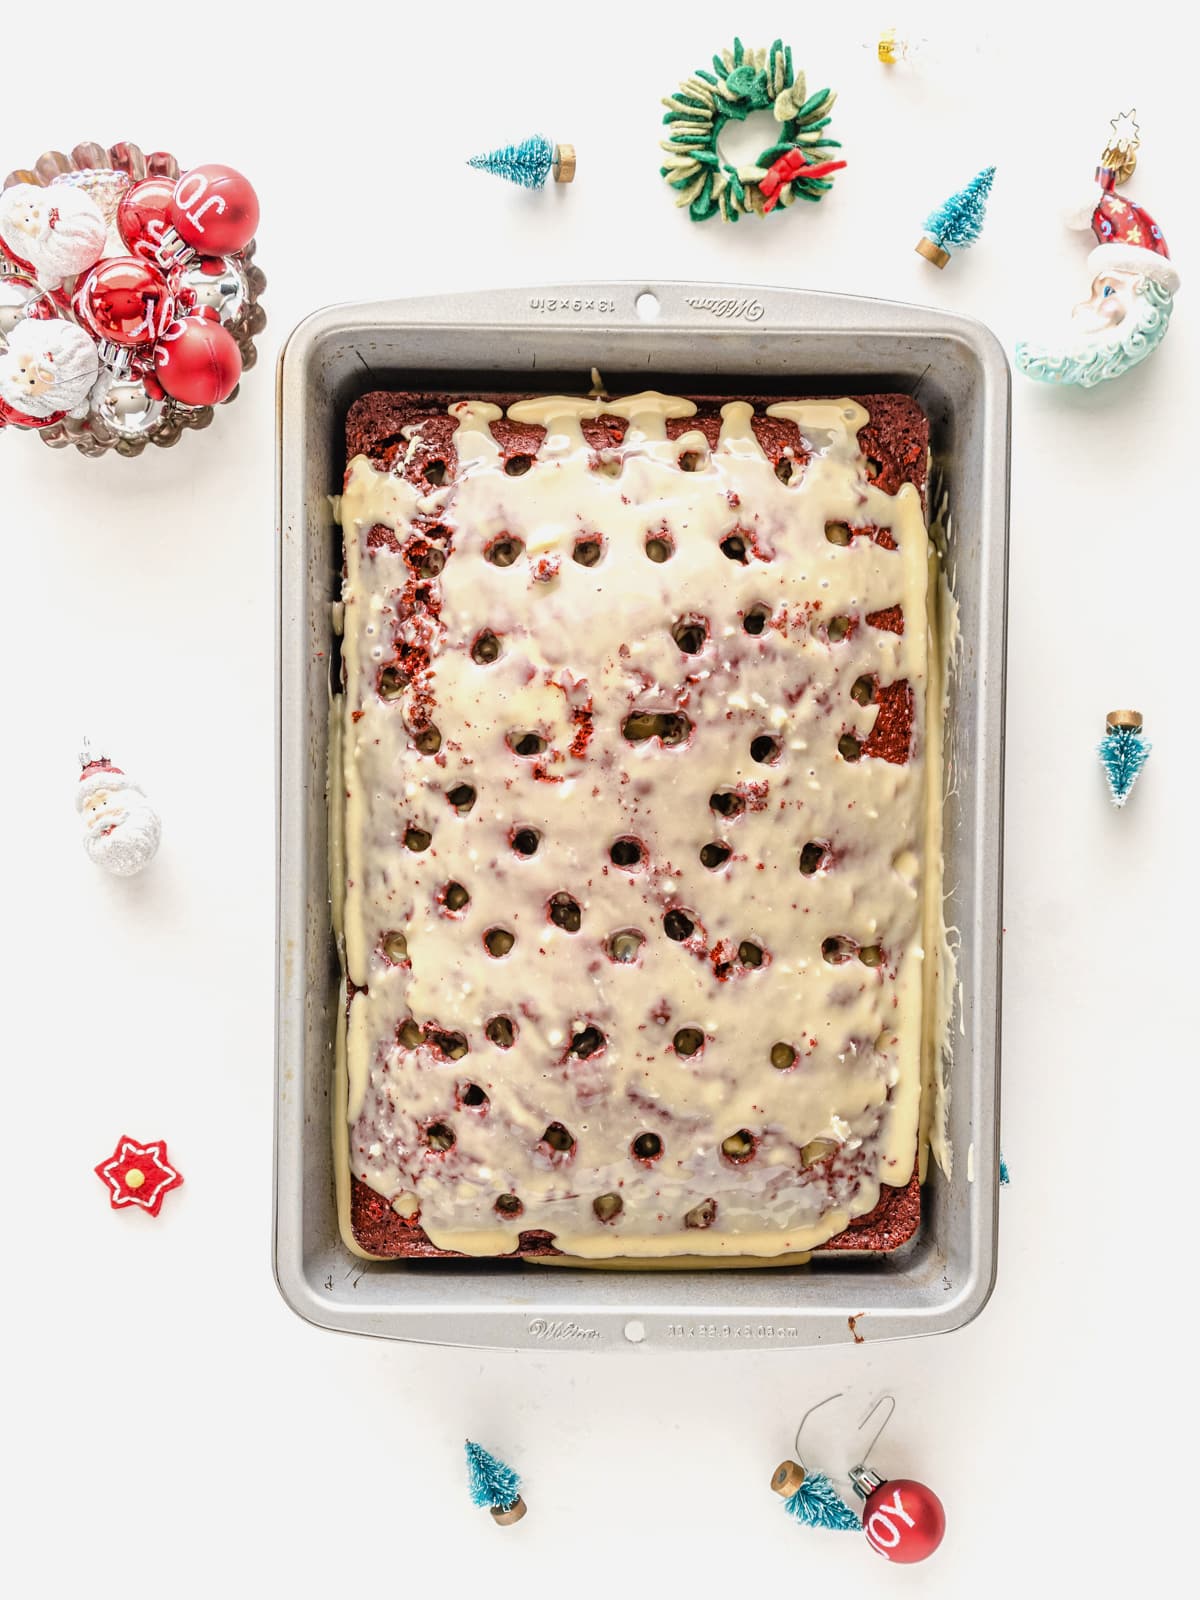
Refrigerate for at least 30 minutes to allow the filling to soak in.
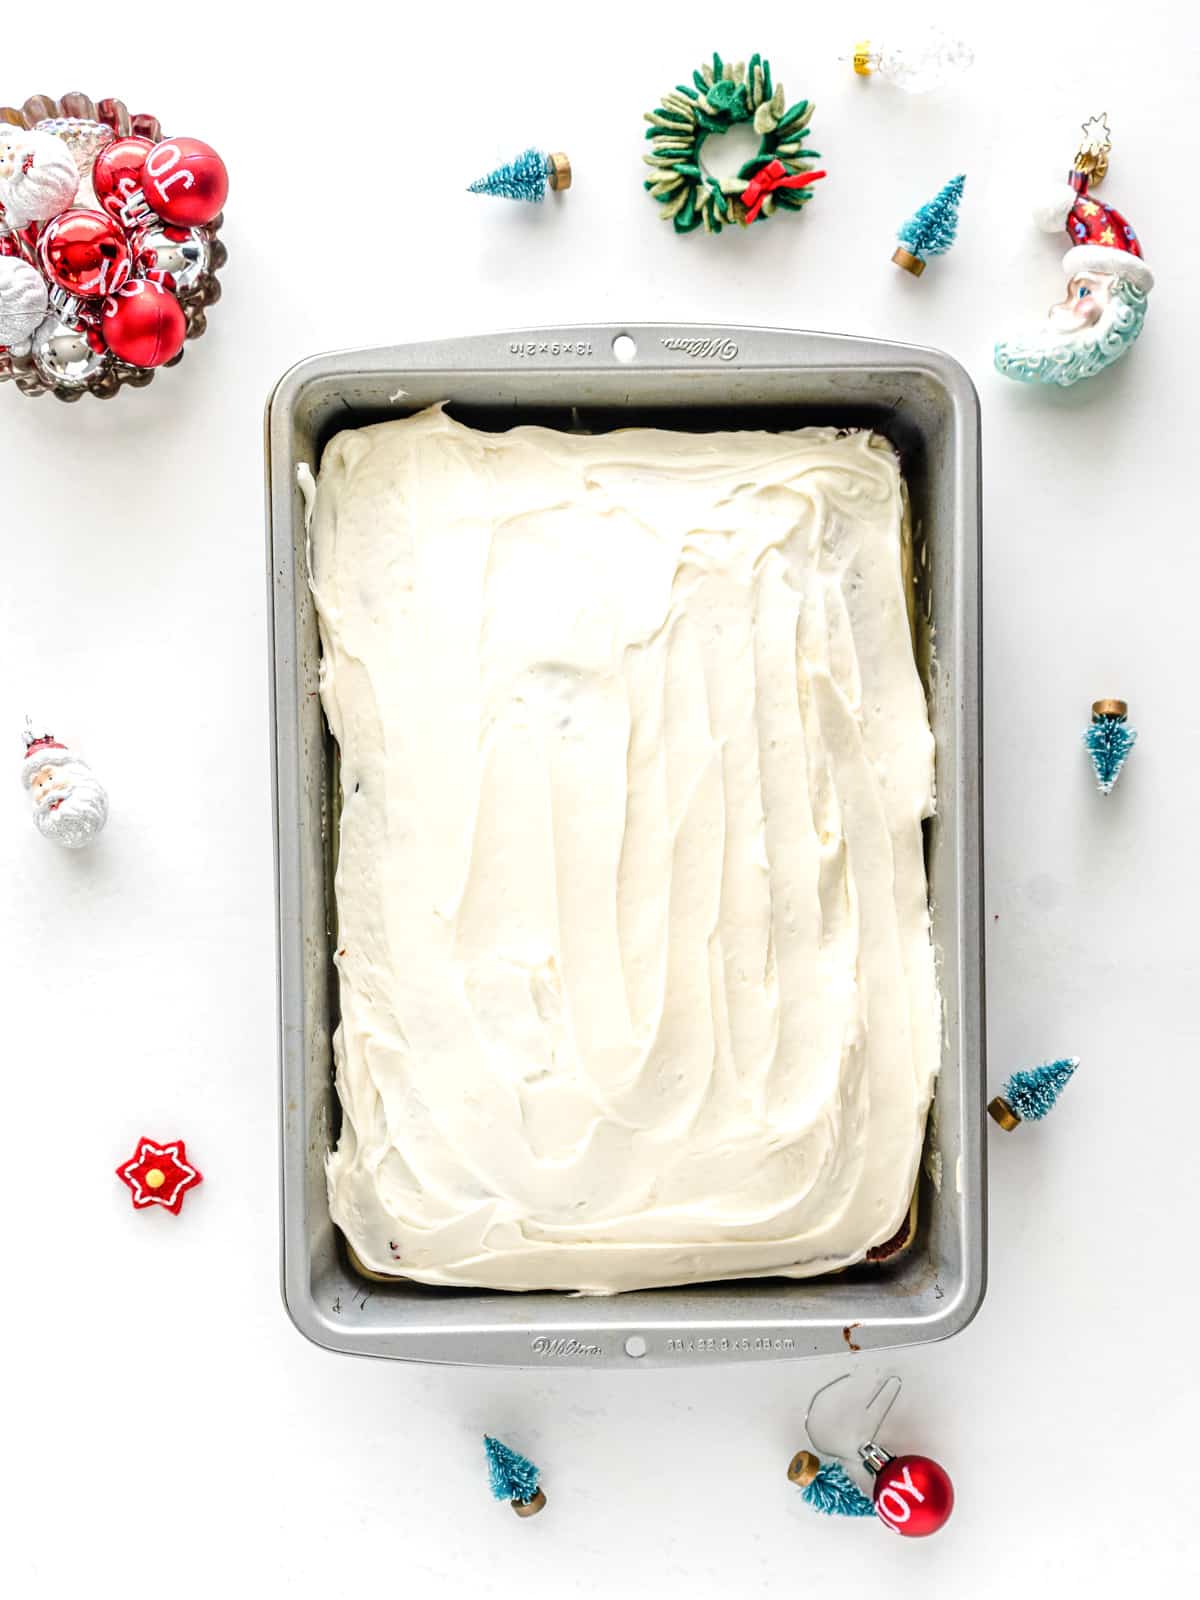
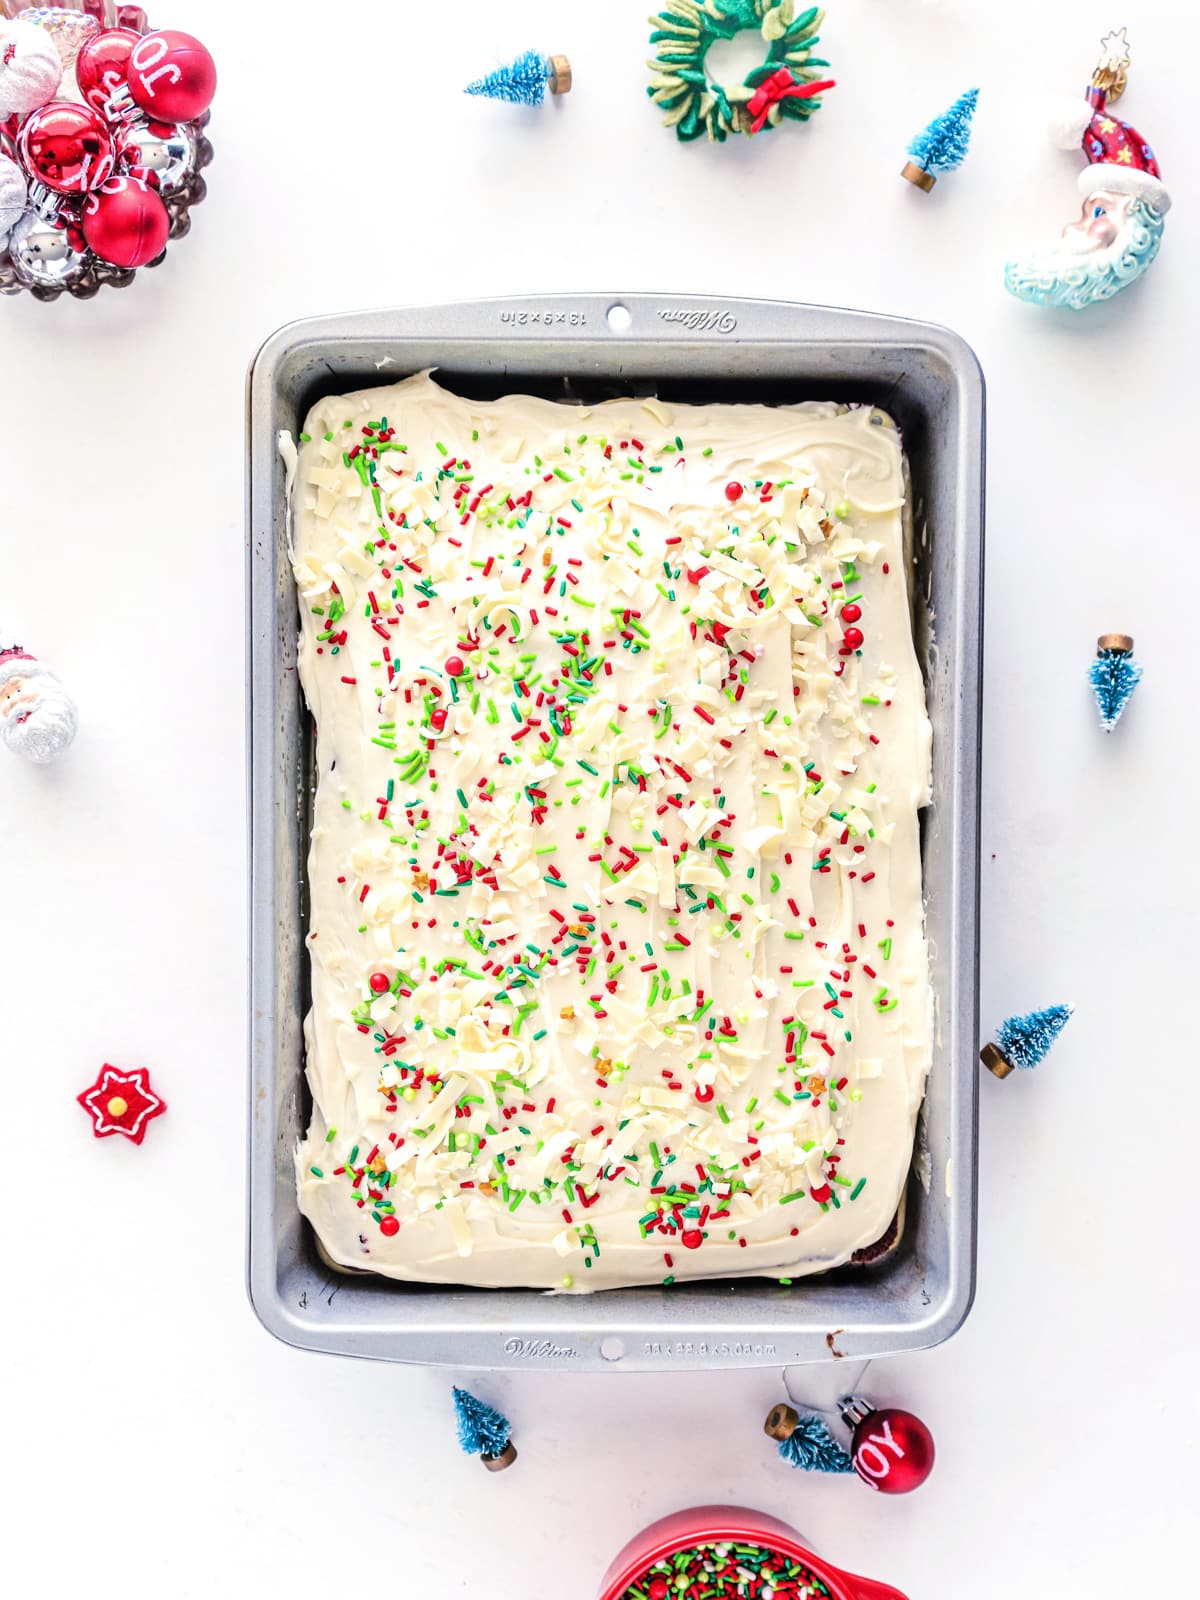
Spread the cream cheese frosting on top of the cake while still in the pan.
Top with the curled chocolate shavings and Christmas sprinkles and enjoy!
Tips And Variations
If you want to try different versions of this easy recipe, I have a few ideas. Let me know what you think!
- Instead of the cream cheese frosting top with Cool Whip instead of the frosting. You could even add some gel food coloring for a tinted whipped topping layer.
- Try vanilla cake or chocolate cake if you want. It will alter the flavor a bit but overall still be delicious.
- Be sure to chill the filled cake before frosting. This cake needs to set before adding the frosting or it will soak down into the holes.
- You can also use heavy whipping cream to make your own whipped cream frosting for the cake.
Storing Cake
Refrigerate – This Christmas red velvet poke cake does need to be refrigerated. Store in an airtight container in the fridge for up to 4 days.It is best eaten within the first two days of being made.
If planning to bring this cake to a party, I recommend a disposable baking pan. These also come with a lid for easy storage. Plus, no cleanup!
Freezing – You can also freeze any of the holiday cake you don’t eat right away. Just store in a freezer container for up to 3 months.
Then thaw the cake in the fridge overnight before you plan to serve it.
Print the Recipe
This Christmas poke cake is great to make ahead of time so you can bring to work, a class party, or Christmas dinner.
Just be sure to refrigerate it until you are ready to go and enjoy!
Red Velvet Poke Cake
Ingredients
- 1 box Red Velvet Cake mix, baked using ingredients and instructions on the box.
- 14 oz can of sweetened condensed milk
- 1 cup white chocolate chips, melted
- 1 serving cream cheese icing, can or homemade
- 1/4 cup Christmas sprinkles
- 2 tablespoons white chocolate curls
Instructions
- Prepare the red velvet cake mix according to the package and bake in a 13×9 pan.
- Place the white chocolate chips in a microwave safe bowl and heat in 30 second intervals until completely melted, stirring in between each interval.
- Once the chocolate is completely melted, combine with the condensed milk stirring until completely combined and smooth.
- After the cake has cooled, poke holes with the handle of a wooden spoon in rows.
- Pour the sweetened condensed milk mixture over the cake and push gently into the holes.
- Place cake in the refrigerator for at least 30 minutes to set.
- After the cake chills for 30 minutes, top with cream cheese frosting and return to the refrigerator until ready to serve.
- Before serving, top the cake with white chocolate curls and the sprinkles.
Notes
Nutrition
Nutrition information is automatically calculated, so should only be used as an approximation.


