Buddy the Elf Cookie Cups
on Dec 07, 2021, Updated Feb 09, 2024
This post may contain affiliate links. Please read our disclosure policy.
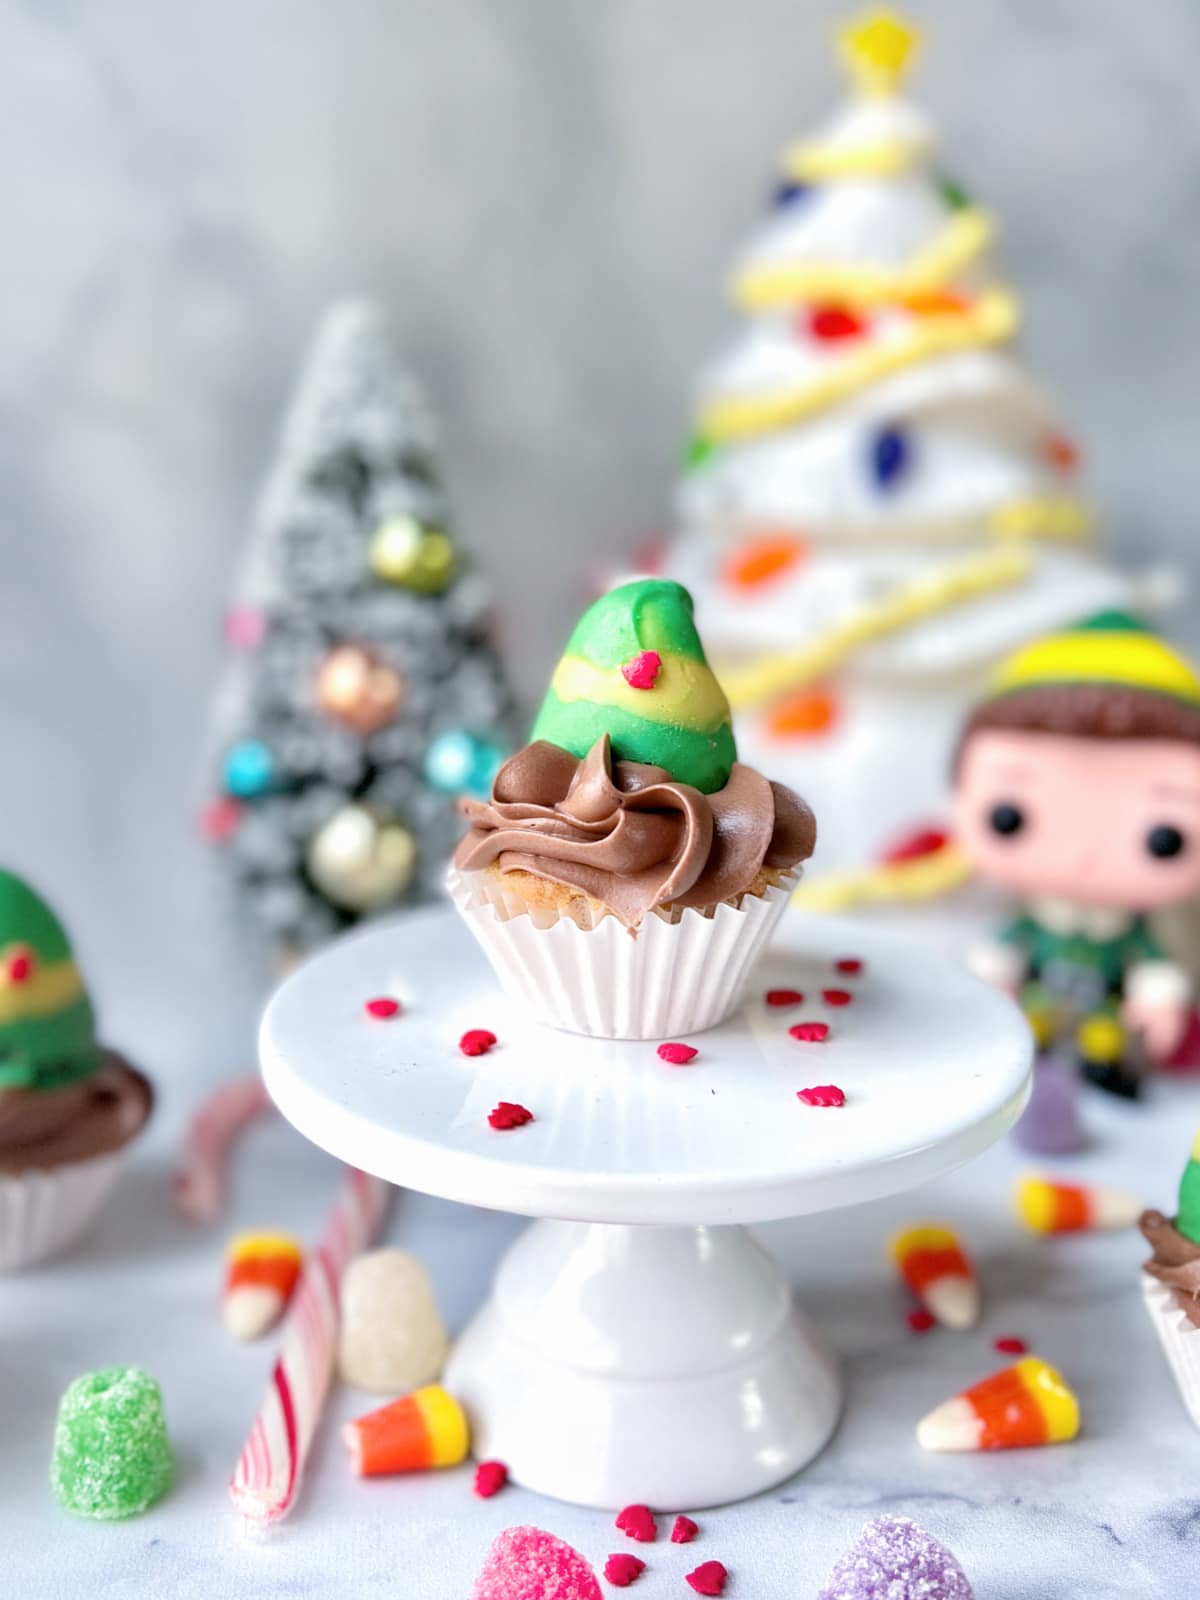
Buddy the elf, what’s your favorite color? These delicious elf cookie cups are frosted with chocolate and topped with a dipped strawberry elf hat inspired by my favorite Christmas elf.
Like so many others, we love the movie elf. And not only because I am a huge Will Ferrell fan. It’s just good clean fun!
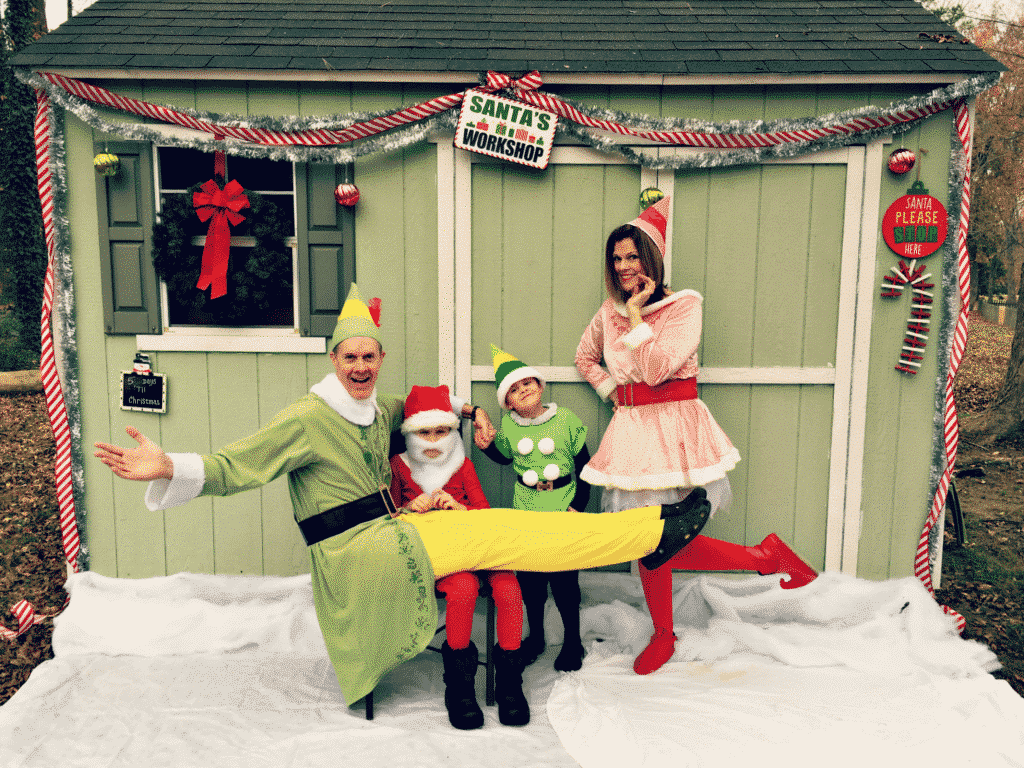
My family even dressed up as characters from the movie for an elf Christmas card one year.
This cute recipe is an easy way to spread some Christmas cheer. Don’t worry, you can still sing loud for all to hear if that’s your thing.
After I made my little gnome cookies, I thought I could use a similar idea and create some cookie cups inspired by our very own Buddy the elf.
Serve with some swirly twirly gumdop punch and you have yourself a movie night!
Elf Cookies Ingredients/Shopping List
I’m a fan of quick and easy when it comes to festive desserts. Yes, there is a time and a place for made from scratch. We’ll do that another time.
What to Buy
Here’s what I used to create my elf cookie cups:
- Break apart sugar cookie dough(24count)
- Fresh strawberries
- Chocolate frosting
- Vanilla frosting
- Green melting candy
- Yellow melting candy
- Red sprinkles or other red candy (mine are shaped like Christmas trees)
- Crisco
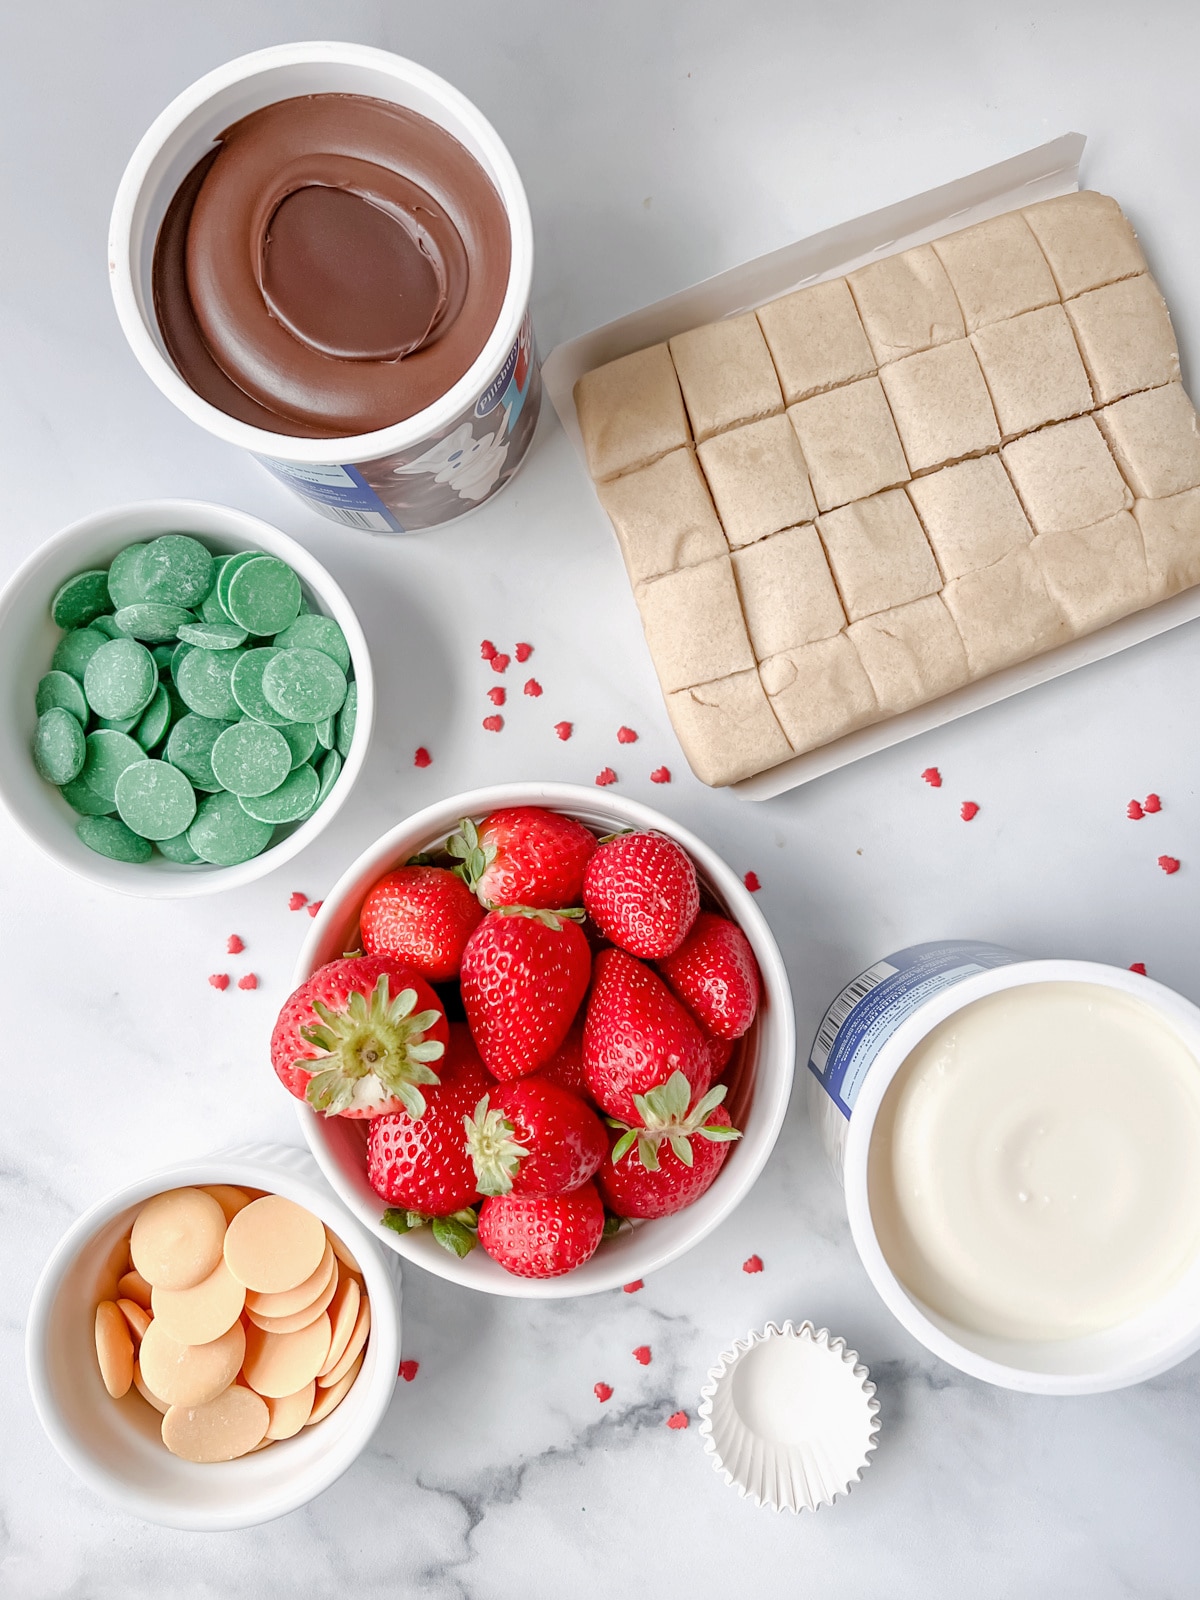
You will also need a mini muffin pan and mini cupcake liners or non-stick cooking spray.
For a no bake treat, check out these chocolate covered ritz cracker sandwiches.
Bake the Cookies
To get started, preheat oven to 350°F and add liners to mini muffin pan. Or, if you don’t have liners, spray pan with non-stick cooking spray and set aside.
Break apart the cookie dough pieces and add one piece to each lined muffin cup.
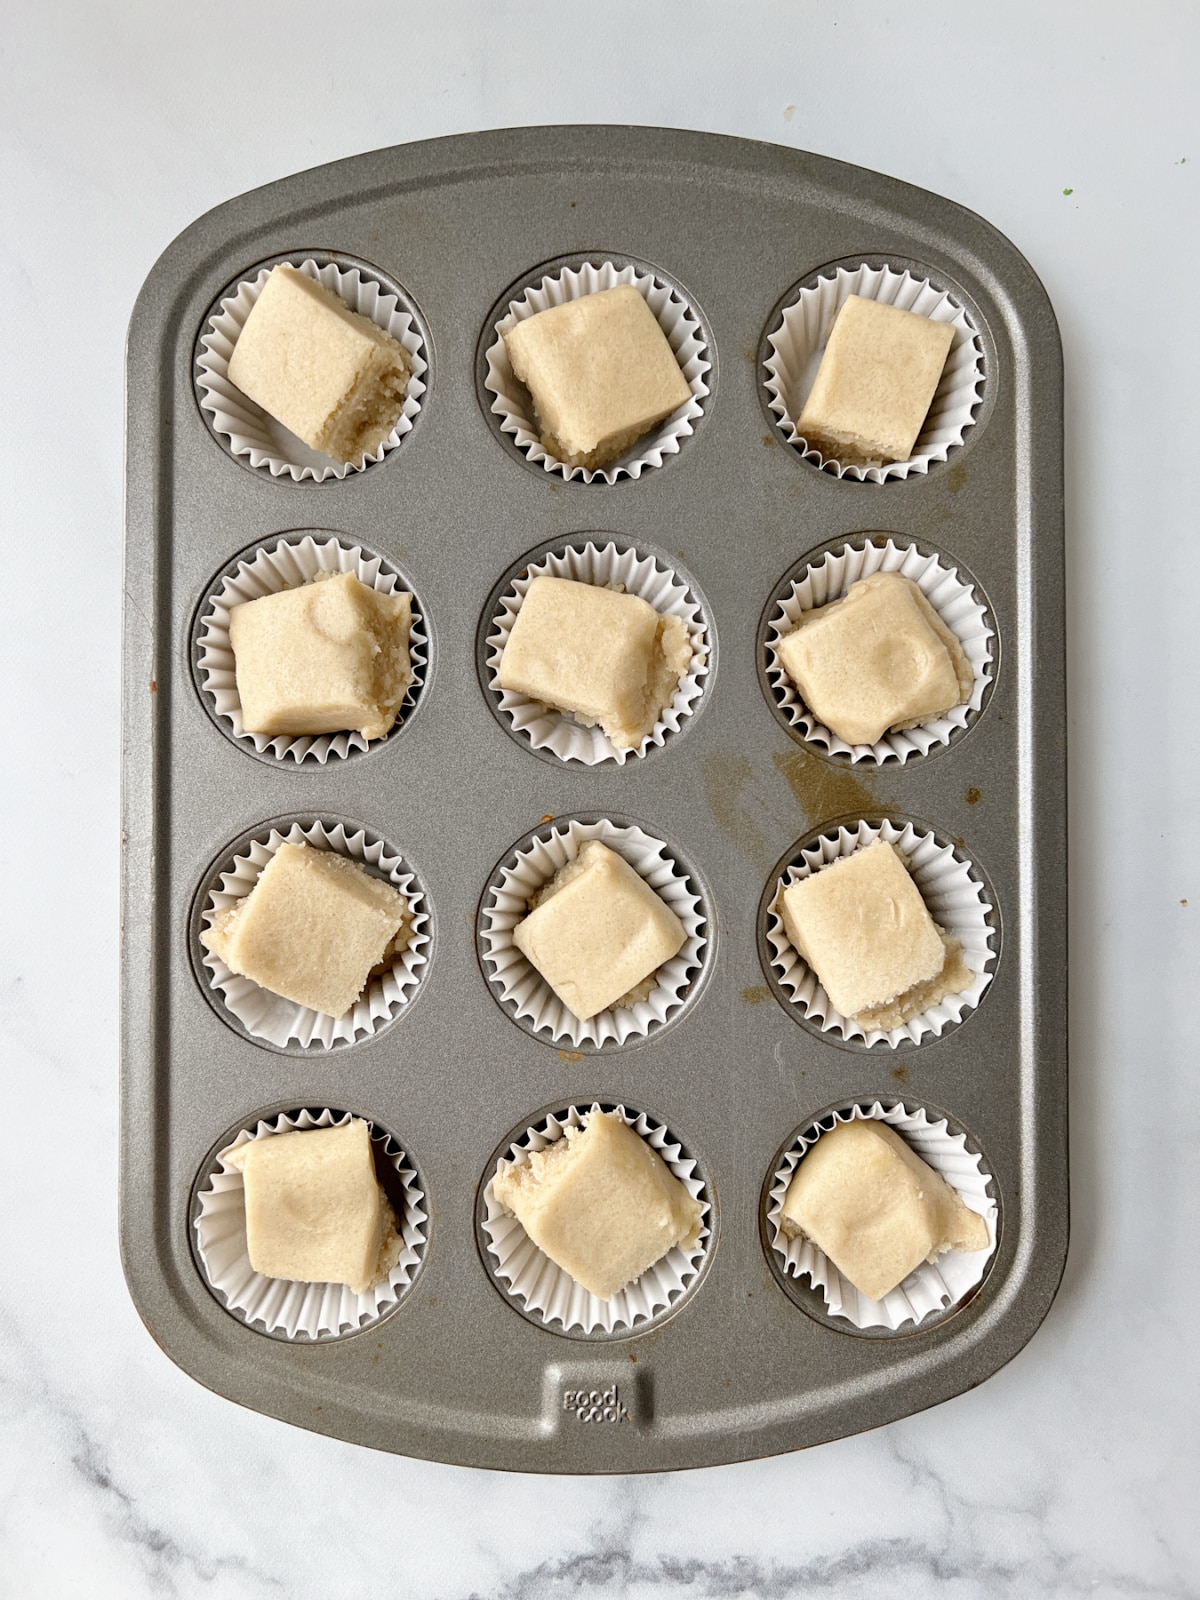
Bake for 13-15 minutes or until cooked through.
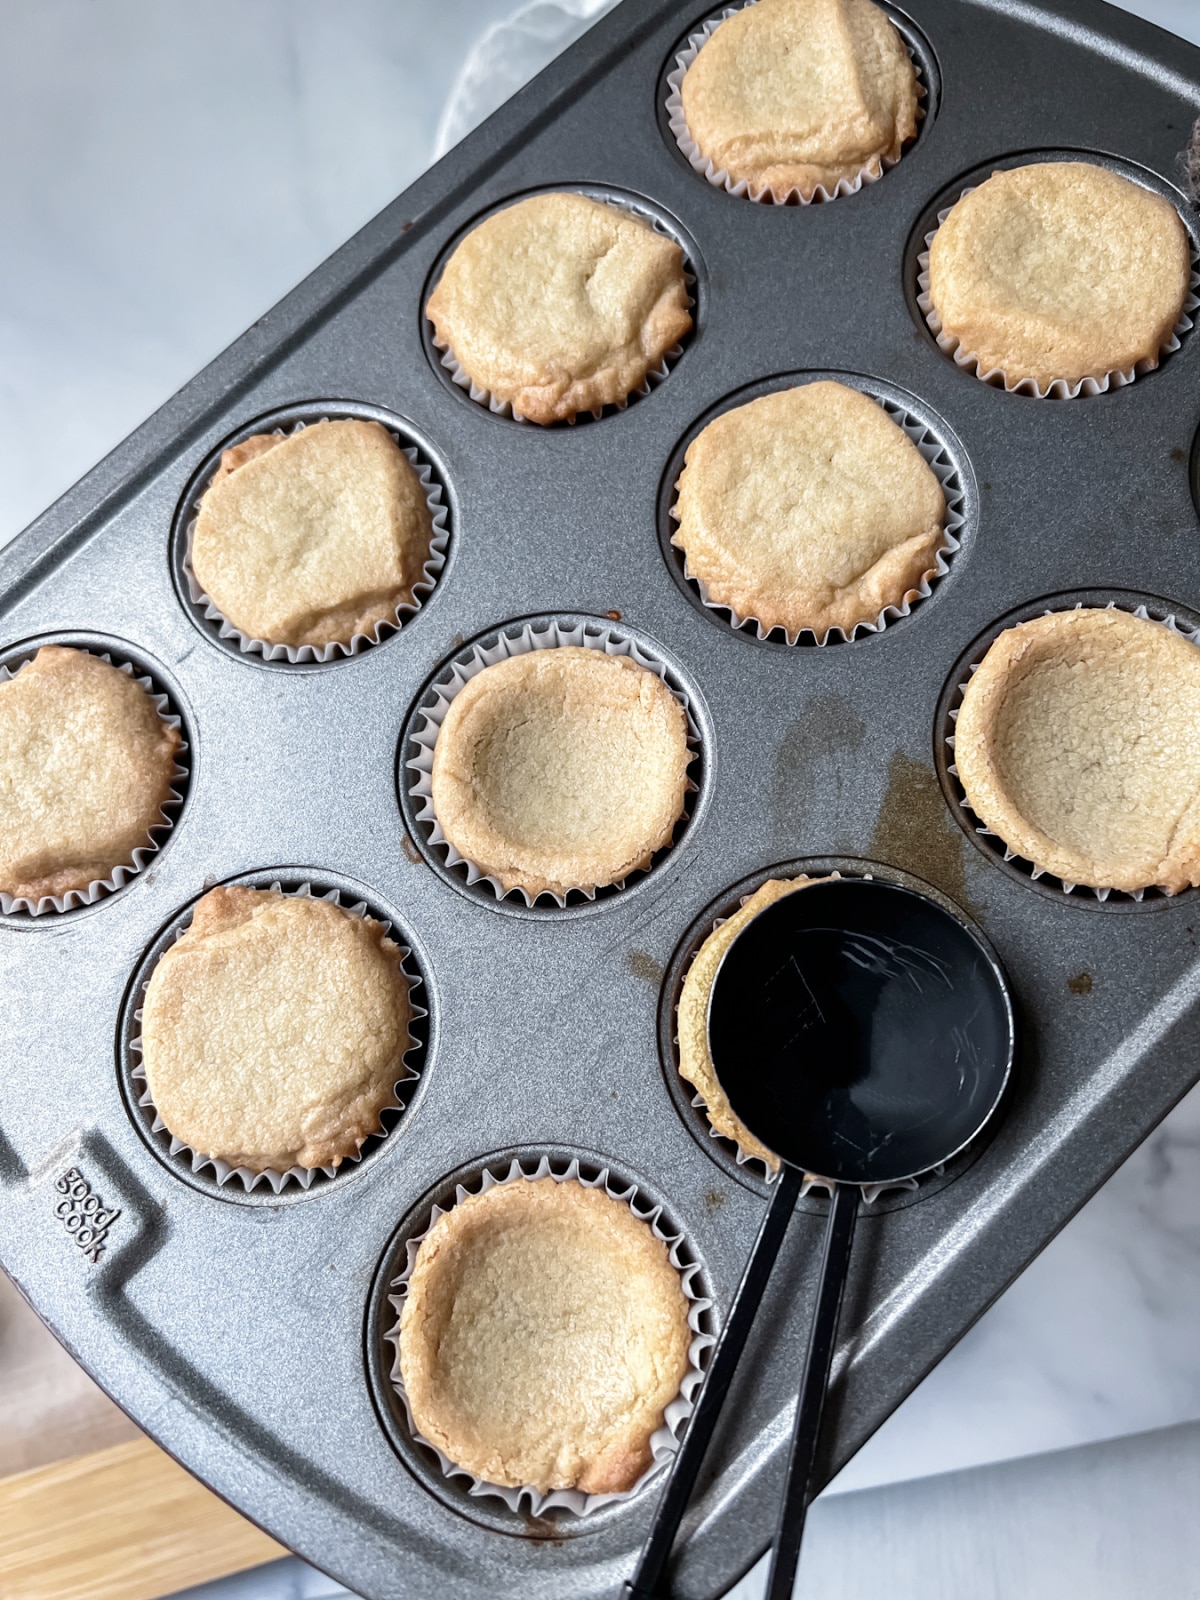
When the cookies are done, use the back of a tablespoon to press the cookies into a cup shape and set aside to cool in the pan.
Prepare and Dip Strawberries
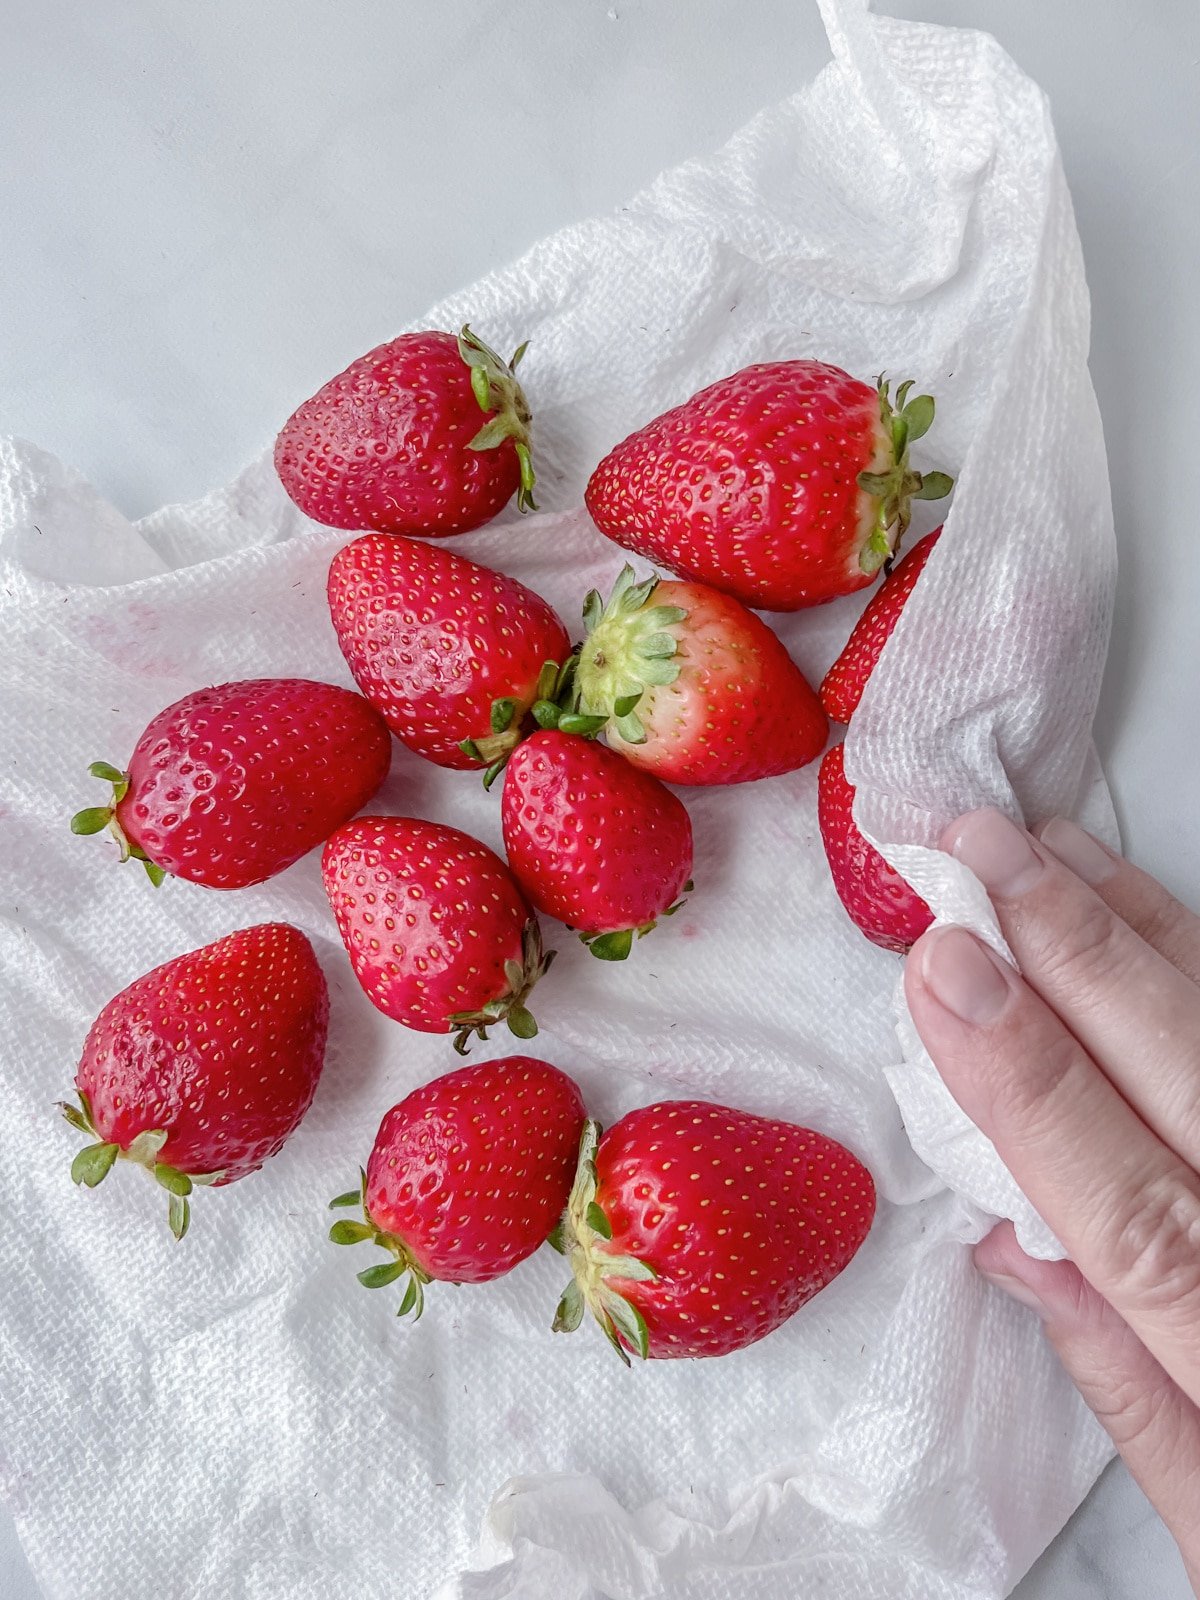
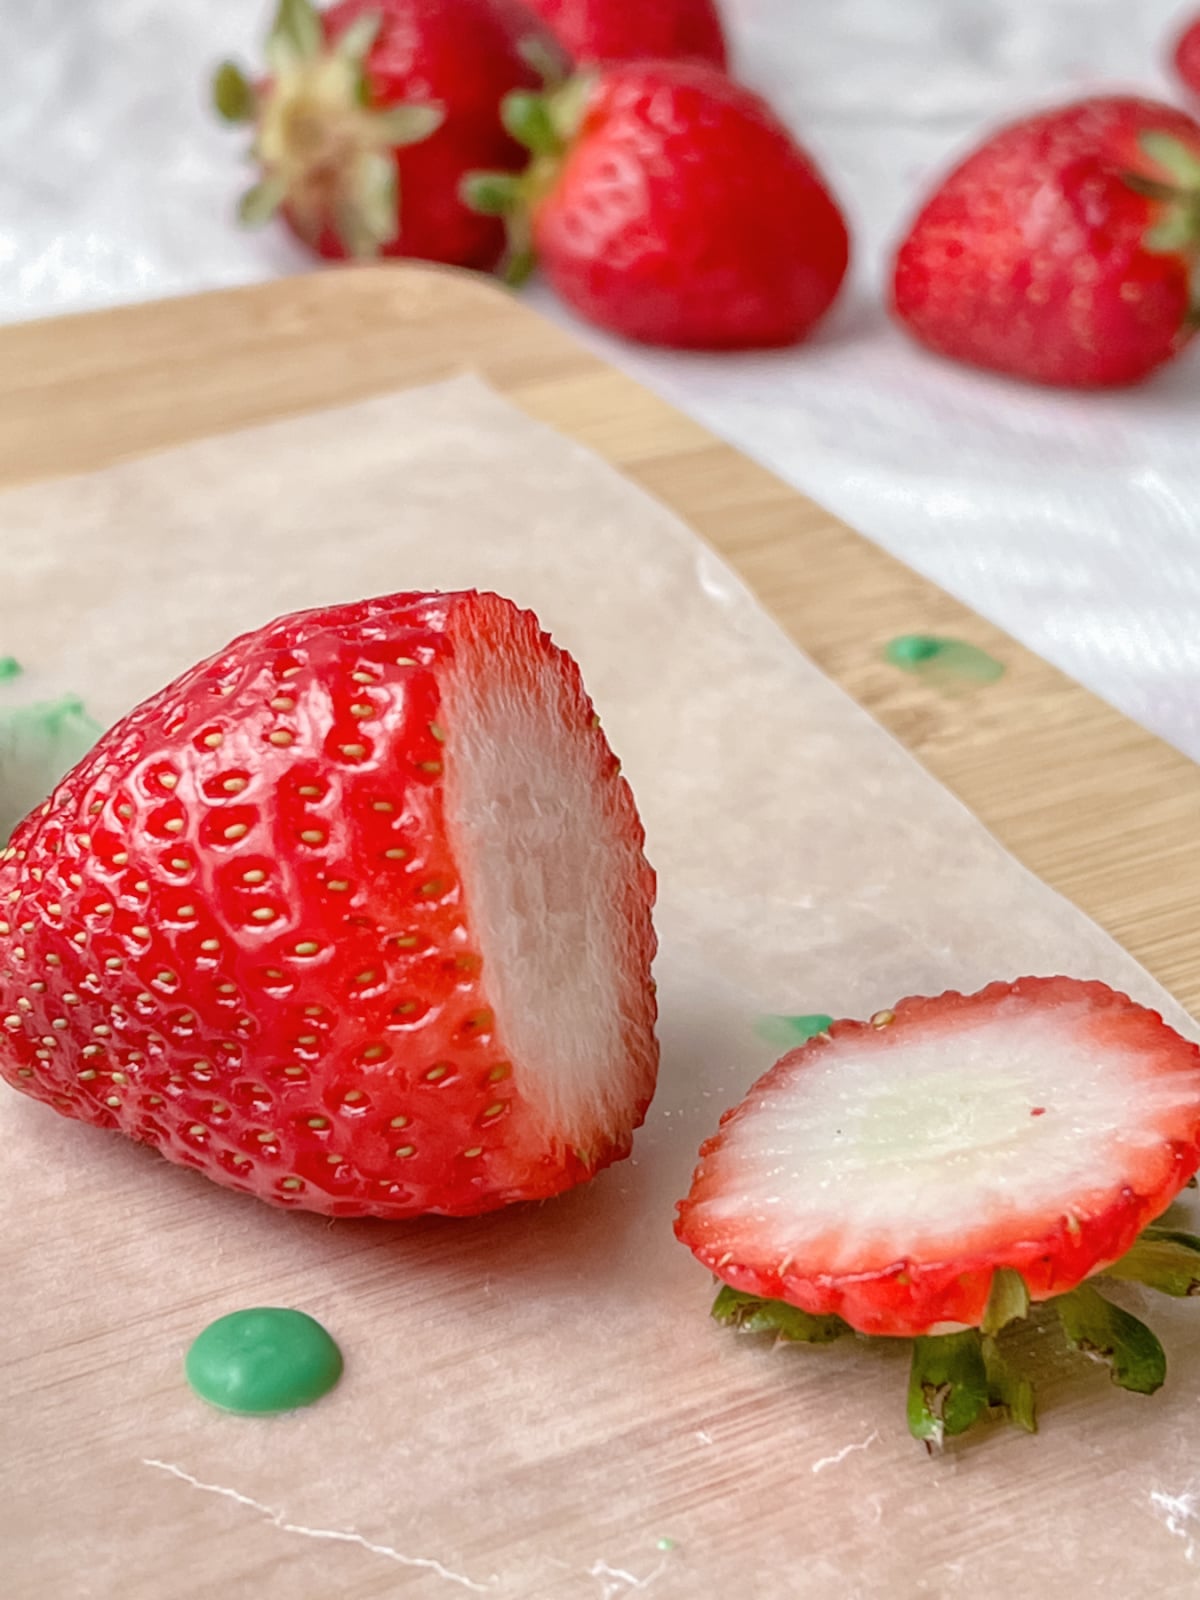
While the cookies are baking, wash and dry strawberries and slice off the tops so you have a straight edge on the large side of your strawberry.
Add the green melting chocolate to a bowl and microwave with a little bit of Crisco until smooth. Heat in 30 second intervals, stirring between each interval until smooth.
Push a fork into the large side of a strawberry, then turn it over and dip into the green melted chocolate.
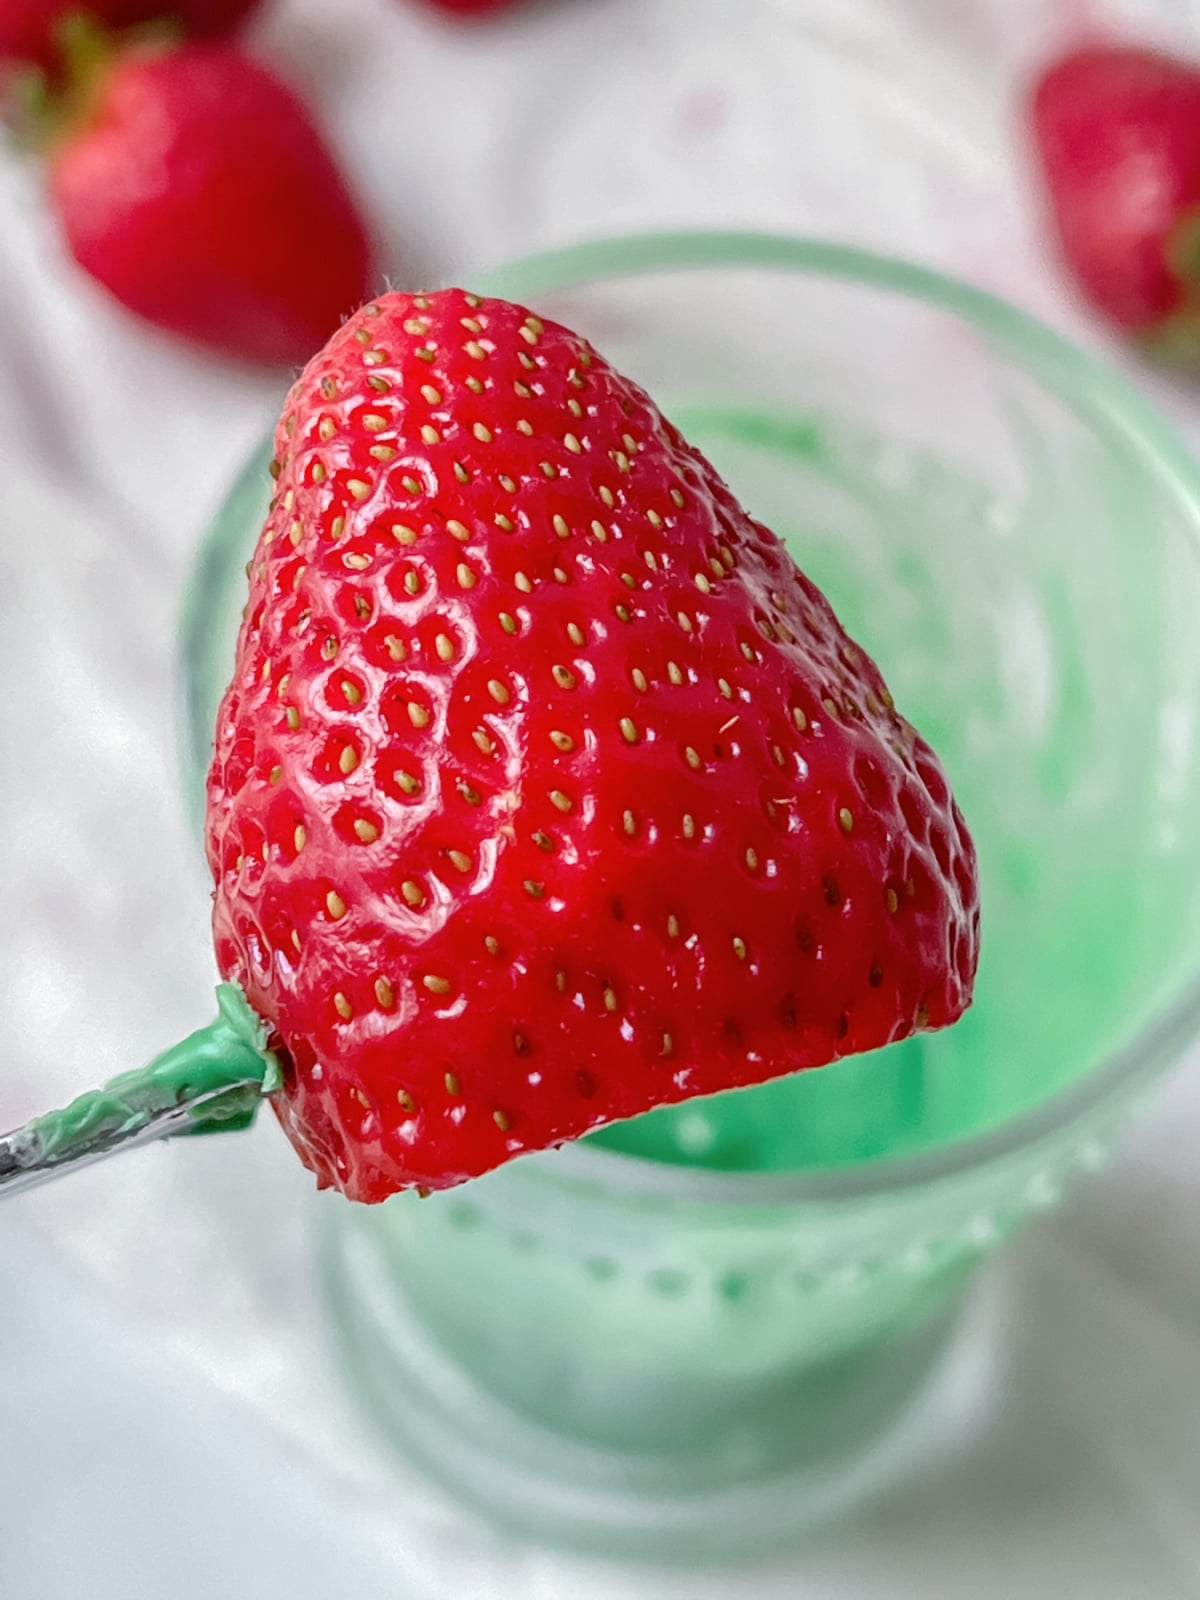
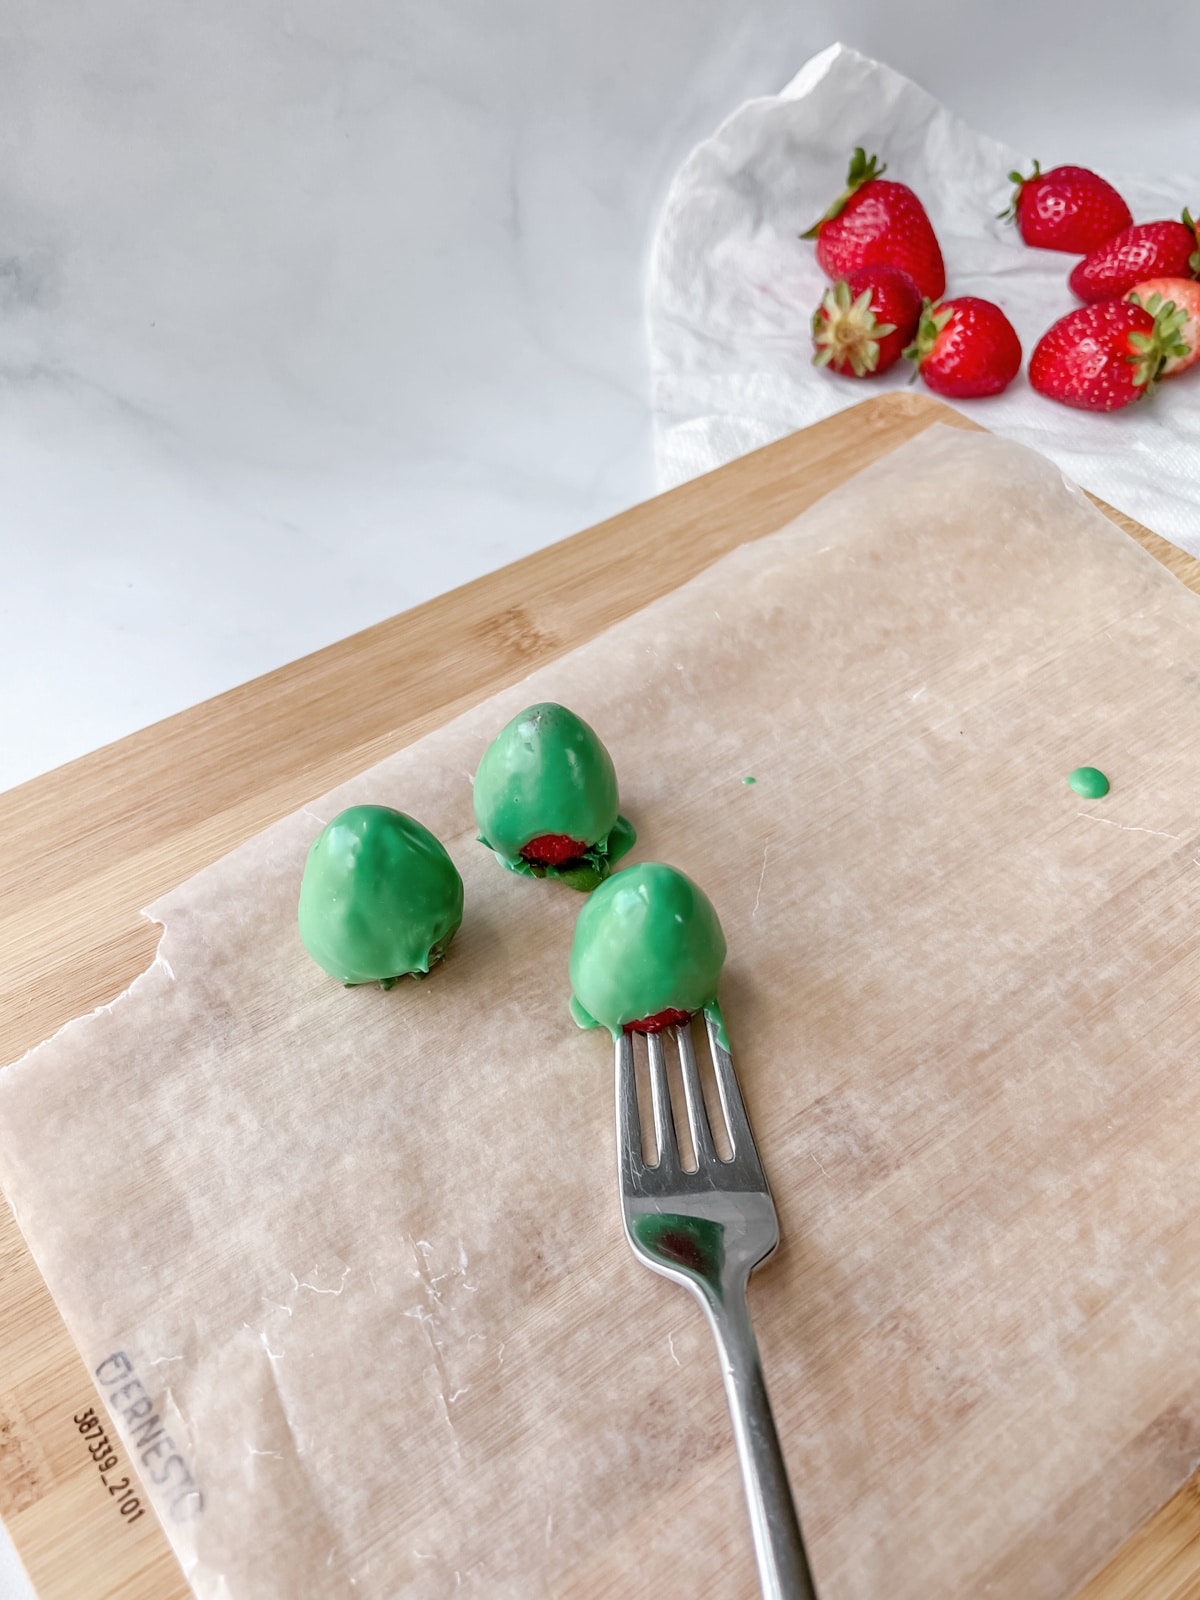
Allow excess to drip back into the bowl and transfer strawberry to a wax paper lined platter to dry.
To do this, gently slide the large side of the strawberry off the fork and allow to dry so it looks like the hat is right side up. Repeat for each strawberry.
It’s ok if the green chocolate doesn’t go all the way to the bottom. It won’t show in the final product. But try not to touch the chocolate until it’s dry or it will wipe right off.
Mix the Frosting
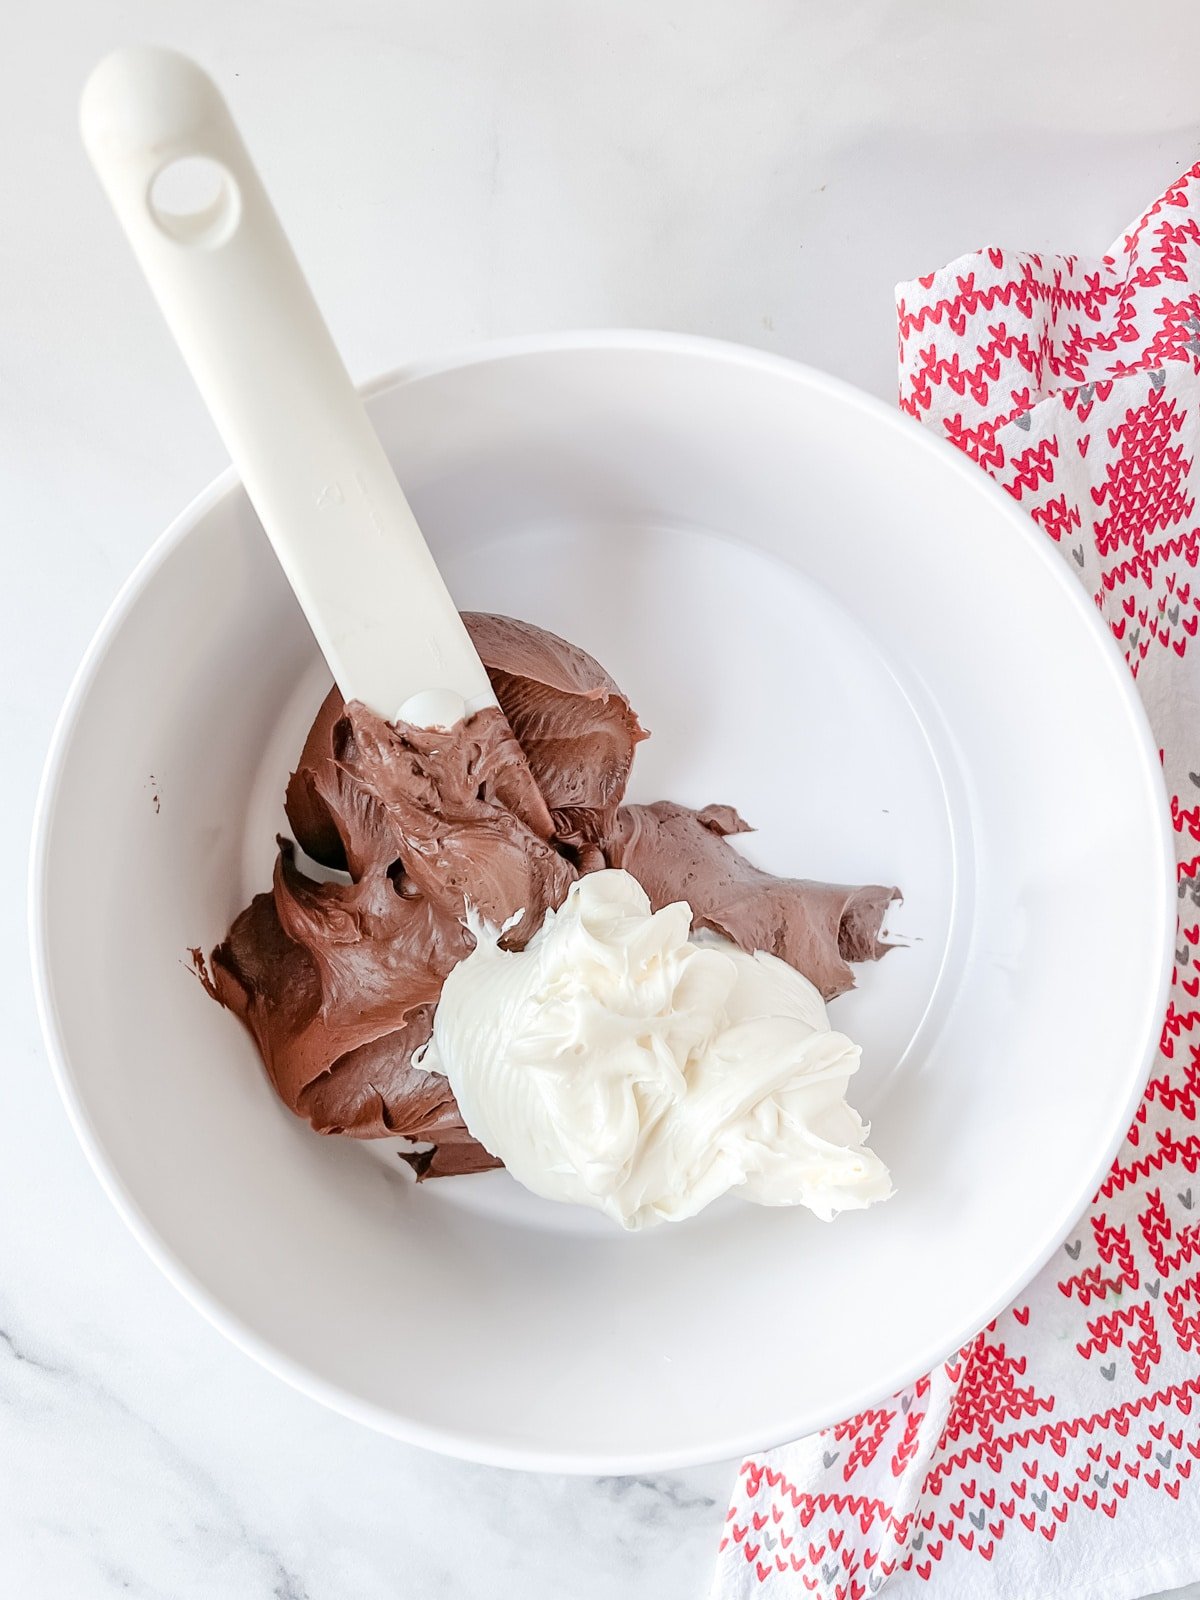
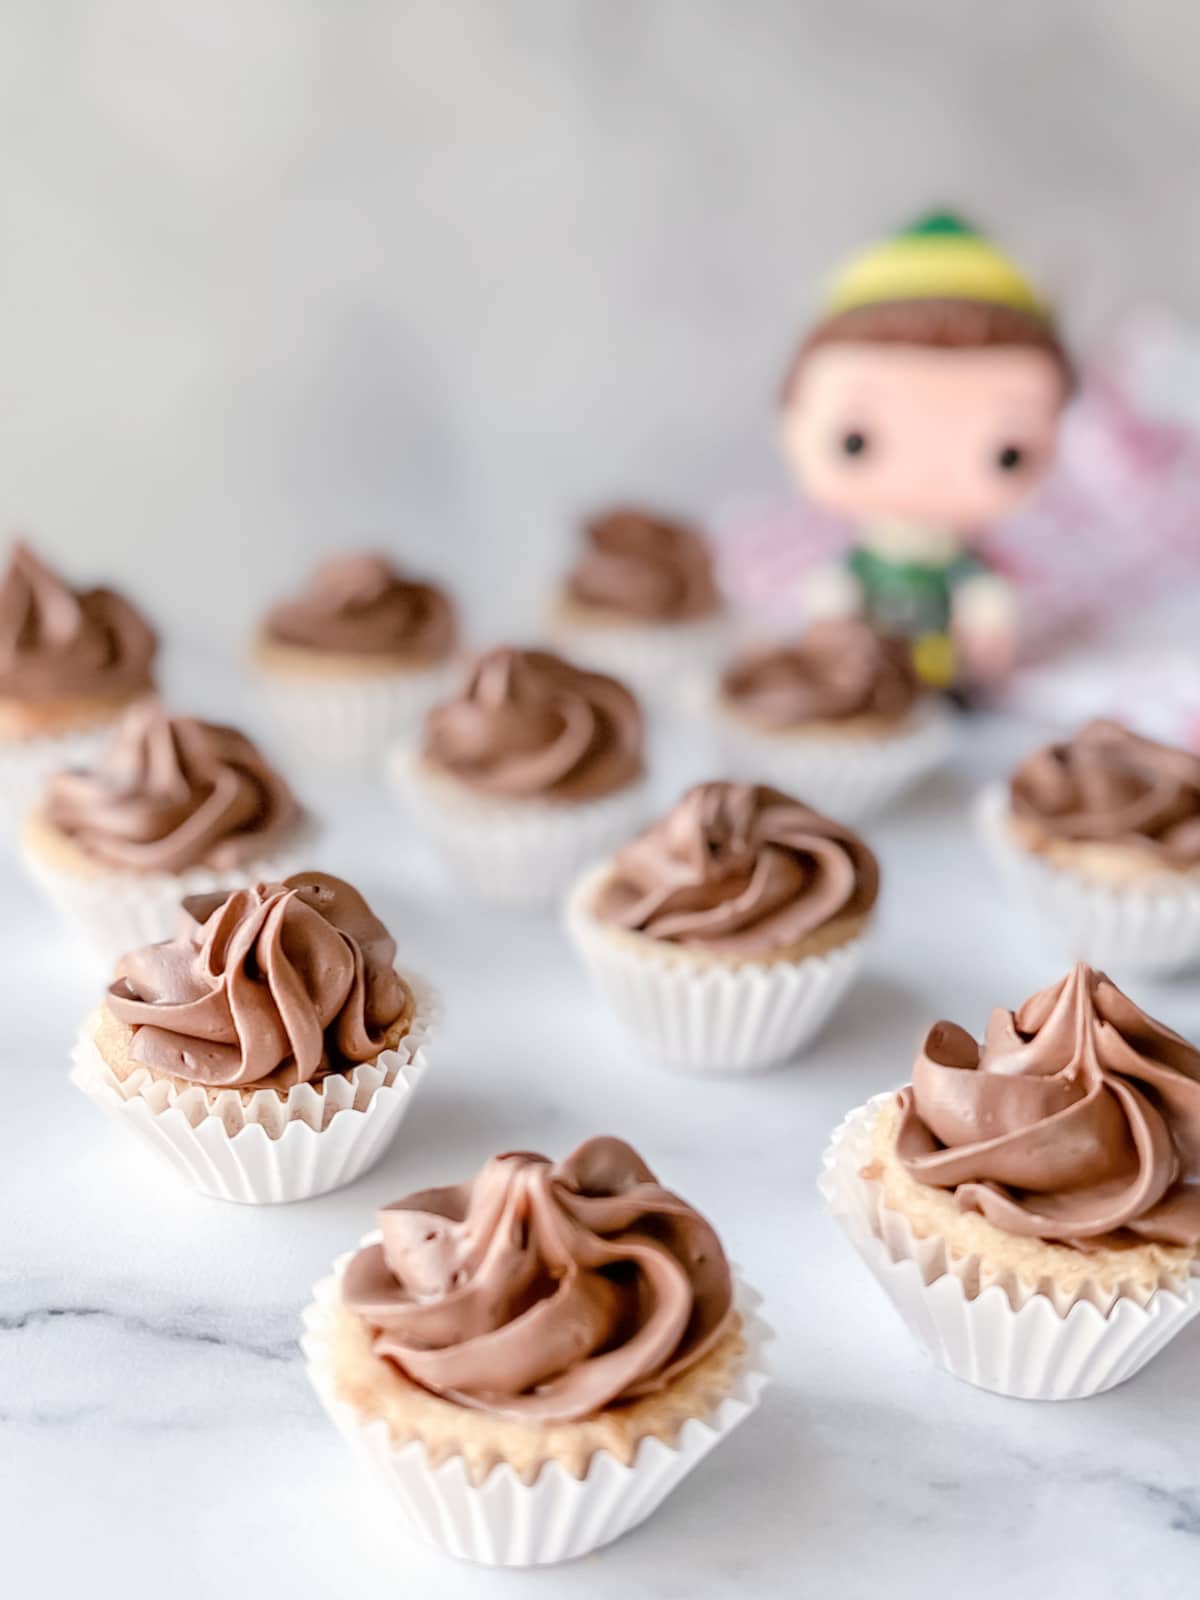
In a large bowl, stir together the entire can of chocolate frosting with half the can of vanilla frosting and add to a piping bag with a star tip.
This lightens up the color of the chocolate to match Buddy’s hair color.
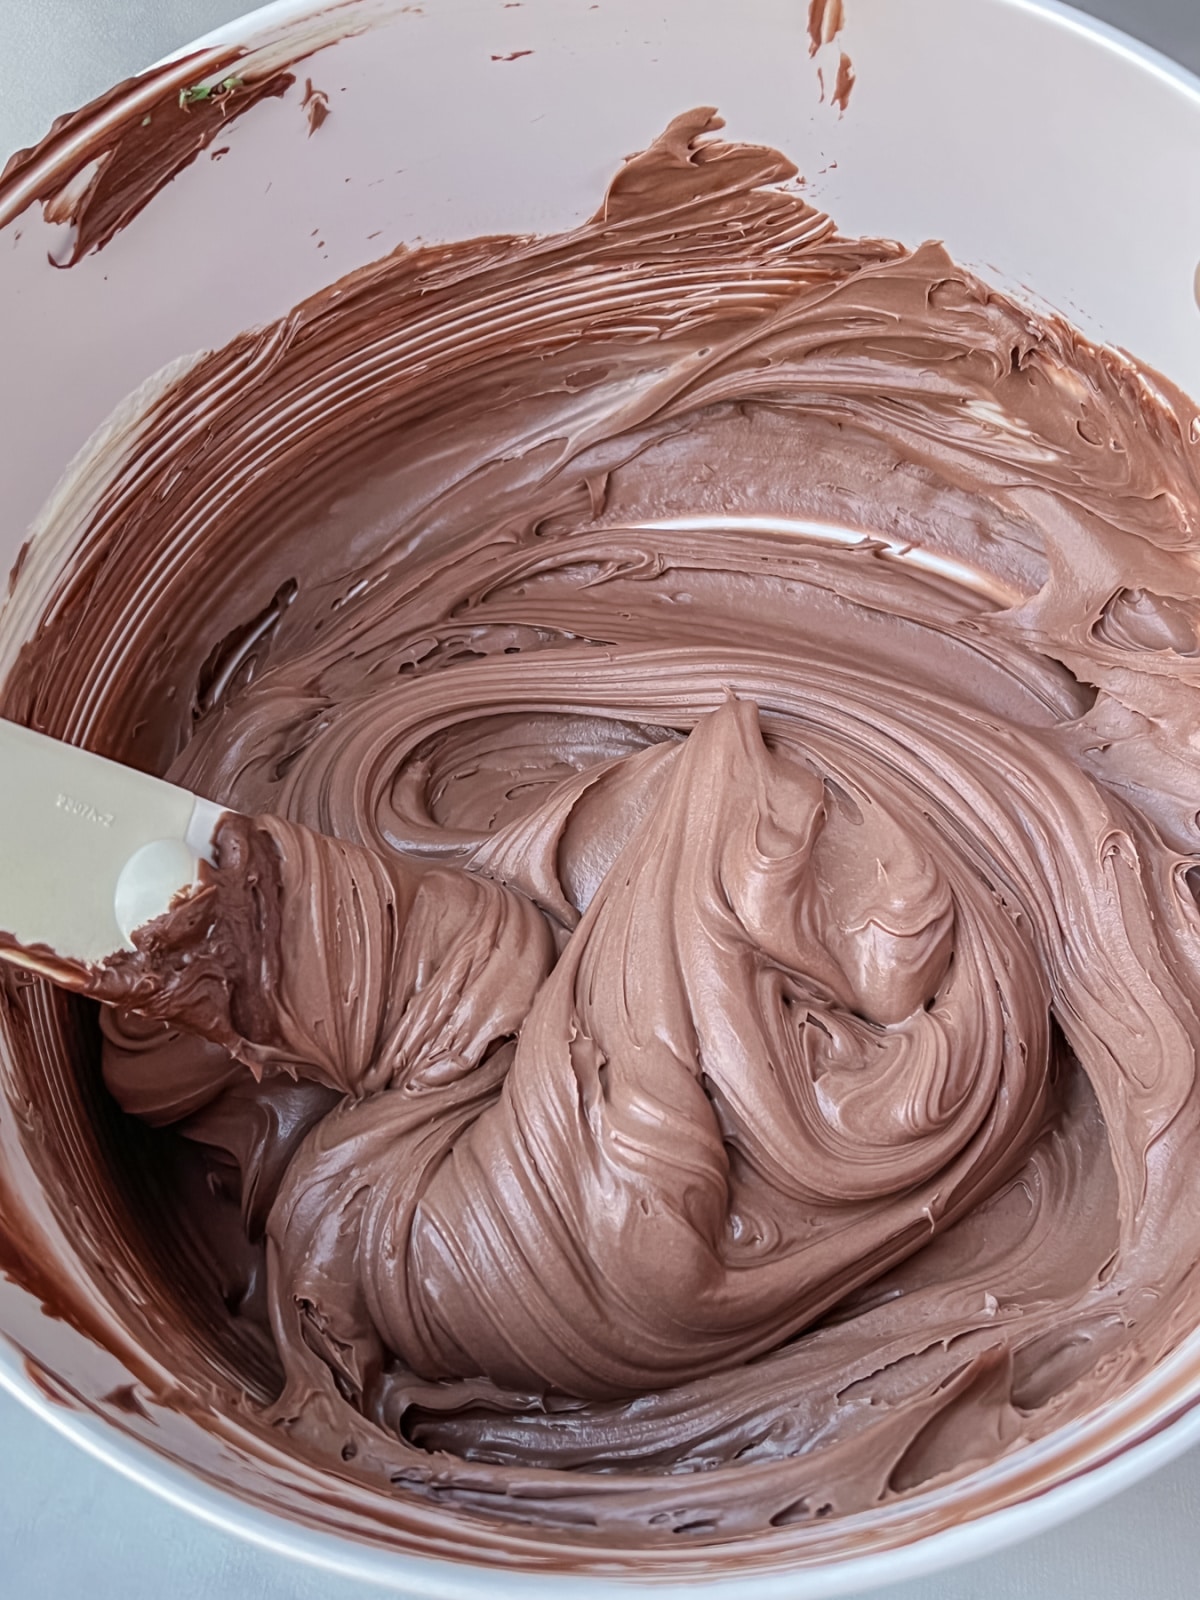
NOTE: Place your piping bag in a tall glass and fold the top of the bag over the outside (a pint glass works great). Then, add your frosting to the bag and remove the bag from the glass. Saves on the mess!
Make Buddy’s Elf Hat
We will melt the yellow chocolate in the same way as the green.
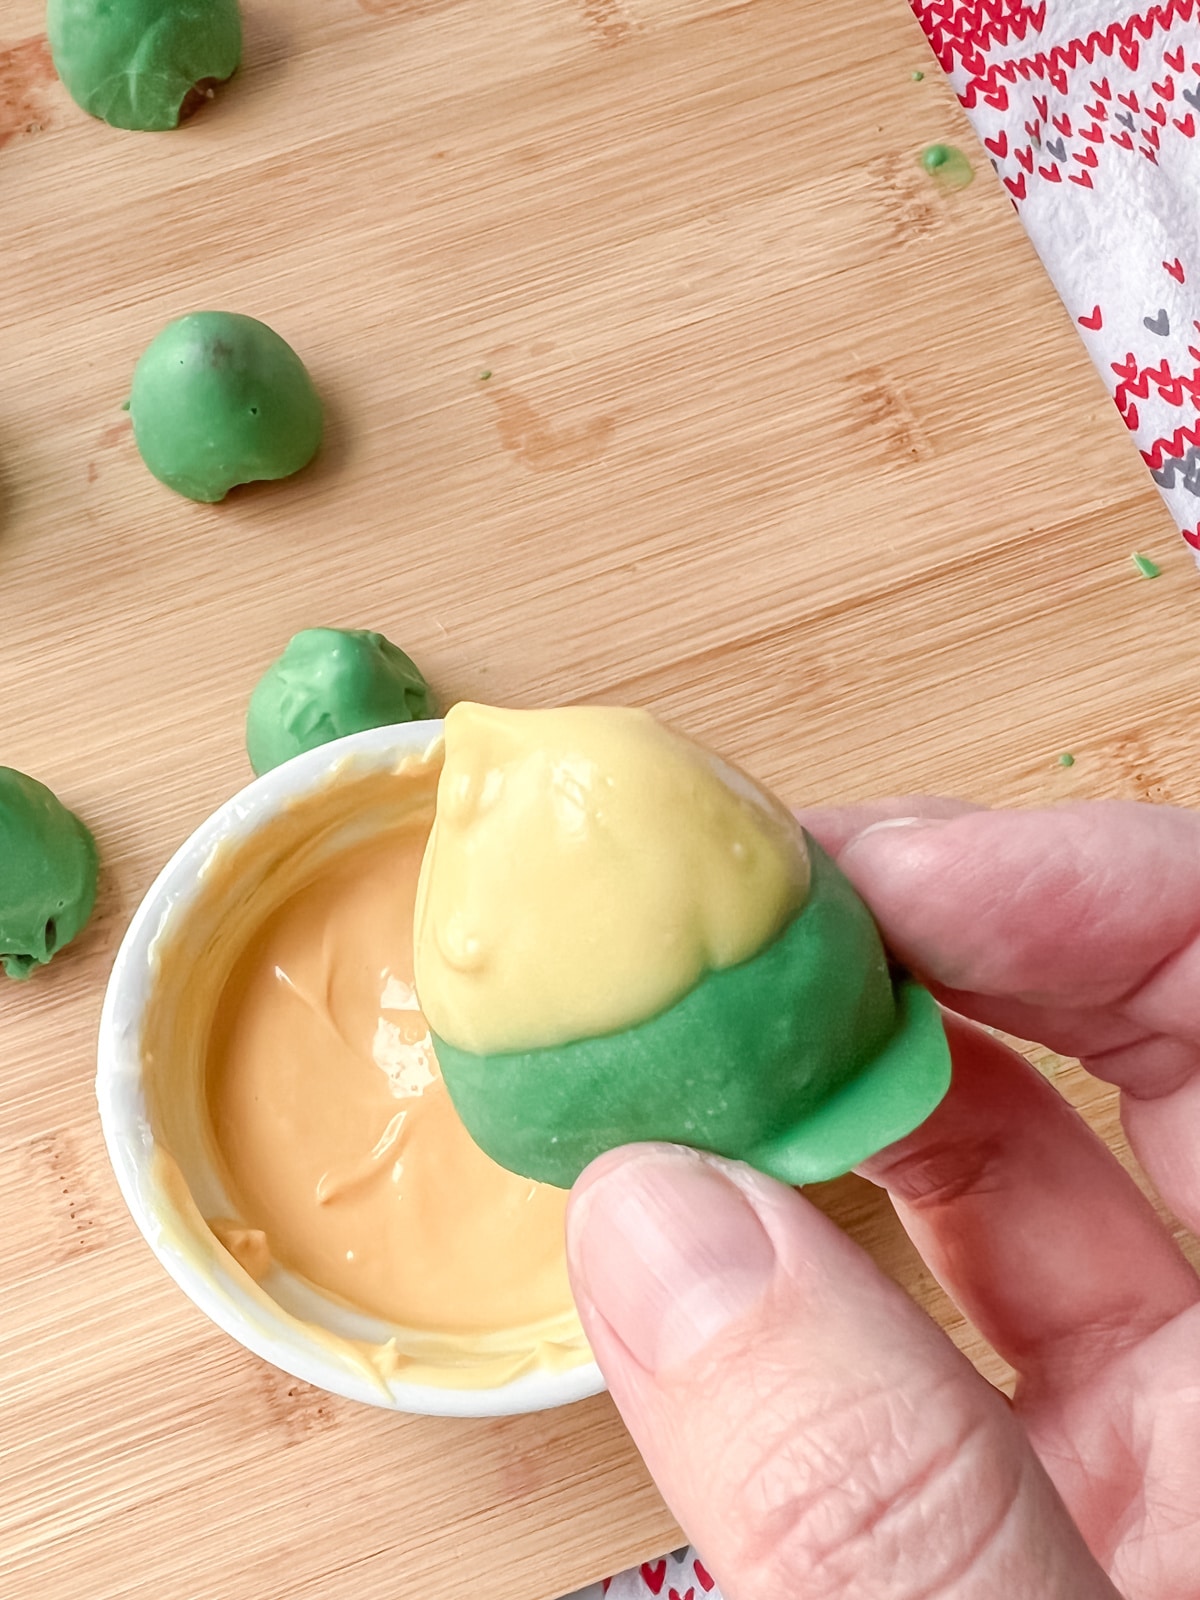
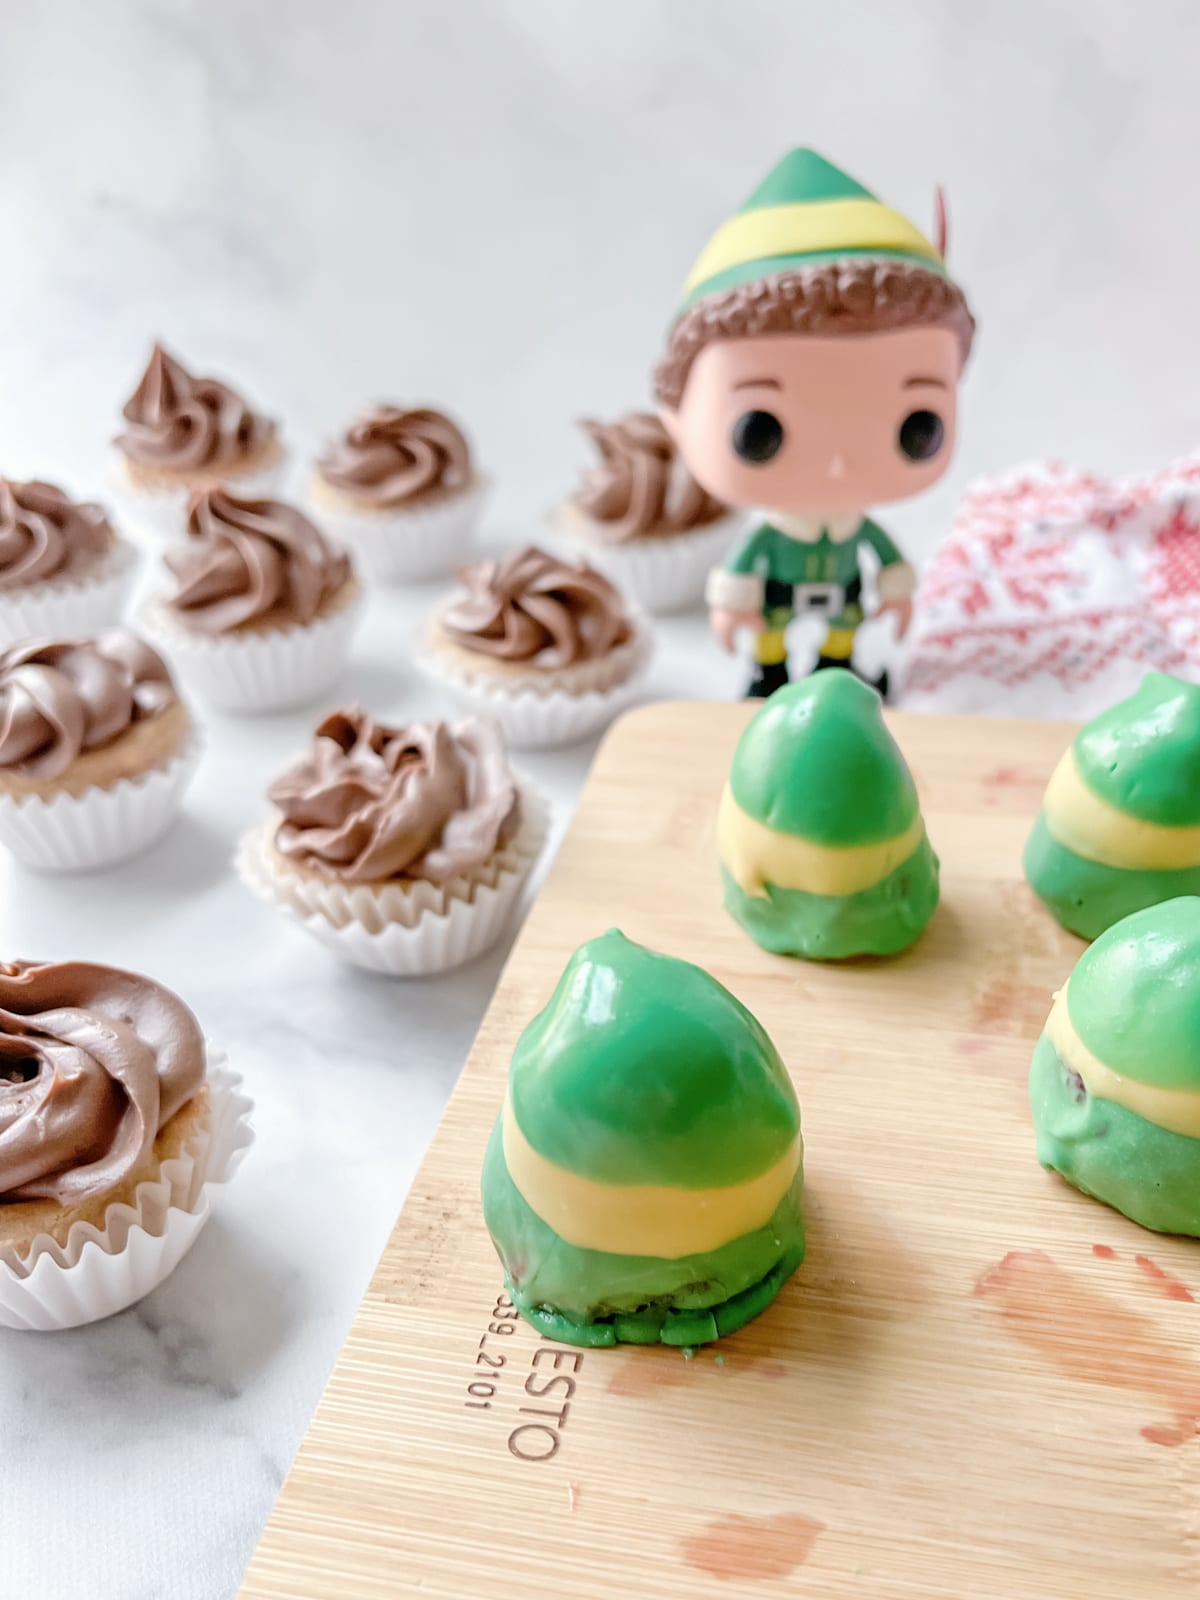
Once it is smooth, dip the green strawberries in yellow chocolate to create the yellow band that you see around Buddy’s hat.
Be sure to leave some green showing at the bottom.
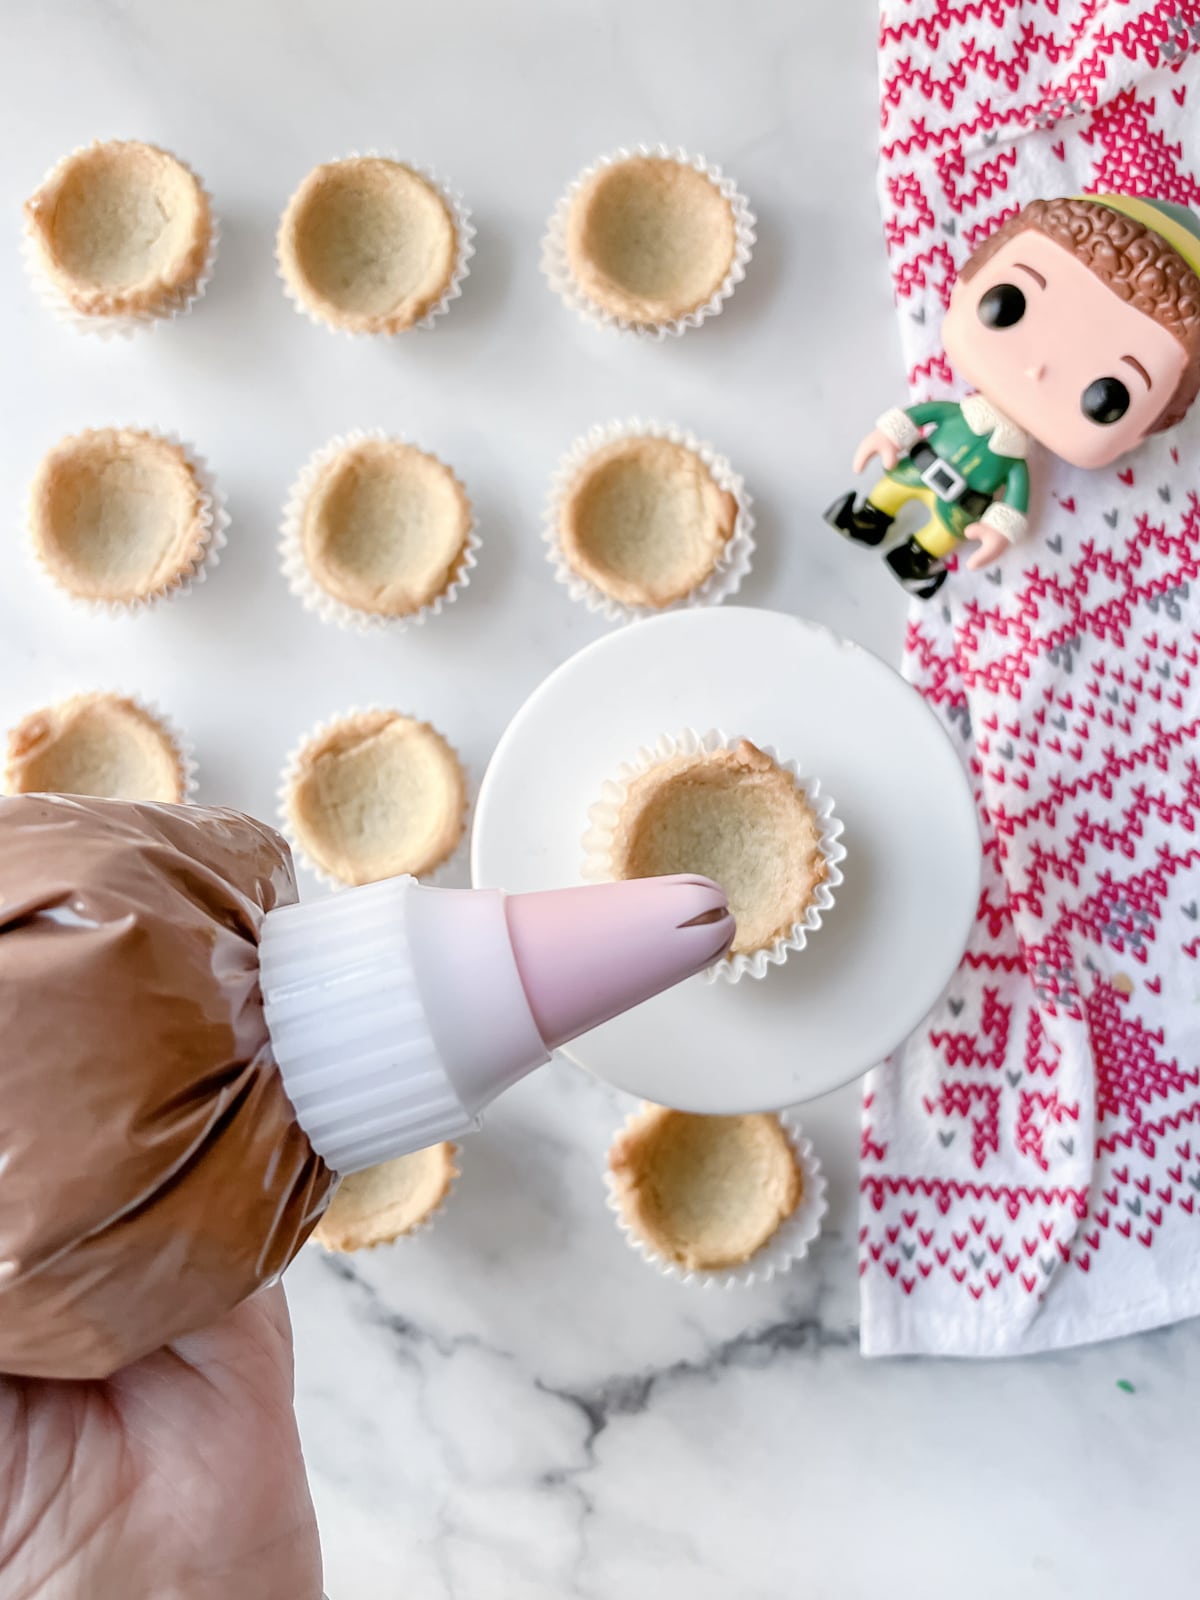
While the strawberries set, pipe the chocolate frosting onto each cookie cup.
Once the yellow layer of chocolate is dry, dip the tops of the strawberries in the green one last time.
Be sure not to cover all of the yellow. You may need to reheat the green chocolate at this stage in the same way as before.
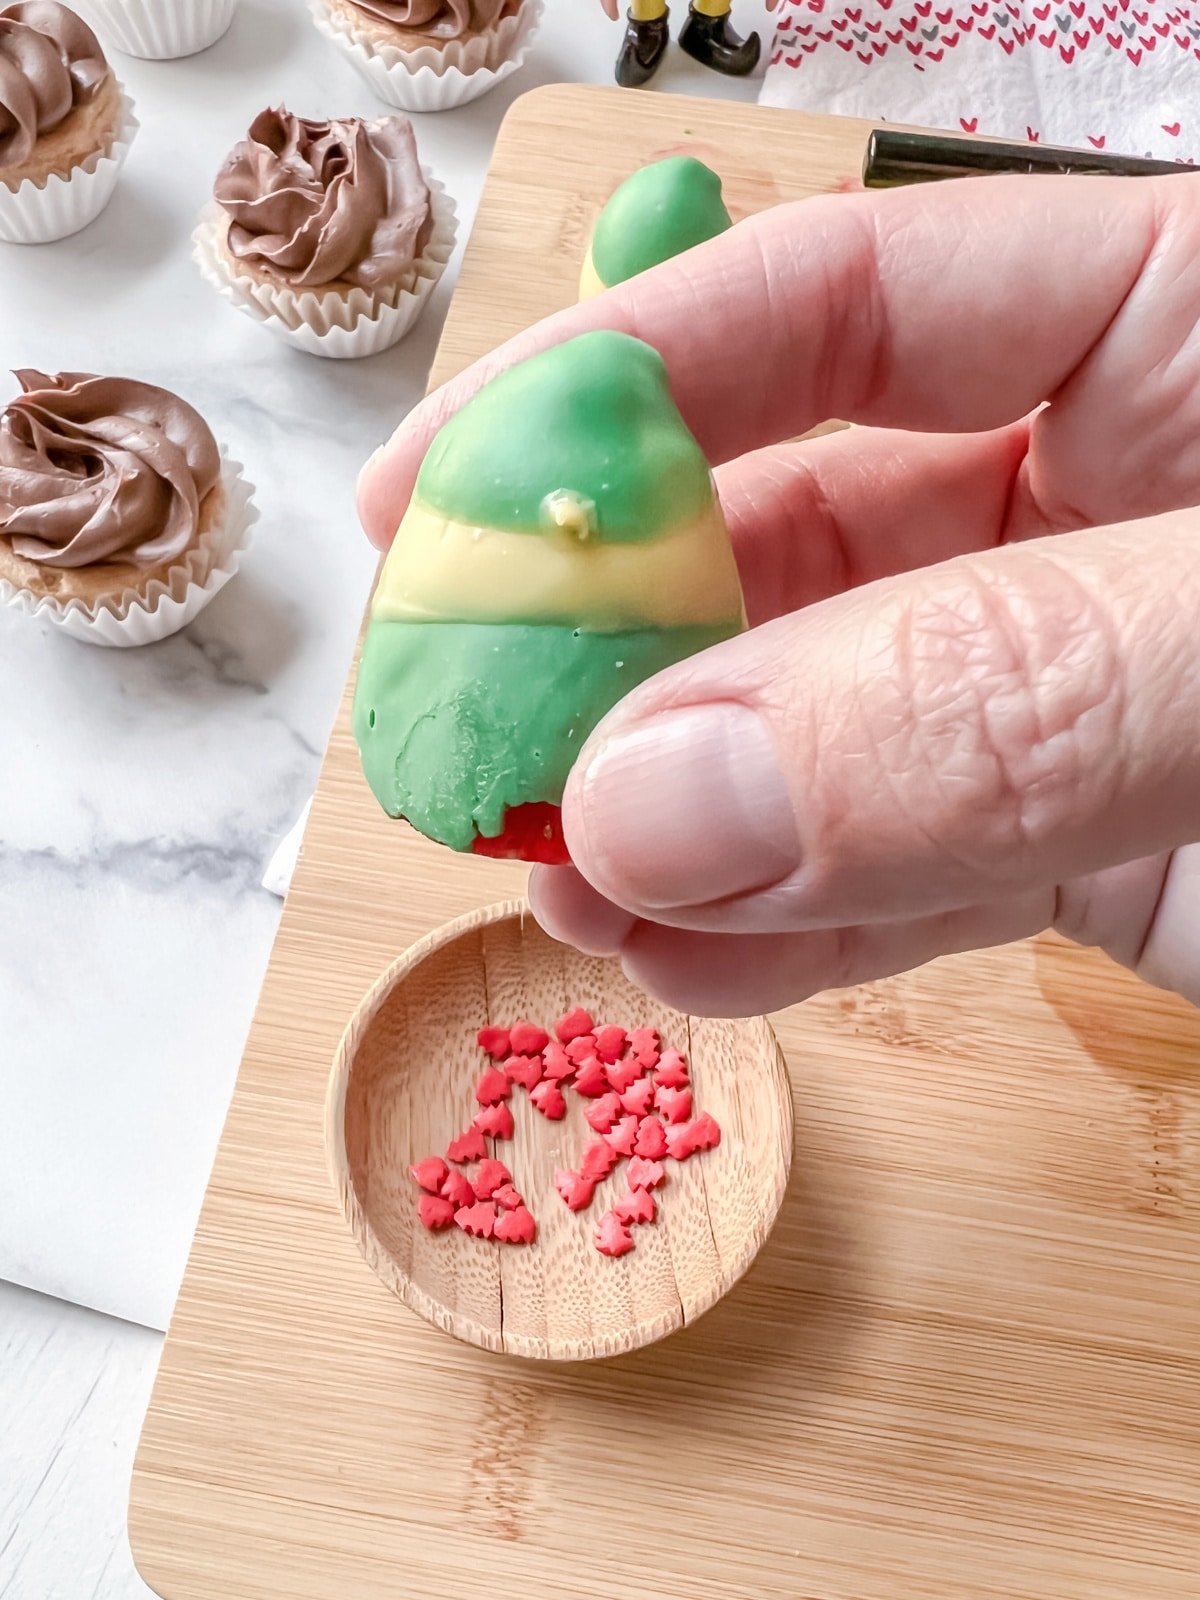
Finally, add a dot of yellow chocolate to the strawberry and attach your red candy for the feather.
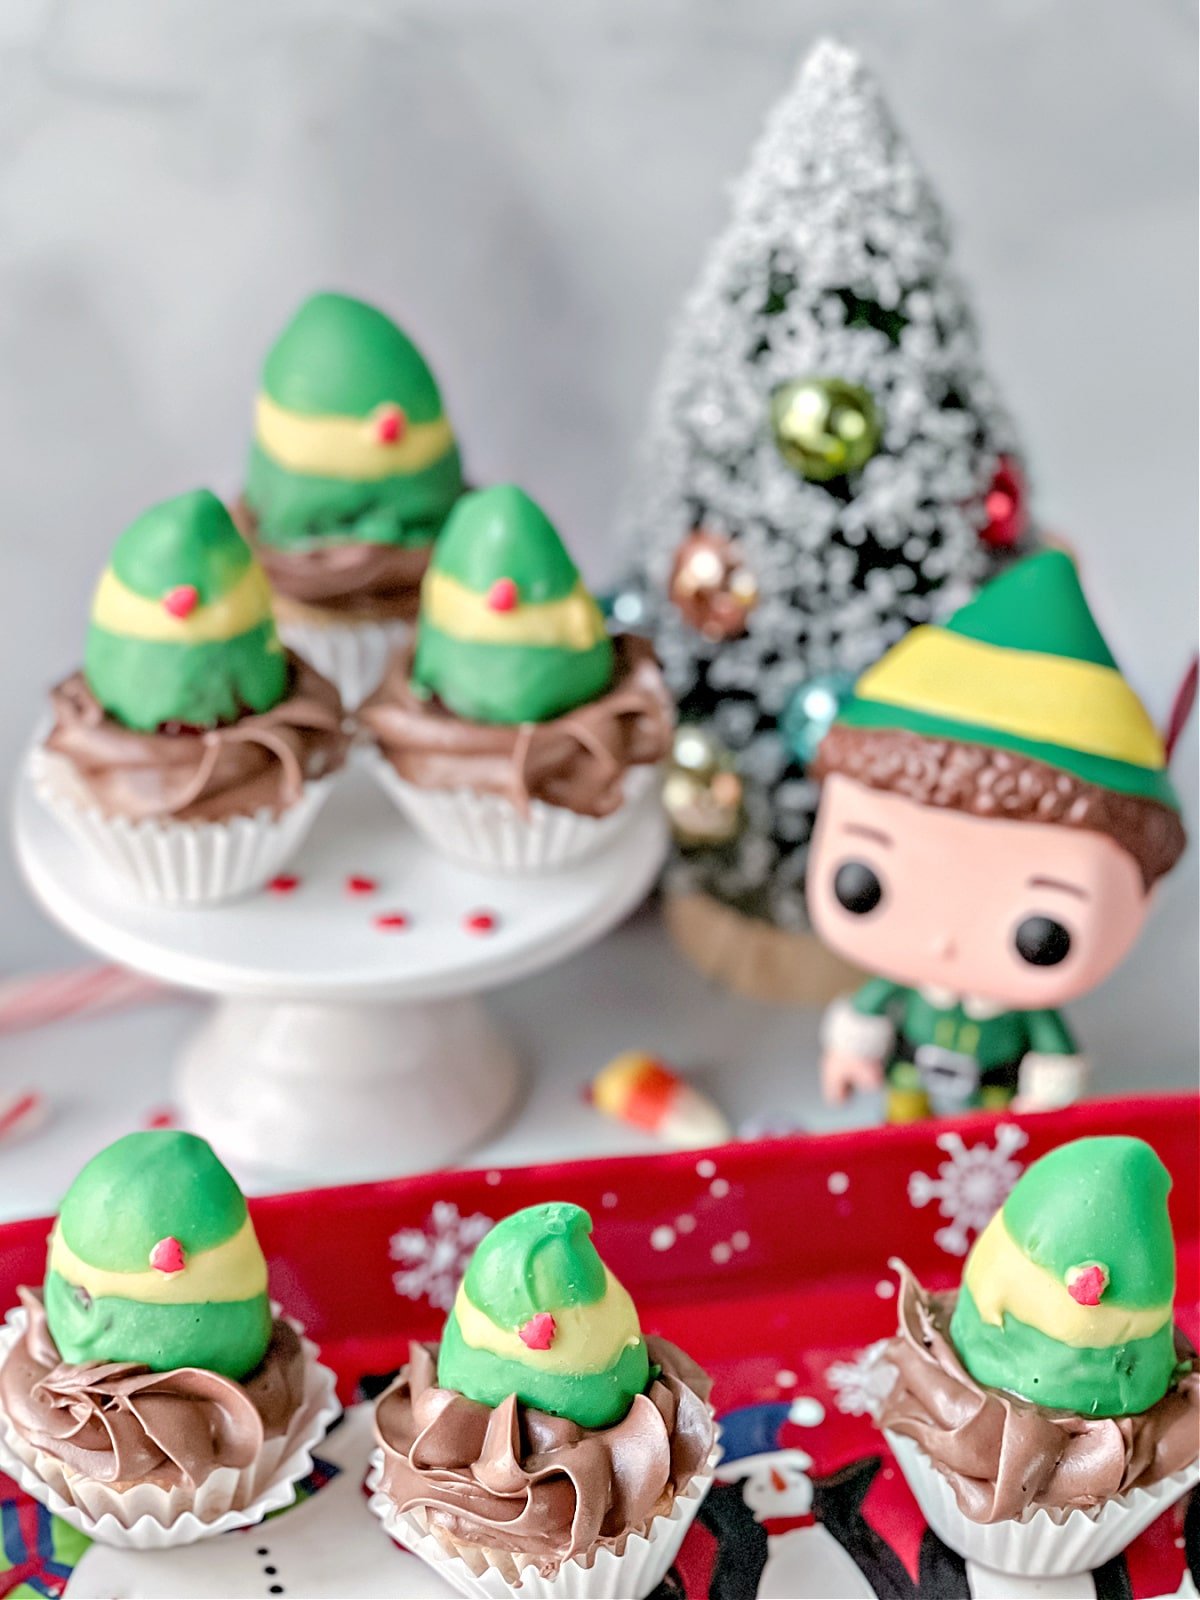
Place dipped strawberries on top of the frosted cookies and enjoy!
Print the Recipe
This dessert is definitely one that Buddy would love! If you want to keep baking, be sure to check out all of our yummy Christmas goodies and enjoy!

Buddy the Elf Cookie Cups
Ingredients
- 1 pkg Break Apart Sugar Cookies, 24 cookies
- 16 oz Chocolate Frosting, one can
- 8 oz Vanilla Frosting
- 24 Strawberries
- 1/2 bag Green Melting Chocolate Wafers
- 1/4 bag Yellow Melting Chocolate Wafers
- 2 TBSP Crisco
- Large Red Sprinkles or candy
Instructions
- Preheat oven to 350°F and add liners to mini muffin pan. If you don't have liners, spray pan with non-stick cooking spray and set aside.
- Break apart cookie dough and add one piece to each muffin cup.
- Add to oven and bake for 13-15 minutes or until cooked through.
- While the cookies are baking, wash and dry strawberries and slice off the tops of strawberries so you have a straight edge on the large side of your strawberry.
- Add the green melting chocolate to a bowl and microwave with a little bit of Crisco until smooth. Heat in 30 second intervals, stirring between each interval until smooth.
- Push a fork into the large side of a strawberry, then turn it over and dip into the green melted chocolate.
- Allow excess to drip back into the bowl and transfer strawberry to a wax paper lined platter to dry. To do this, gently slide the large side of the strawberry off the fork and allow to dry so it looks like the hat is right side up. Repeat for each strawberry.
- When the cookies are done, use a tablespoon to push the cookies into a cup shape and set aside to cool in the pan.
- In a large bowl, stir together chocolate and vanilla frosting and add to a piping bag with a star tip.
- Now melt the yellow chocolate in the same way as the green.
- Dip the green strawberries in yellow chocolate to create the yellow band.
- Once these are set, dip the strawberries in the green one more time. Be sure not to cover all of the yellow. (you may need to reheat the green chocolate).
- While the strawberries set, pipe the chocolate frosting onto each cookie cup.
- Finally, add a dot of yellow chocolate to the strawberry and attach your red candy for the feather.
- Place dipped strawberries on top of the frosted cookies and enjoy!
Notes
Nutrition
Nutrition information is automatically calculated, so should only be used as an approximation.

