DIY Valentine’s Day Mason Jar Cricut Lanterns
on Jan 29, 2020, Updated Oct 13, 2023
This post may contain affiliate links. Please read our disclosure policy.
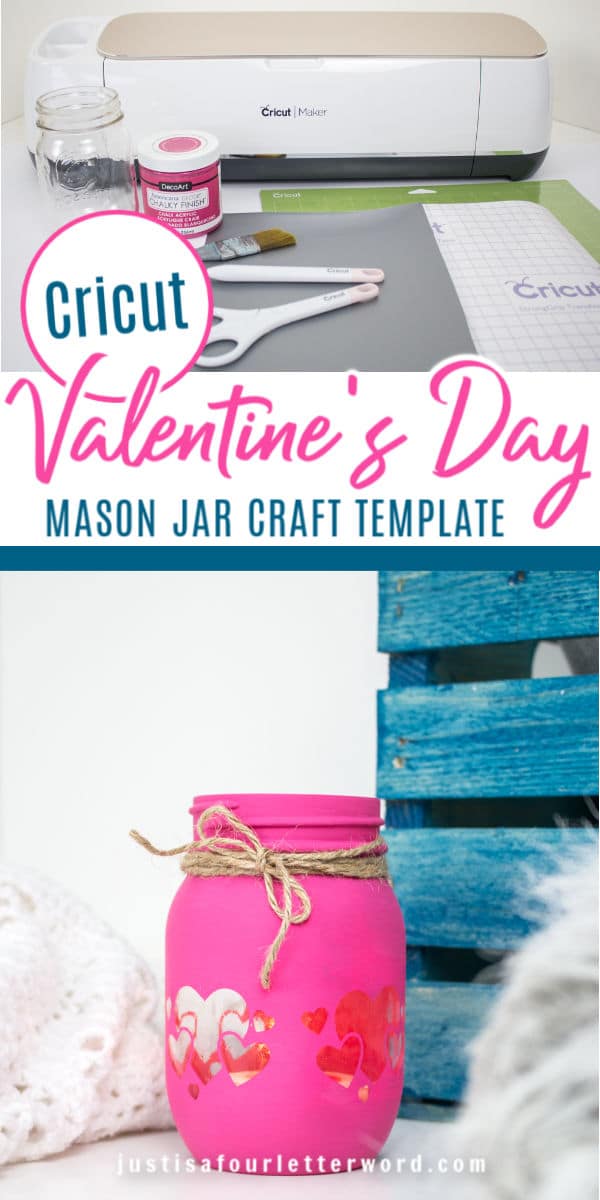
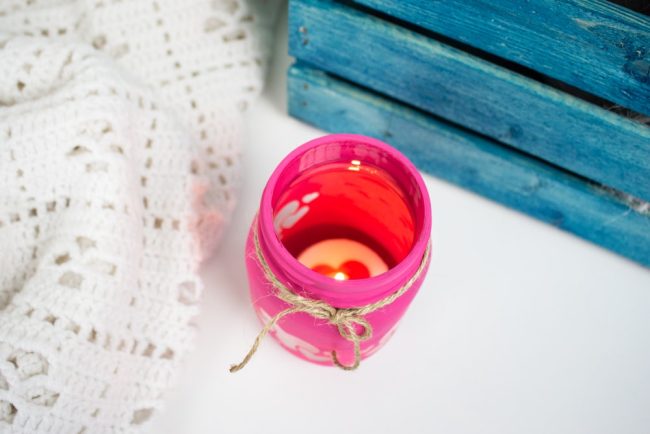
Get your Valentine’s Day craft on with these adorable Valentine’s Day mason jar Cricut lanterns. These are so sweet and a fun way to put your Cricut to work!
Valentine’s Day isn’t just about candy and cards. Y’all know I love a fun holiday. It’s when I feel the most creative.
If you’re looking for a fun way to add to your Valentines teacher gifts or to simply decorate around the house, these mason jar lanterns are so sweet!
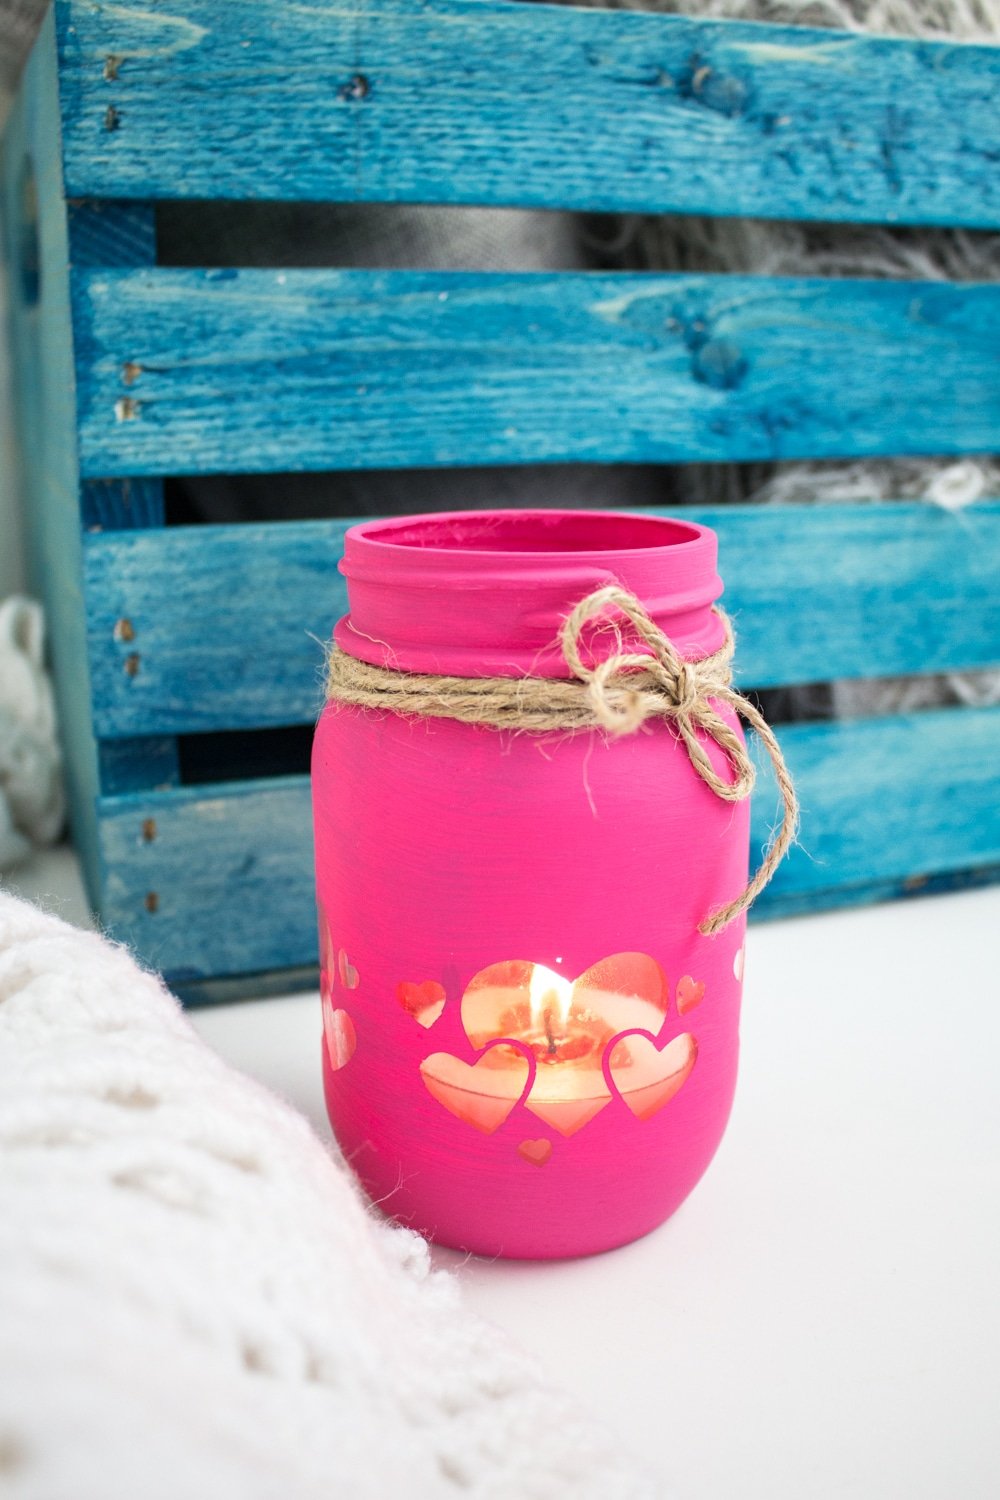
How to Make Valentines Day Mason Jar Cricut Lanterns
If you don’t have a Cricut or other digital printer, you could still make these carefully using stickers. In that case, feel free to skip to step 14!
For my vinyl-loving friends, read on.
Valentine’s Day Mason Jar Cricut Lantern Instructions
Ingredients
- -Design Space Heart Silhouettes Template #MBFF673F
- -Cricut Maker with Fine Point Blade
- -Standard grip mat
- -Cricut Premium Vinyl, Removable (in any color as it will be discarded, we used silver)
- -Cricut Transfer Tape
- -Mason Jars, 16oz with lid
- -Scissors
- -Weeding Tool
- -DecoArt Americana Chalky Finish Chalk Paint in Reminisce
- -Paintbrush
- -Twine
- -Votive candle
Instructions
- Thoroughly wash jars with soap and hot water and let them dry completely before using.
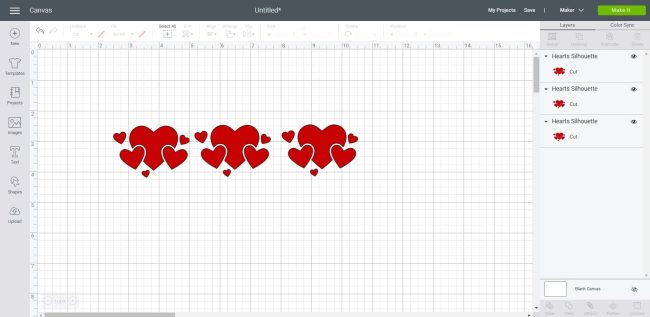
- On a blank Design Space canvas, select images and type #MBFF673E to insert the Heart Silhouette images on to your canvas.
- Resize the heart silhouettes to 2.25" wide.
- Duplicate the heart images two times to have a total of three.
- Select “Make It” in Design Space.
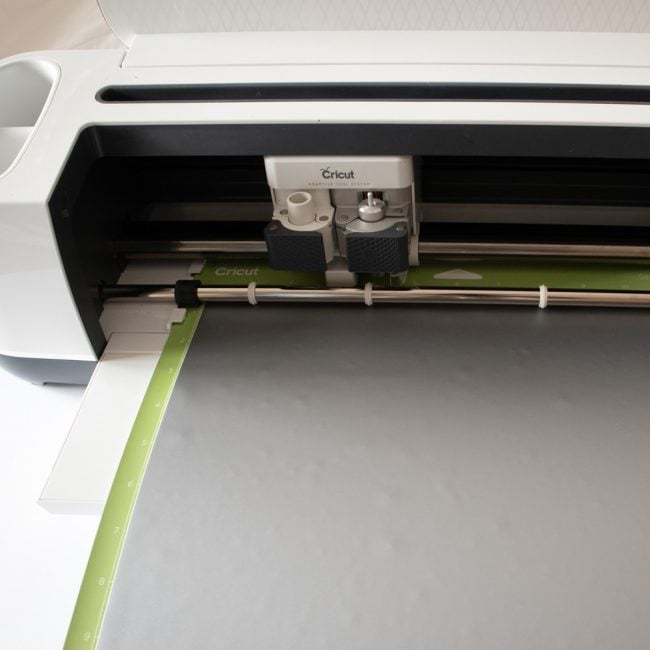
- Set material type to Premium Vinyl.
- Follow prompts for loading mat into Maker and cutting the premium vinyl. When cut is complete, unload mat from the Maker.
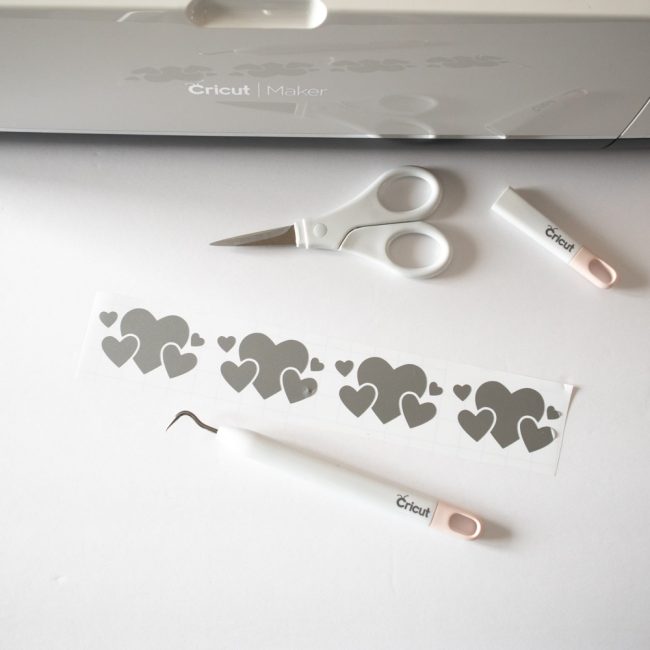
- Remove the premium vinyl from the mat.
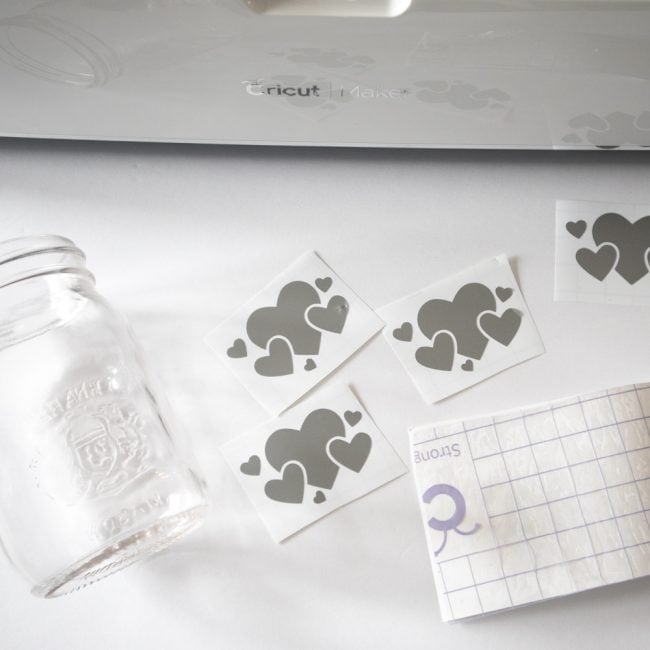
- Cut around each heart silhouette image with a pair of scissors. Using the weeding tool, peel away the excess vinyl around the vinyl-cut images and discard.
- Cut a piece of transfer tape a bit larger than the size of the silhouette heart image.
- Peel away the transfer tape backing and place the transfer tape overtop of the vinyl image. Gently rub the vinyl to help it stick to the transfer tape.
- Peel away the Premium Vinyl backing, leaving the hearts adhered to the transfer tape.
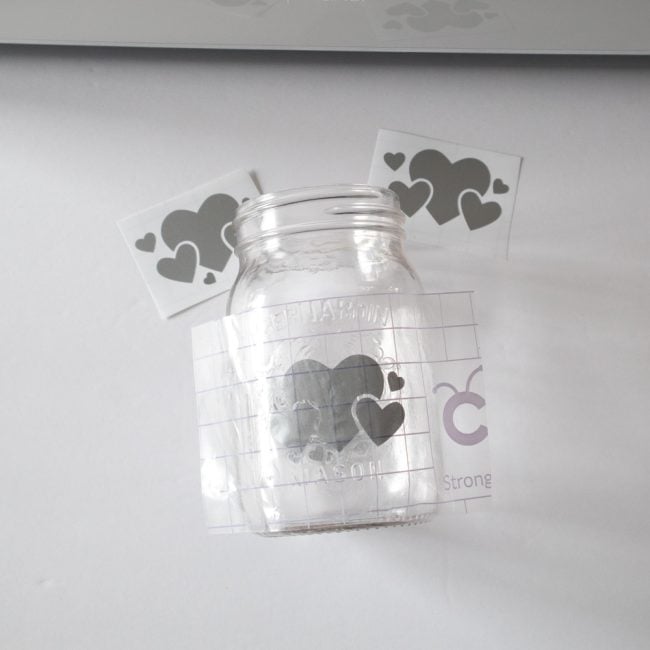
- Working on one side at a time, position the hearts and transfer tape on to the smooth side of a mason jar and press in place just below the middle of the jar.
- Press the vinyl hearts down with your fingers or with the Cricut scraping tool to help it to stick to the glass jar.
- Slowly and carefully remove the transfer tape leaving the vinyl heart design on the jar.
- Similarly, position the other vinyl hearts on two other flat sides of the mason jar and repeat above steps for removing the transfer tape.
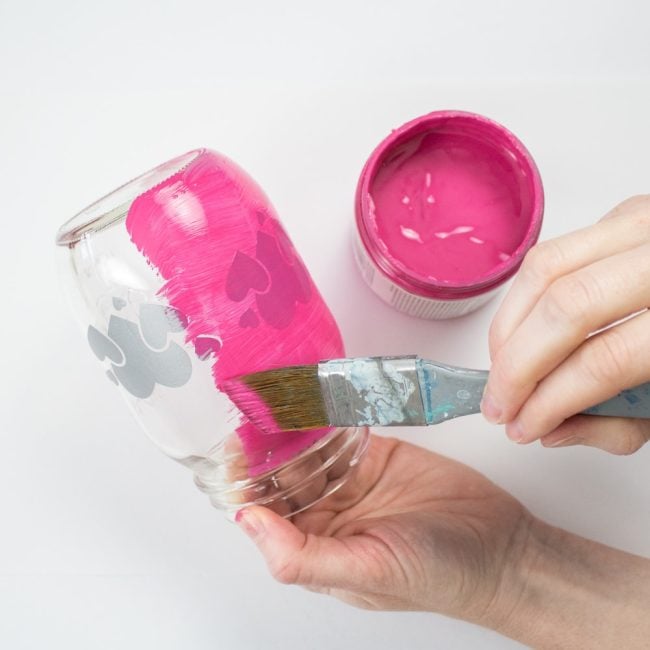
- Using a medium sized paintbrush, apply Americana Chalky Finish in Reminisce over the surface of the jar including the vinyl hearts. Allow it to fully dry before applying a second coat of paint.
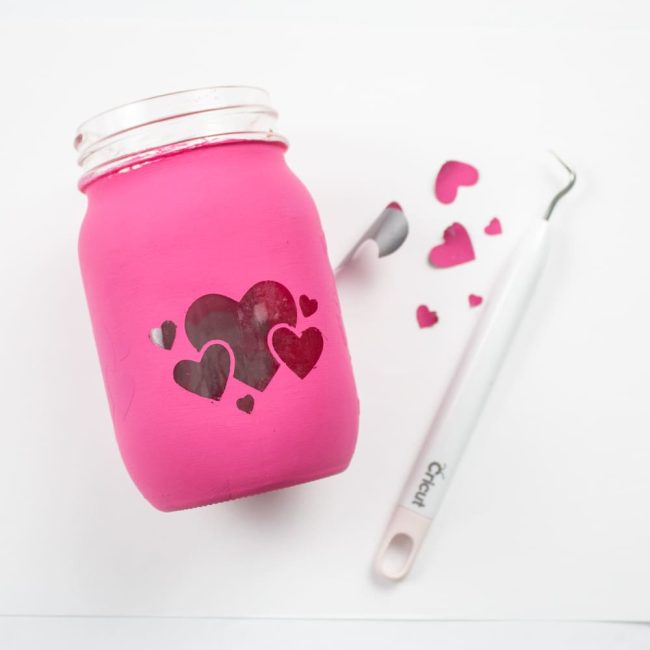
- Once dry, use the weeding tool to pick away and peel off the vinyl heart shapes and discard.
- To finish, tie a piece of twine around the neck of the mason jar.
- Fill the jar with a votive candle.
Nutrition information is automatically calculated, so should only be used as an approximation.
Create these fun candle holders for your own decorations or to give as a gift. And once you have the process down, you can pretty much adjust the shapes for any holiday.
Mason jars for everyone! Before you go, be sure to check out our other Valentine’s Day ideas!
Share and Save for Later
